Monday, August 8, 2011

Cover Me Pretty

After digging through my fabric bin to see what I could use for Day 2’s project, I discovered there were 3 different yards of fabric that had not been touched at all. With a whole yard of fabric, I had a broader range of project possibilities.  I got out my iron and began pressing each one while I thought about what to sew next. It didn’t take long to realize one yard was most certainly going to have a new life as an ironing board cover.  

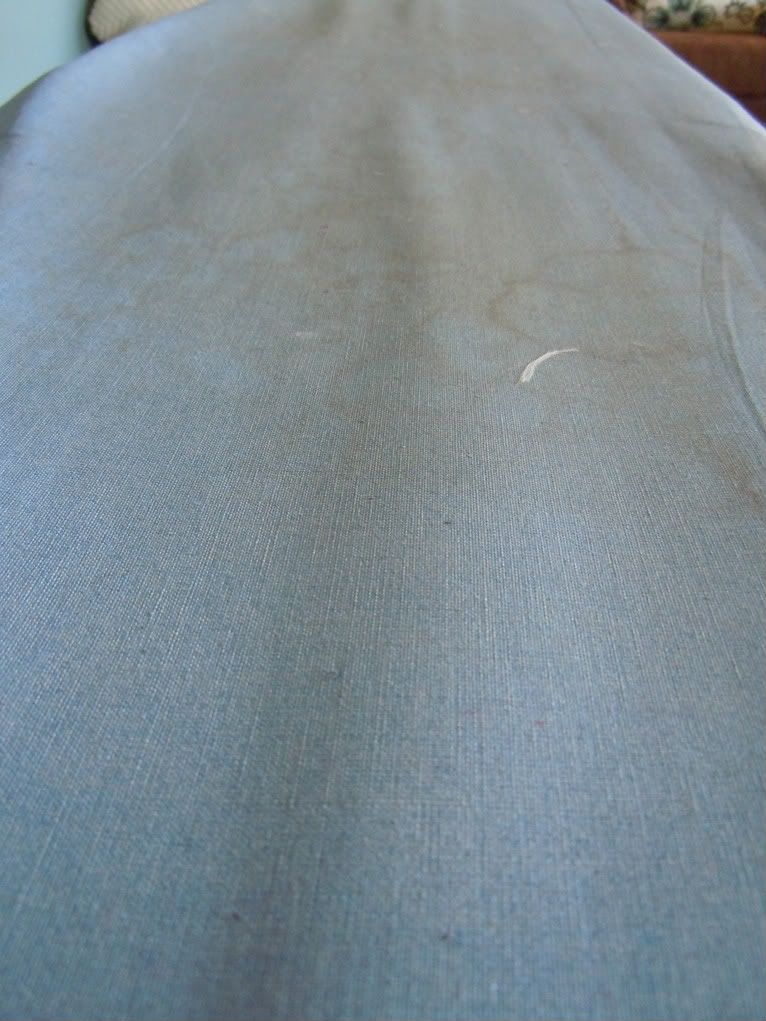
I am almost too embarrassed to admit that my ironing cover is in this bad of shape.

I am 100% blaming the current state of this cover on the tacky Christmas sweaters I made last year. It involved a lot of fusible fabric pieces and I was not nearly careful enough with cutting exactly on the lines. Once heat touched the pieces, a sticky mess was everywhere. It caused major damage to my iron and ironing board -- and a few shirts I tried to iron afterwards. At least one of those disasters was an easy fix I decided to take care of just a short 8 months after. Better late than never, right?

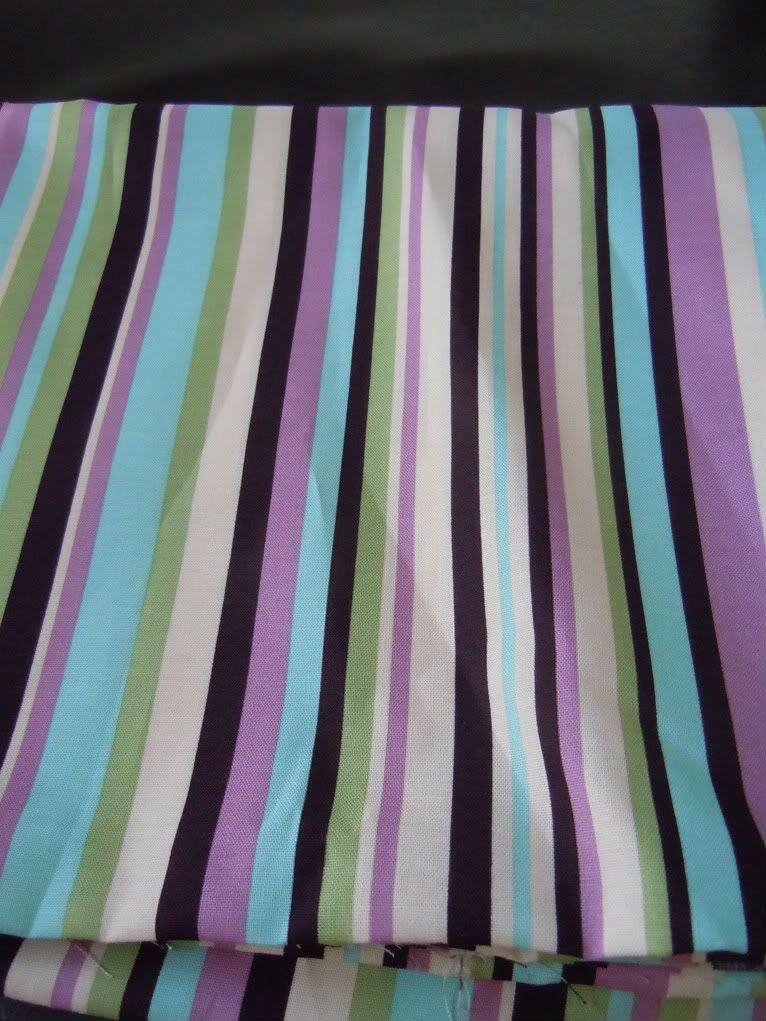
I chose this fun striped piece because it was a non-directional pattern and any necessary seams would be nearly impossible to detect if I ran the stripes horizontally.
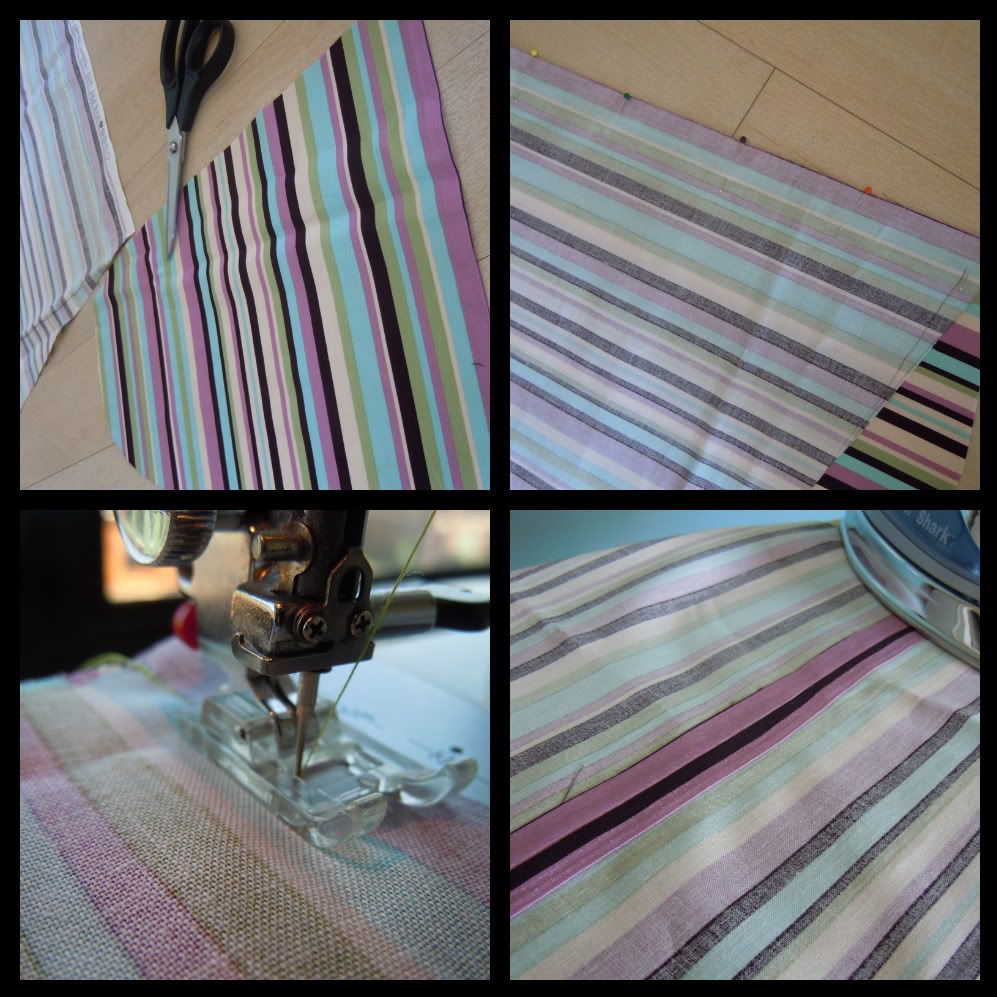
I started by removing my old cover so I could use it or the ironing board itself as a pattern. The only tricky part here was undoing the string clasp.
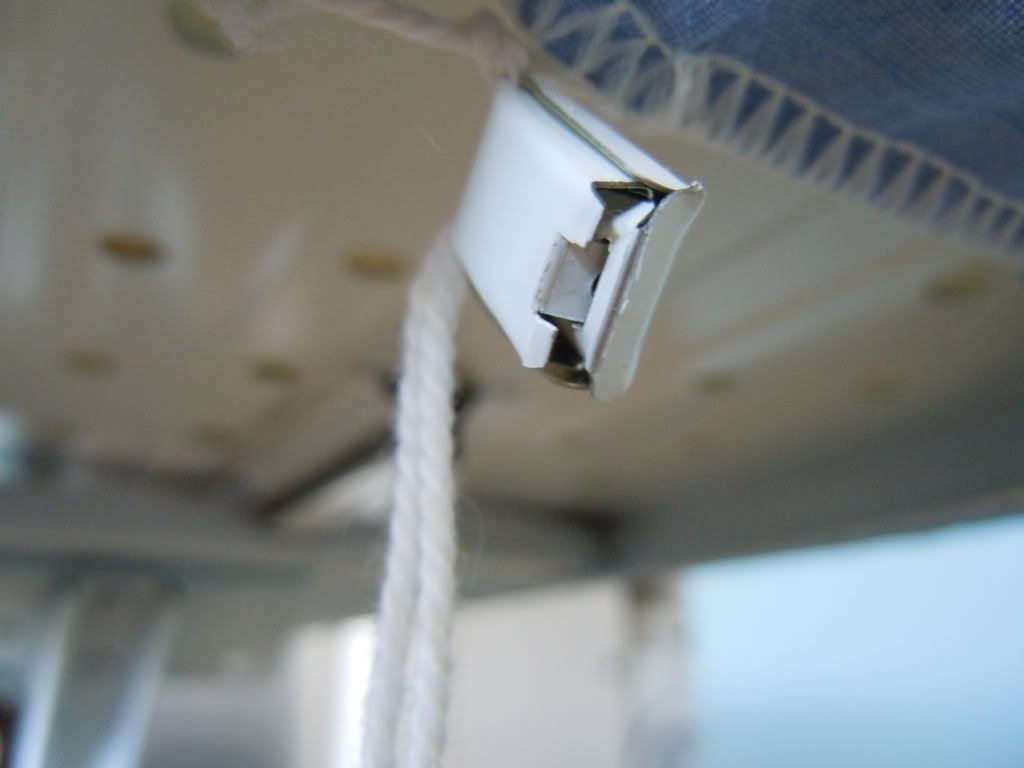
Once that was removed with a flat head screwdriver, I pulled out the string to use with my new cover. I then unwrinkled the cover and laid it out on the wrong side of my fabric.  If you can’t get it to lay flat over your fabric, I would suggest flipping your ironing board over and tracing it.  I would also suggest tracing 2 - 2 ½ inches from the edge of your pattern. My picture does not show this because I had a different method in mind at the start of this project which I’ll explain in a bit.
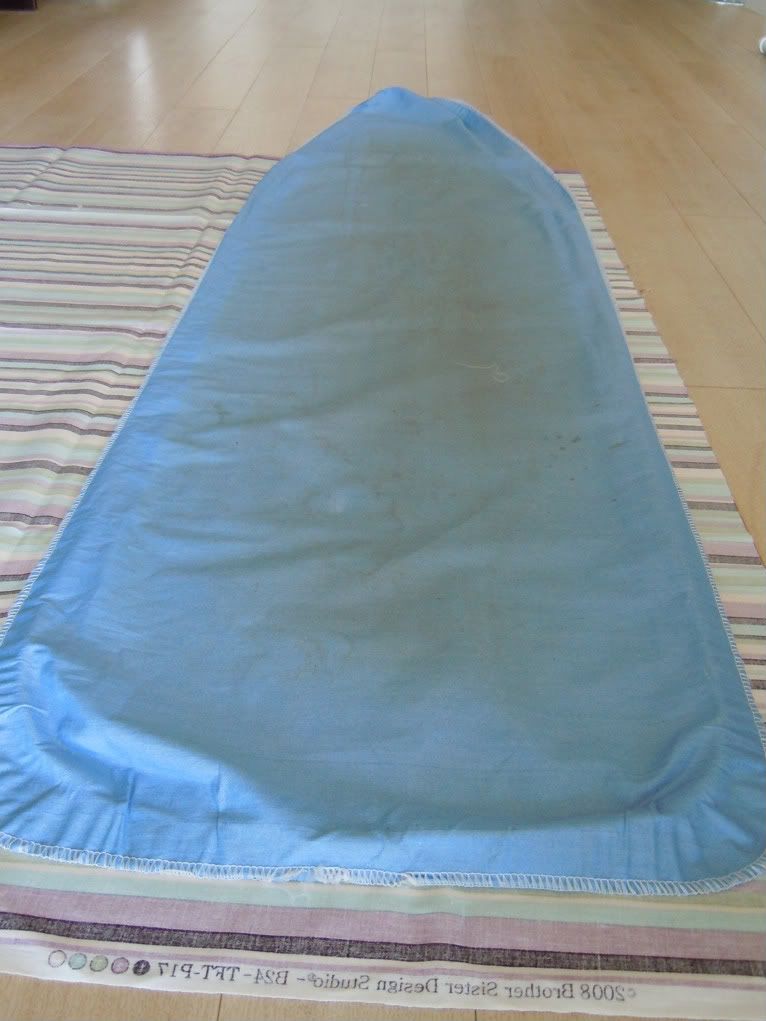
Since it won’t fit the entire length of your fabric, trace as far as you can, pick it up and trace the remainder. Be sure to add about a half inch to inch to compensate for the seam allowance.
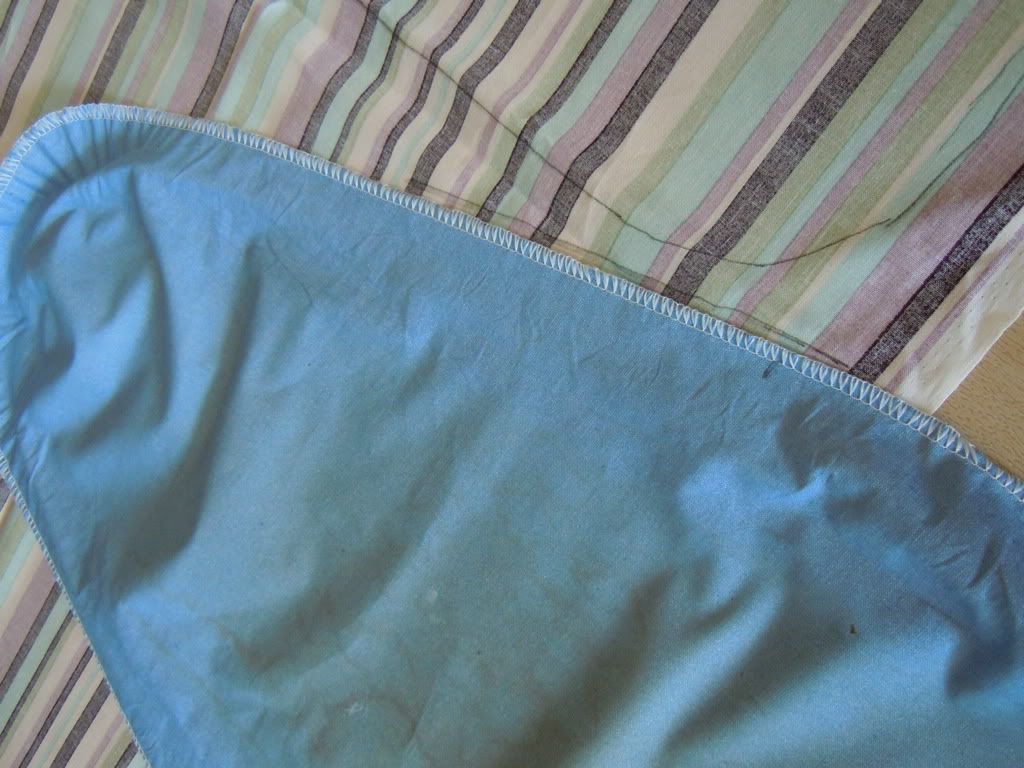
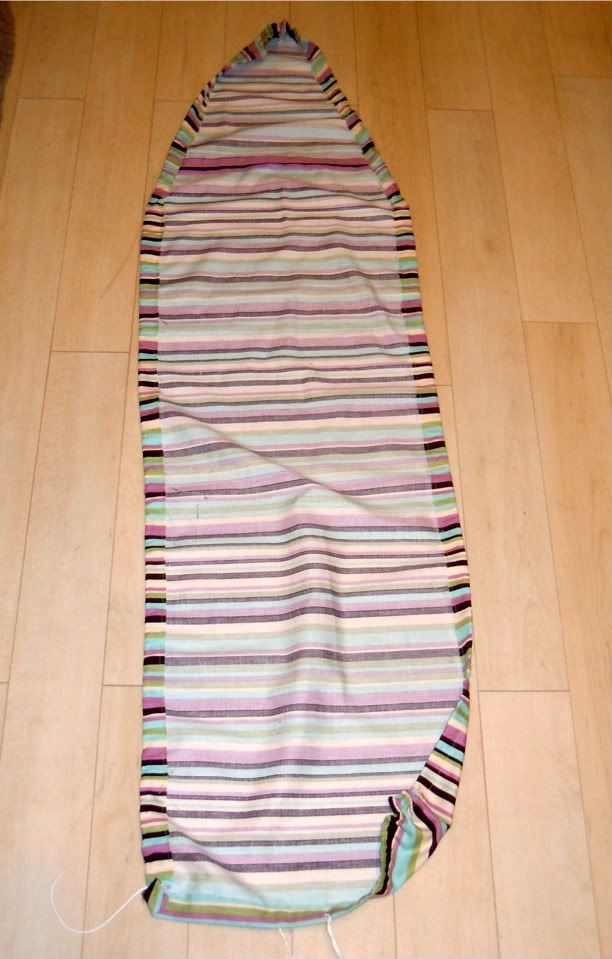
Cut out both pieces and lay them on top of one another, right sides together. Stitch along the seam to join them and make one large cover. Press the seam open.
At this point, my plan was to basically recreate the cover I had just removed. The drawstring was incased in an overcast stitch the entire way around.  You can see this in some of the pictures above. This seamed the simplest method because I didn’t need an extra 2 inches of fabric all around or have to spend time pressing a casing and then working my string through. So, if you are gifted in sewing an overcast stitch, this would be perfect. All you'd need to do is find the center of your string and lay it at the point of your fabric.  Pin so that it stays in place but is not going through the string. Work your way around the entire edge of the fabric until you reach the middle of the flat end. You should have a few inches of string hanging off the edge.
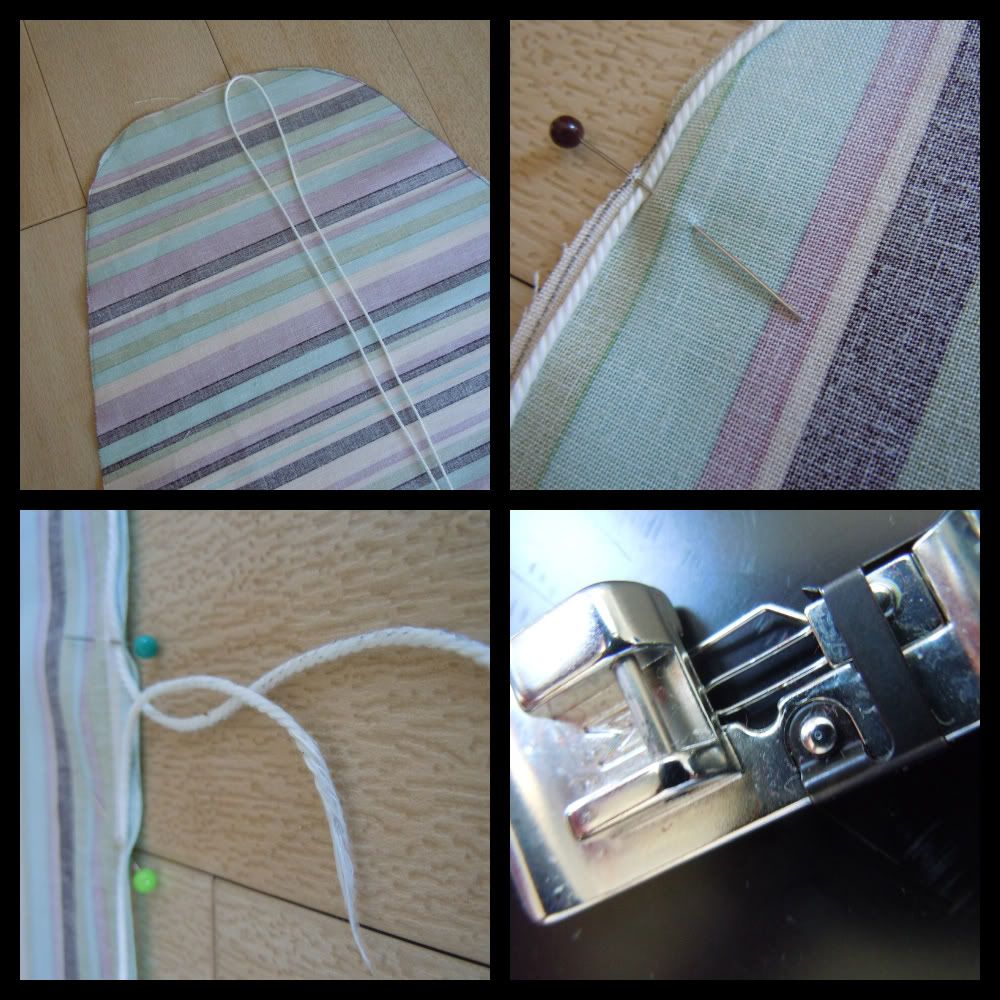
Then, using your overcasting foot, start at one end of the flat side and stitch all the way around staying right at the edge. Be sure you do not accidently stitch the string because it won’t pull when it’s time to place it on your ironing board.  I had major trouble staying at the edge around the curves and did manage to stitch the string down a couple times. That’s when I decided to abandon the initial plan and went with plan b.
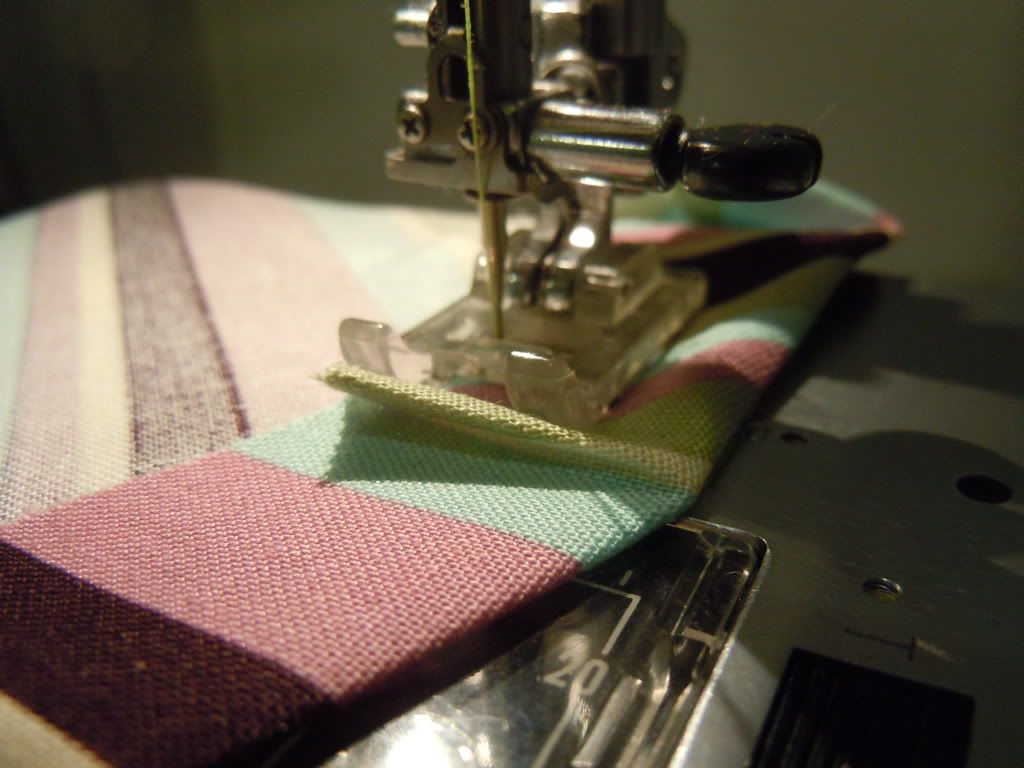
Plan b started with about an hour of removing my first stitches and the string. Then I started folding in the edge around the entire cover to make a casing. Mine had to be as thin as possible since I didn’t cute my original pattern to compensate for this.  Some of the fabric around the corners will overlap in order to keep the desired shape, which is fine.  After you’ve pressed a casing, sew it in place as close to the edge as possible.
Once you’re finished, cut out a small opening in the middle of the flat side, tie your string to a safety pin and start feeding it all the way through.
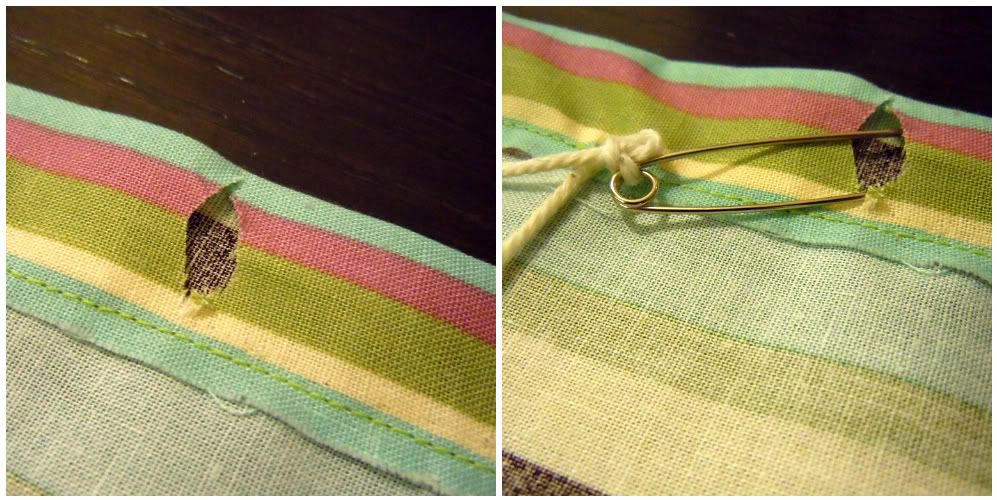
Once you’ve made it all the way through, pull the stings so the pointed end scrunches up.
Place this over your exposed ironing board and pull as tight as you can at the flat end to keep it in place. Tie the strings with a knot or reuse the original string clasp. I had some difficulty with my foam moving while doing this, so I decided to glue it in place so it wouldn’t bunch under my new cover.
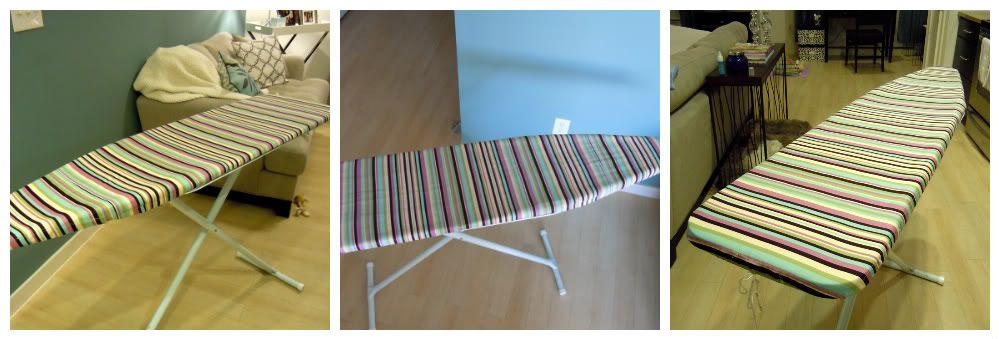
And that’s it! Another project down and a day closer to cleaning out my fabric bins -- I’m ready for day three!

Sunday, August 7, 2011

Too Hot to Handle


In my last post, I mentioned getting acquainted with a new-to-me sewing machine.  I even posed a challenge to myself to attempt seven projects in seven days to get me more familiar with it and push myself to try some new techniques.  Well, after drooling over some new fabrics I wanted to order and realizing I had run out of room to store them, I accepted my self-imposed challenge. I now had another, more pressing reason to accept it -- using up my current fabric stash to make room for more.
Yes, the sides are bulging -- no time to waste!
I chose to start with a simple project to get the momentum rolling and keep me motivated for the challenge to come. In my stash of fabrics, I had several scraps which had already been quilted and used for various lunchboxes.
After much debate with myself, I decided they would best be used as pot holders. They are fun and colorful which is perfect for a kitchen, they are already quilted which saves me some work, and I currently own only one oven mit and 'Ove' Glove.  Not only would this be fun and simple, it would also be practical for me.

I started by cutting squares -- approximately 8”x8” -- out of the larger pieces of fabric. Then there were the longer, thinner ones I had to work with.  I decided to go with a quilted effect to make the most out of what I had. I started piecing together 4”x4” squares or 4”x8” rectangles -- sizes vary based on what was available -- until I had used up as much of the scraps as I had left.
After I had cut enough material for 5 pot holders, I decided this was plenty and saved my last and largest leftover lunchbox scrap for another project. 
Since my scraps were already quilted, all that was left after cutting was to join the pieces together and finish the edges.  I was unsure of how to join them initially, so I started by binding my one, whole square.  I used some left over double bias tape and got to work finishing the first pot holder.
I am by no means a pro at using or even making bias tape, but this is the process I went with and it seemed to work really well.
1. open up the tape and lay on pot holder, lining up the edges with right sides together. I started in the middle of a side so I could camouflage the two ends meeting as much as possible. Pin until you get to a corner.
2. Start stitching your first side about an inch from the start of your bias tape and stop when you’re reached the corner.
3. Remove from the machine.  Pivot the outer edge of your bias tape so you can continue lining up with the edge of the adjoining side -- make sure that no inner edge is trapped under and at risk for being stitched down.

*do not pin like this*
4. Continue each side in this manner until you reach your starting point.  Fold the beginning of your bias tape in about a ¼ of an inch -- I forgot this part so the photo does not show this! Make sure your ending piece overlaps the beginning and stitch.
5. Fold the unstitched edge in towards the center of the bias tape and then over the edge of the potholder onto the other side. There should now be no raw edges exposed. Adjust the corners and pin in place.
6. Topstitch all around staying as close to the inner edge as possible but making sure to stitch though the bias tape on the backside as well.
You’re done -- and with perfectly mitered corners, I might add! I did not add any loops to mine -- I just stash them in a cabinet so there's no real need -- but you could definitely add pockets on one side for your hand to fit in or a hanging loop to the outer edge.
Now, for my quilted potholders. I decided to experiment with some decorative stitches to join each piece together. This allowed me to try something new and not have to worry about hiding seems -- which was not possible since I was using already quilted scraps. I chose a couple different patterns and just started sending two pieces at a time trough the machine.

All that was left, was to bind them and I’d have 5 new pot holders to use that were just scraps an hour earlier!

Bring on Day 2!

Friday, July 29, 2011

My New Sidekick

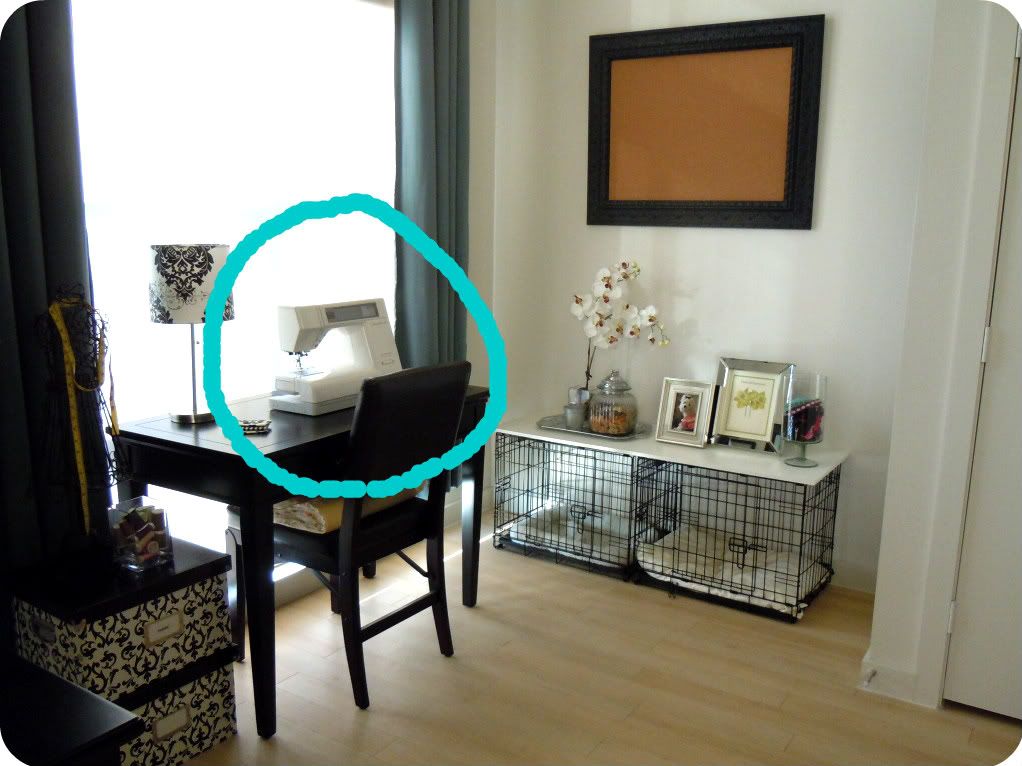
There was one more change in the sewing / dog nook I failed to mention in yesterday's crate update. Did anyone notice? I fully expect the answer to that question to be 'No' without my giant aqua circle pointing out what I want you to see.

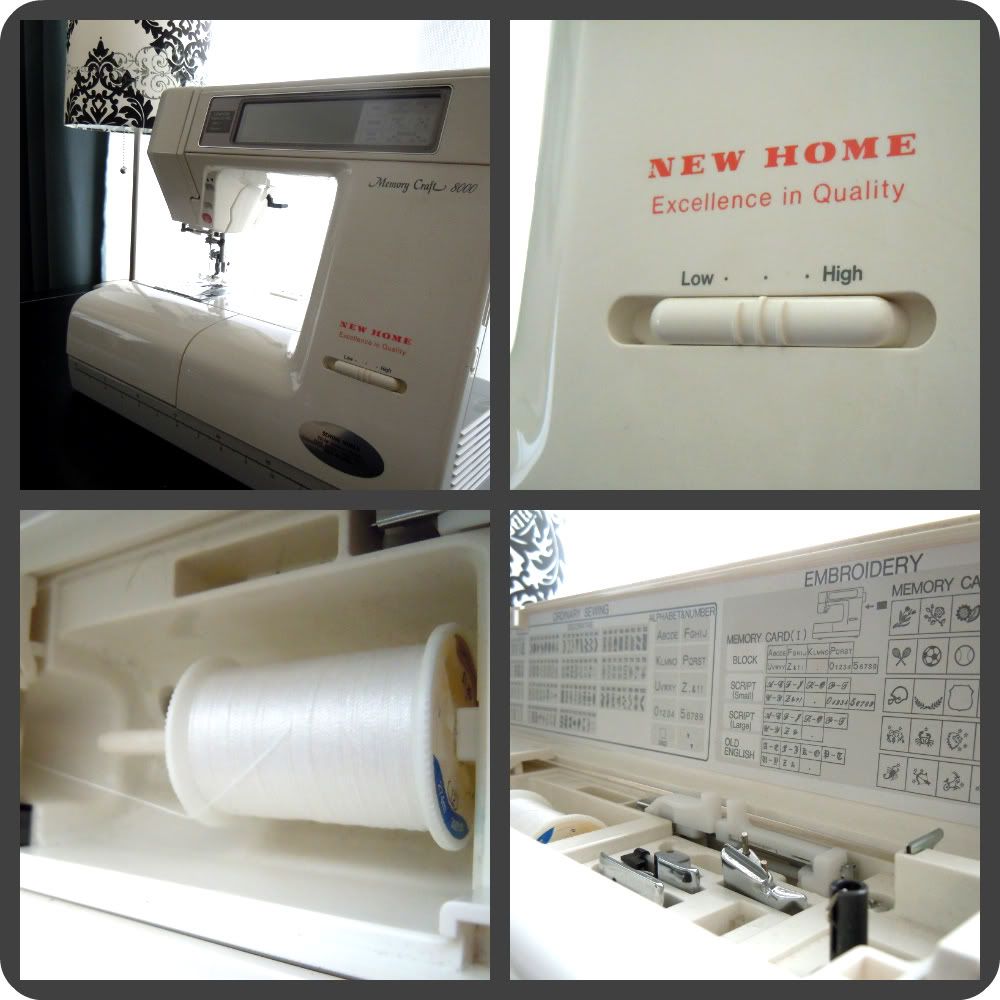
I got a new sewing machine! -- or at least a 'new to me' sewing machine. My wonderful aunt, who so kindly gifted me my first one, heard how much I'd been sewing and enjoying her old machine. She realized she hardly ever used the one she currently had, which was a few models and gadgets better than mine, and thought I might get more use out of it. So, she proposed we swap -- she'd take her first machine back and I'd take the newer, more fancy one. Sold!  I was so excited to have even more choices and options to pick from -- not that I'd fully tried all that the old machine had to offer -- but still, in my mind this one had even more potential.

I soon learned that more potential also equals a much longer learning curve.  Although this swap took place a couple months ago, I am still trying to get used to this machine. It isn't significantly different when it comes to choosing a stitch, winding the bobbin, threading the needle, etc., but it just has a different 'feel' to it that I'm trying to get used to. This has meant more time learning and figuring things out and a little less time completing full projects. I think I've finally got the basics down and learned a few new tricks, but still have a long way to go and lots to discover. 

One thing I'm very excited about eventually learning is the embroidery feature. This is an area I have not dared open in the instruction manual yet, but can envision using on many projects down the road -- once I'm brave enough to learn it! So, prepare yourself to see many future sewing projects with some sort of initial, name, picture, etc. embroidered on it. And, without further adieu, here is the machine that can do it all!

Ain't she purdy -- and also a little complicated and intimidating all at the same time? I definitely thought so for a few weeks. But, now that I'm feeling a little more comfortable with the new girl, I have a lot of sewing projects I plan to cross off the list.  I'm even contemplating a 'Seven Projects in Seven Days' challenge to get me going -- but I have yet to commit. Maybe the weekend will give me some motivation...

Happy Friday to everyone!

Thursday, July 28, 2011

A Great Crate Update

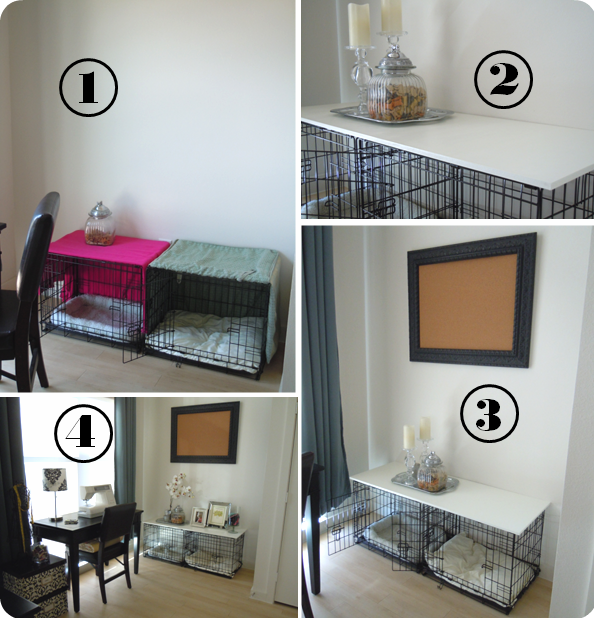
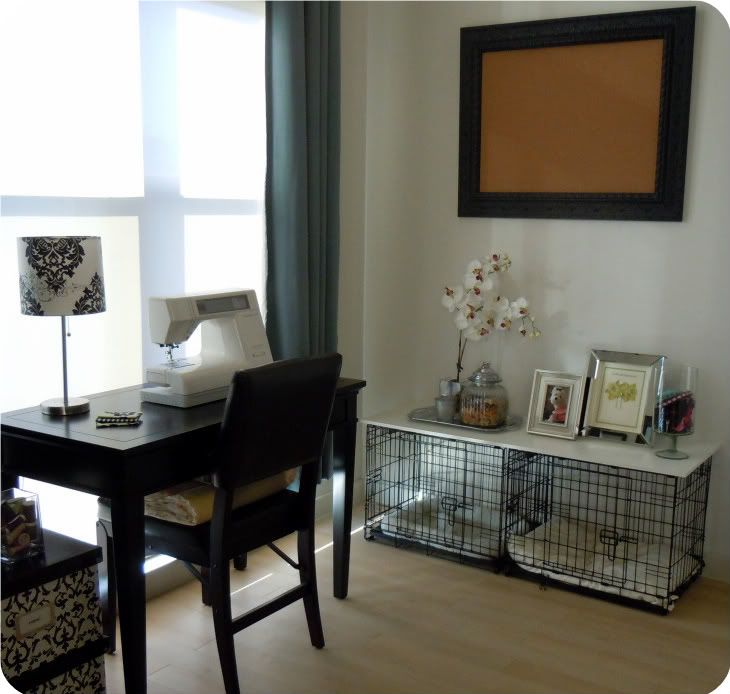
I've been making progress on the great crate project and slowly transforming this once hideous space to a slightly less hideous space.

1) the 'before' and reason for the much need crate makeovers
2) bought a piece of mdf board from Home Depot and had them cut it down to the proper size.  Because I'll be attaching fabric to the underside, I had each edge cut about a half inch bigger than the actual crate dimensions. While I was there, I purchased white paint samples, water based protective top coat, a small grit sanding block, and a tact cloth. To paint the board, I lightly sanded the sides and top, wiped it down with the tact cloth -- best dusting rag ever, btw! -- and applied a thin layer of white paint using a sponge roller. Once it dried, I repeated the whole process -- sand, wipe, paint, dry, sand, wipe, paint, dry.  I think I did this a total of three times to get the coverage and look I wanted. Then, I repeated the same process with the protective coat using a craft store sponge brush -- sand, wipe, paint, dry, repeat x3. It may have taken a bit of time doing it this way, but it looks so great and no paint has chipped or even scratched.
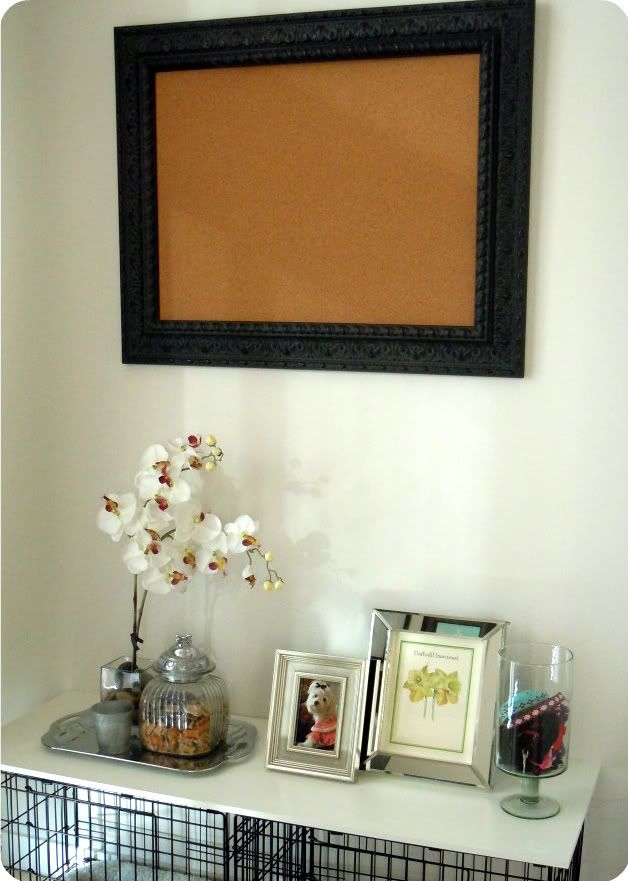
3) I found this memo board at Hobby Lobby during one of their 50% off wall decor sales -- I know these happen ALL the time, so this find is not that surprising.  Once I make decisions on fabric, I'll dress this up with some pretty colors and ribbon that coordinate with the crate covers.
4) added a few more accessories to make it look more like a table and less like a painted piece of mdf just sitting on top of two dog crates.

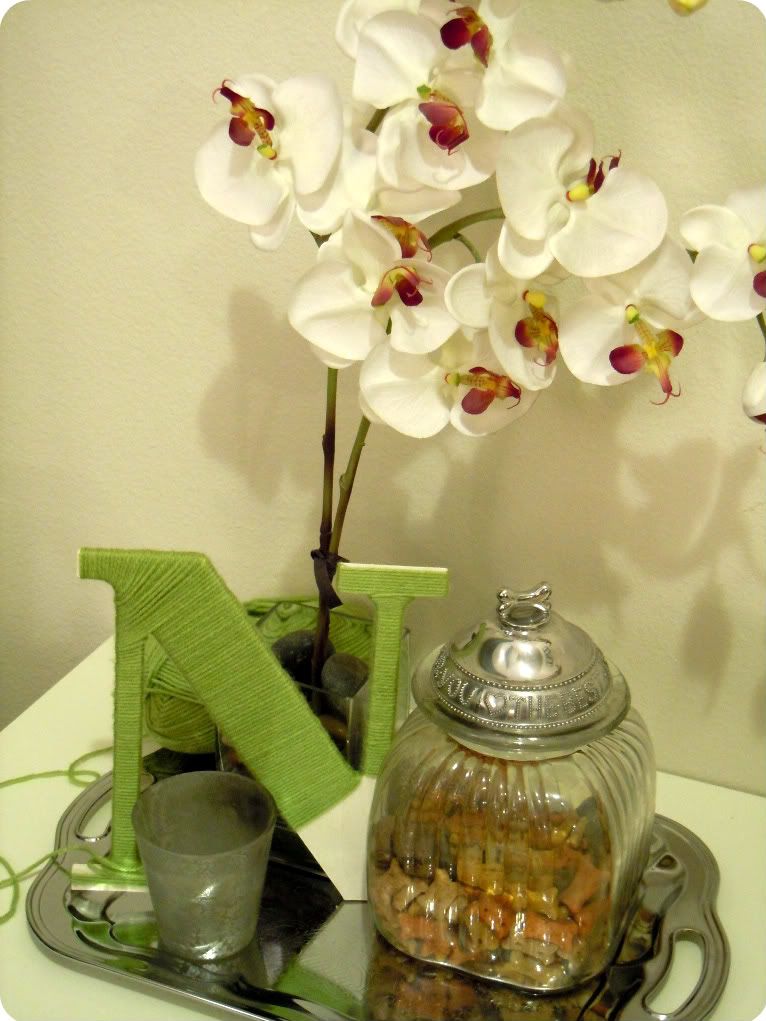
I've been working on a few other projects to personalize the space for the two pups. A sophisticated green yarn covered 'N' for Nolan...

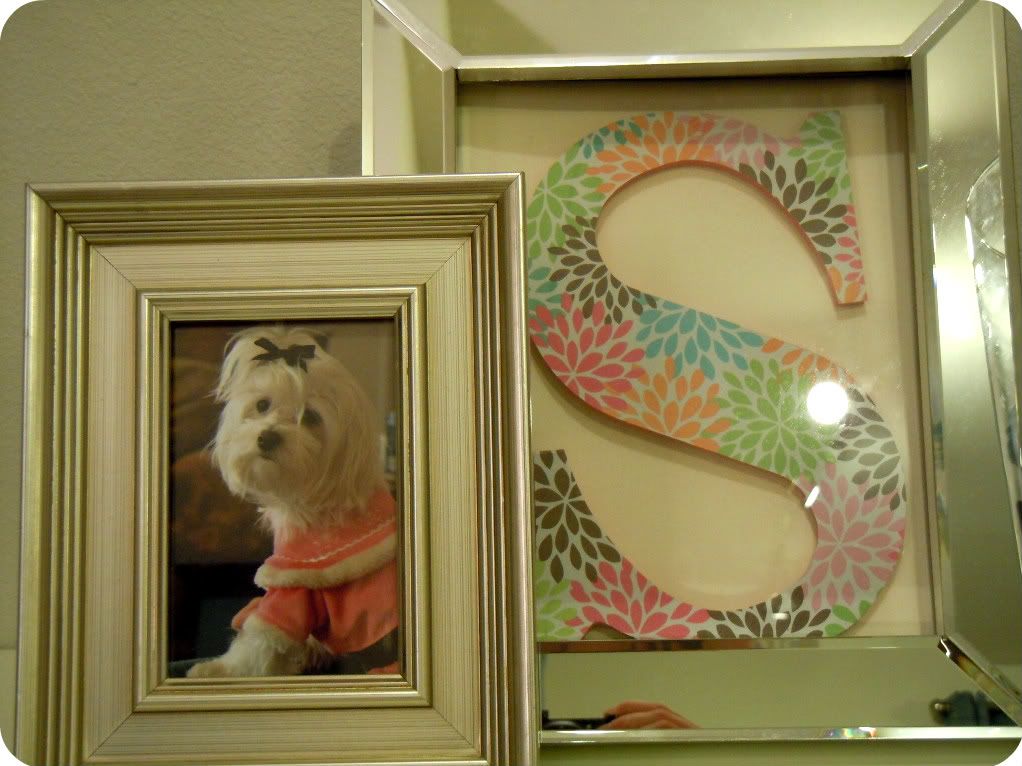
...and a brightly colored 'S' for spunky little Shiloh. Don't be fooled by the picture below. That actually is Nolan sleeping in Shi's crate. He loves to go in there during the evenings after Shiloh has been in it all day. I guess he just likes her pillow better.

So those are the latest crate updates. I think I've finally made a decision on fabric to go around the crates, so hopefully it turns out as great in real life as it does in my head!  Best part, it will be 100% free for me!


Wednesday, July 27, 2011

Christmas in July

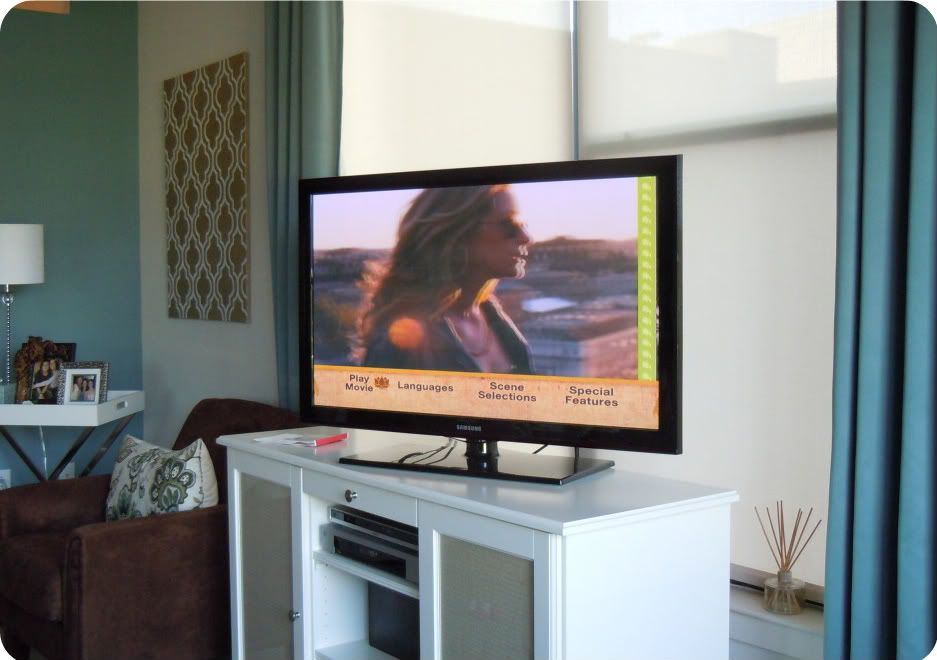
I had the urge to start a puzzle last night -- strange, I know. I’m not sure if it’s because Netflix had delivered a girly movie and I needed an activity to go with it, or was having puzzle withdrawal -- I’ll explain in a minute -- or because I have a newly rearranged apartment with a full size table just begging to be covered with stuff.  Whatever the reason, I put in “Eat, Pray, Love” and dug through my puzzle stash. 'Stash' may be exaggerating a bit. I actually only own two puzzles at the moment and both are Christmas themed. But, I figured a puzzle is a puzzle so why not?
Me and Christmas puzzles actually go way back.  Since 1991, my family has put together at least one Christmas puzzle during the holidays -- at a minimum, that's 20 puzzles so far! Some years we felt ambitious and did more than one.  We would then add the date to the front of the puzzle, glue it together, have it framed or mounted, sign the back and hang them up each Christmas.  It’s so nostalgic to see them all over the house during the holidays and marvel at how the collection has grown over the years.  So, despite the fact that it is 100+ degrees outside and we’re still in the month of July, busting out a Christmas puzzle felt all too familiar.
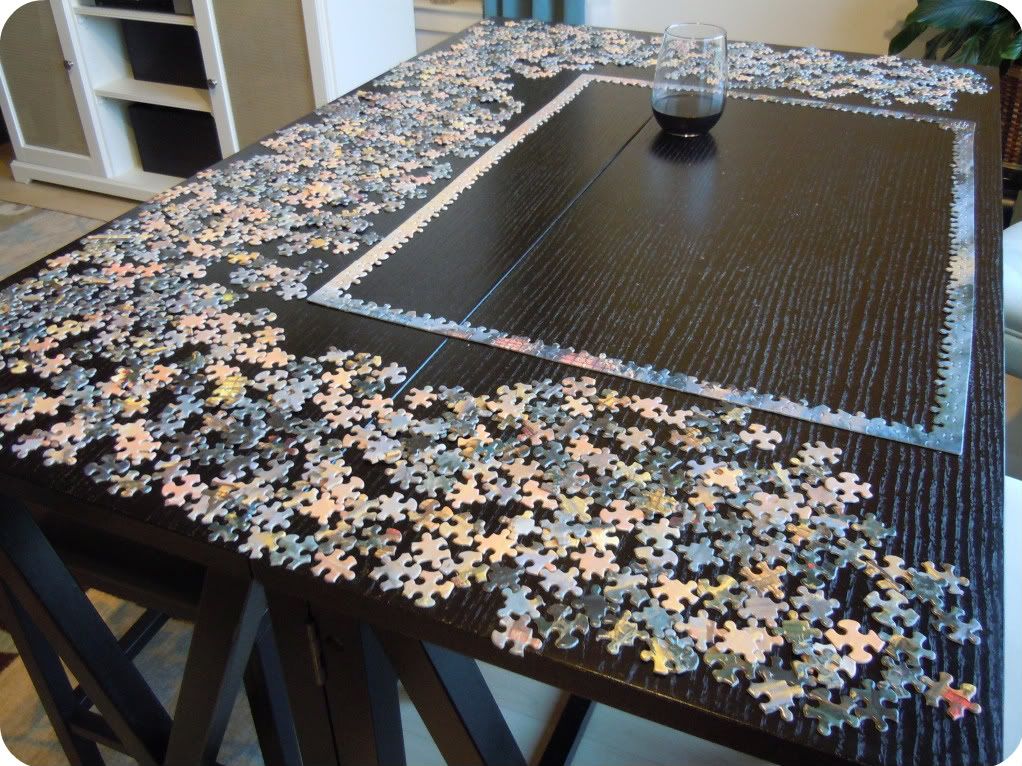
Once I decided on a puzzle, I started the slow process of laying out each piece and dividing them into the edge or middle piles. I highly recommend a movie, music or some sort of entertainment during this part -- going through a 1,000 pieces can become a pretty mundane task without a great movie playing.
I did begin to worry if all 1,000 pieces would fit on my table. Although it's larger than it has been, it is by no means a big table. Luckily the box was emptied just before I ran out of space.
I even managed to get the border put together so I'm confident the whole puzzle will fit just perfectly. And, with those pieces pushed so close to the edge, I have more motivation to get them put together. I must have dropped at least five pieces last night and both dogs ran for them like steak just hit the floor. It'd be terrible if I got to the end and discovered they'd eaten one fallen piece!  
Oh, and apparently I decided wine would be the perfect complement to a movie and puzzling -- that part is completely optional  J 

Although it's still summer and a somewhat nontraditional start, I'm excited to begin my very own Christmas puzzle collection.  I didn’t get too much further last night, but I’d love for my 'Christmas in July' puzzle to be finished before August.  Hopefully I can con some weekend visitors and my sweet boyfriend into helping me  J 

Thursday, July 21, 2011

After the "After"

I have a problem -- I just can’t leave things alone.  After rearranging my apartment, I decided to rearrange again.  It wasn’t anything too drastic, but I think it helped make just about everything functional and serve some sort of purpose rather than being there because I had nowhere else to put it.  Before showing more photos of the second round of changes, I will warn that a few tweaks have been made since, all for the sake of improvement J
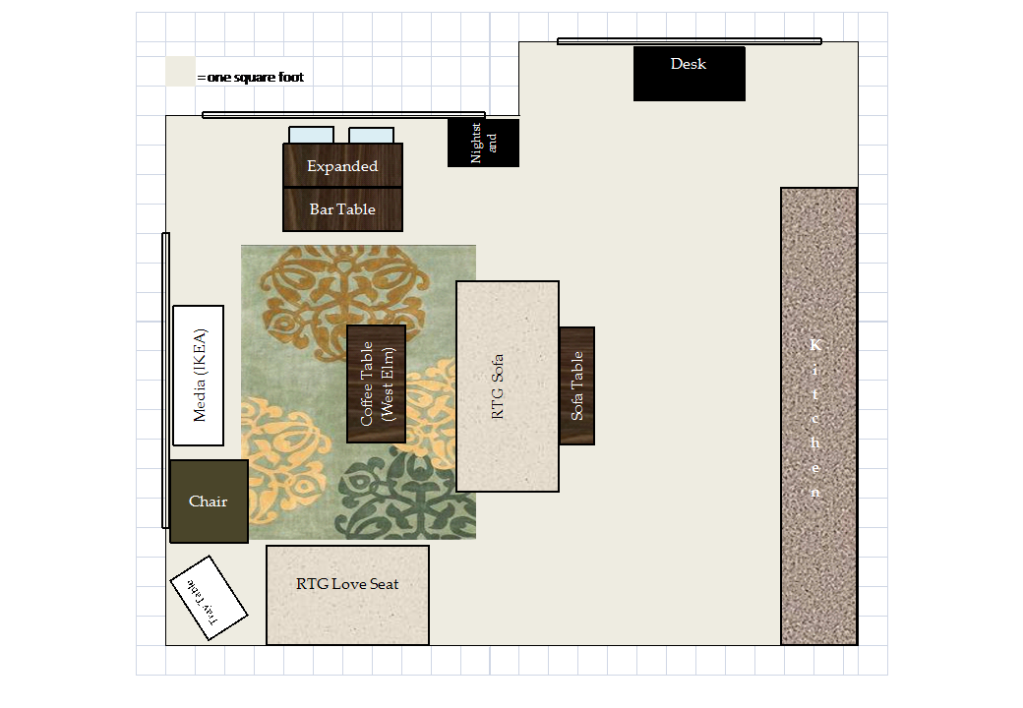
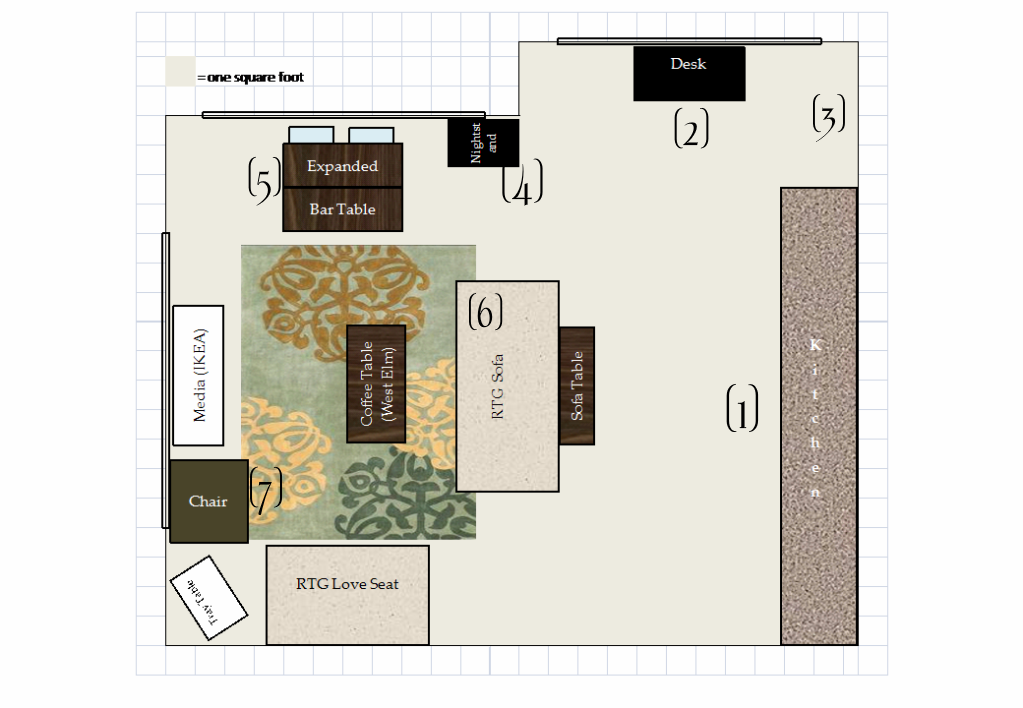
Because I hate to do things without my tried-and-true homemade furniture planner, here is a preview of the furniture layout via the lovely excel.
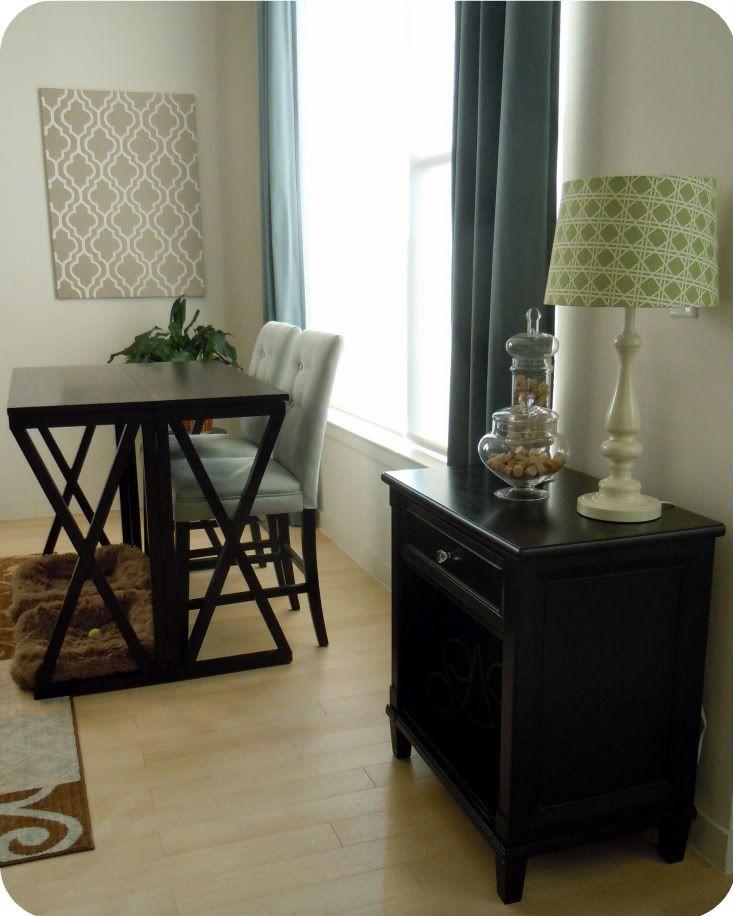
The biggest and most exciting difference is that I can expand the bar/table and have more than two people sitting at a time.  The lovely nightstand -- forever moving and changing roles -- is now in the “dining area” and has changed jobs to become a wine bar.  It fits so much better on this side of the apartment and actually serves a purpose now.


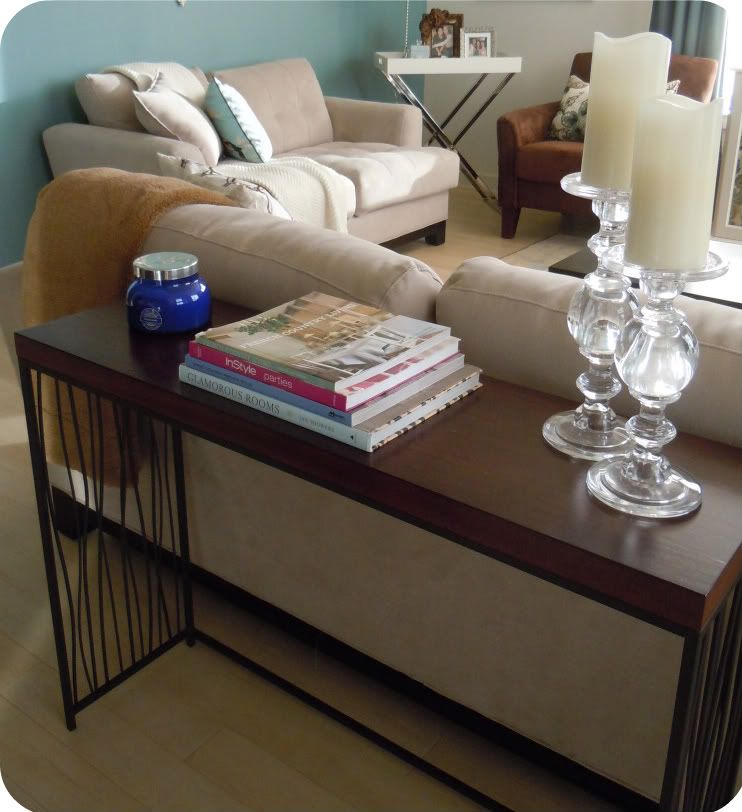
Another pleasant surprise with this layout is the sofa table which now rests behind the often used couch. This is the perfect spot for placing drinks and remotes while relaxing on the couch without having to lean in for the coffee table.
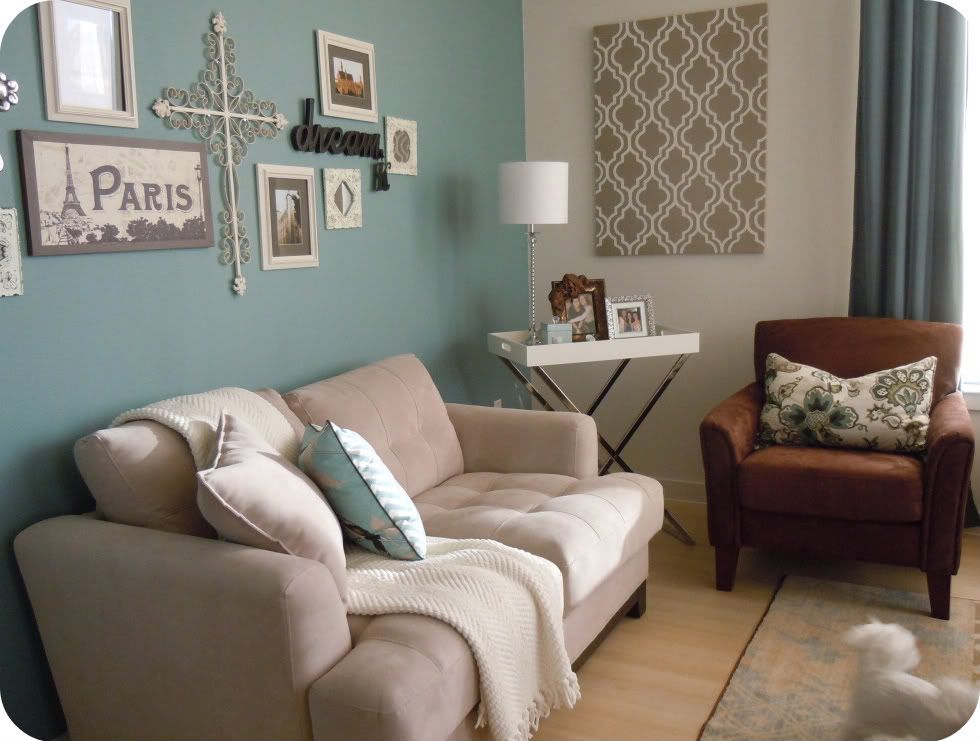
The loveseat is still within TV viewing range -- just opposite where it used to be. The chair is now next to the TV, so not optimal for viewing, but perfect for chatting or having coffee and flipping through a magazine on a Saturday morning -- one of my favorite pastimes.

All in all I am thrilled with the change and love having a full table once again.  I even celebrated the occasion by having some friends over for dinner and we were all able to eat together without two people on their knees at the coffee table. Win!  Also, I get full use of the table for sewing once again. This is seriously the perfect table for cutting fabrics and laying everything out while working on a project. 
Now, for some changes that have taken place but not pictured. 

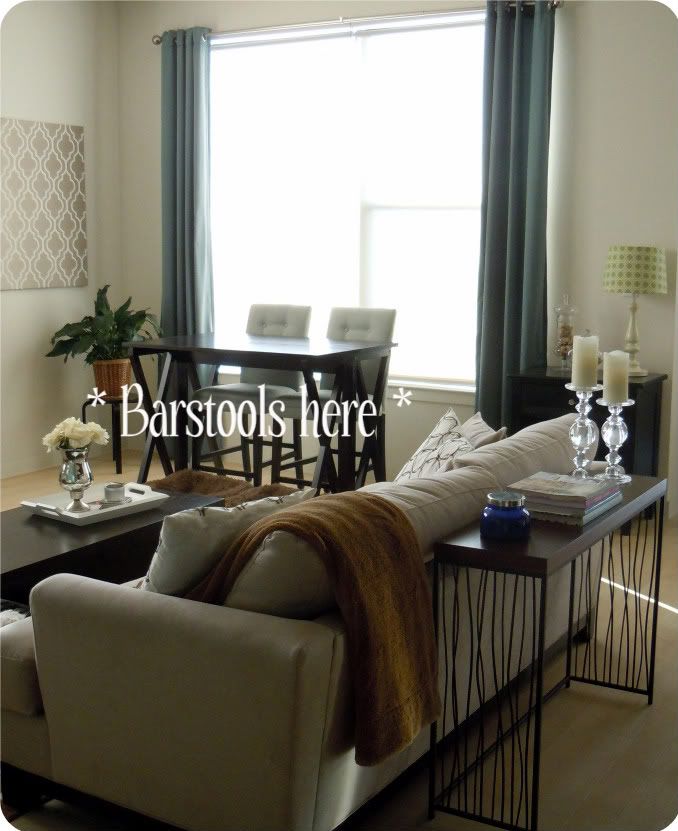
These lovely barstools -- scored on sale from Target for just $19 each -- have found a home at the table on the side facing into the living room. I am loving this option for two reasons: 1) the fit completely under the table without obscuring any walkways and 2) I didn’t want two more identical barstools because of cost and fear of non-coordinating colors.  I have always loved the mixed chair look, so why not apply it to a bar height table as well?!  I have visions of making them over one day with some fun fabric and more cushion --maybe even joining them together to make a bar height bench.  We shall see…
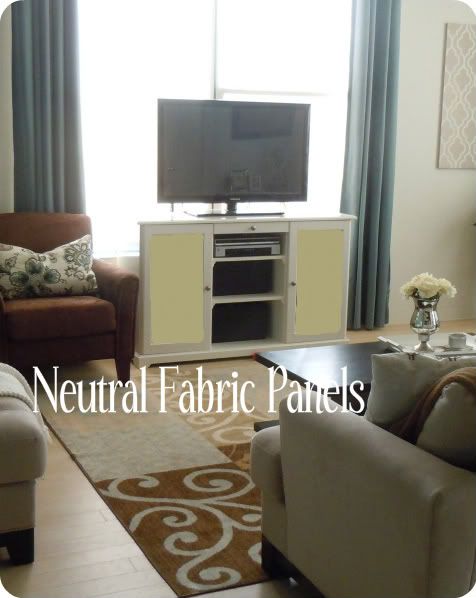
Another change I’ve made is to switch out the media cabinet fabric. With such a busy, patterned rug, I think the whole look is just too chaotic. I still struggle with how to bring in more patterns without competing with rug, and I just gave up on this fight. The fabric now is a neutral tan and much calmer next to the busy rug.
After this final furniture arranging session, I have realized just how many purposes this one room serves!
1) cooking, 2) sewing, 3) dog home, 4) wine bar, 5) dining, 6) TV watching 7) reading
Makes me feel a little less crazy for constantly switching things around -- hopefully they stay put for the long haul J