


The last thing I had done with my t-shirt quilt was decide on a quilt layout and roughly cut around the images of the shirts I planned to use. You can see that process here and how I was left with this pile of shirt pieces.

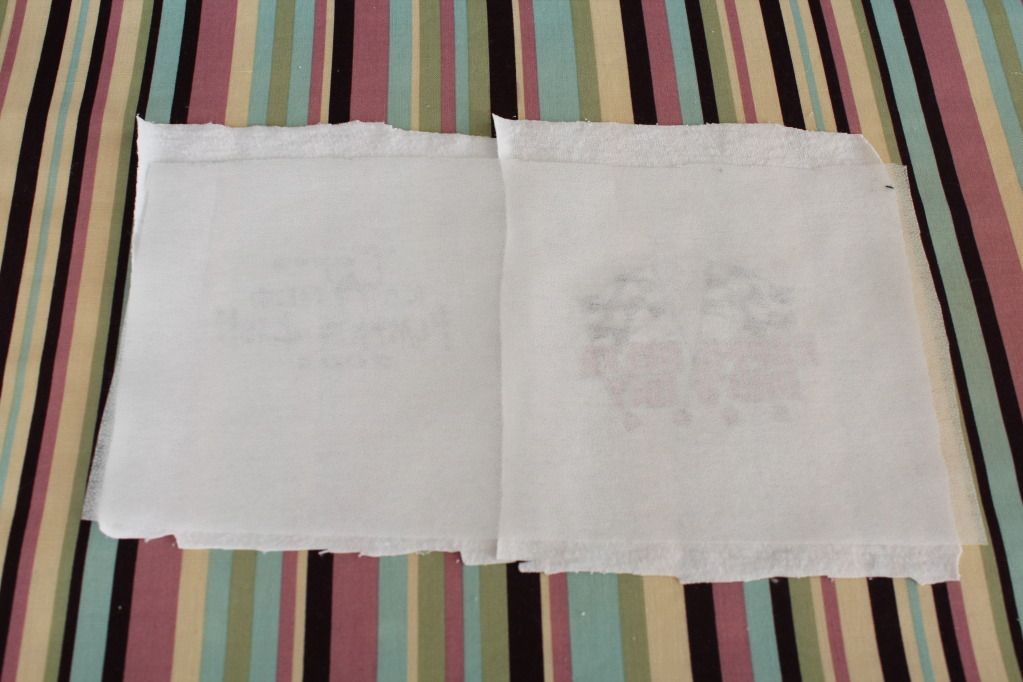
Since t-shirts are a more flexible fabric, it's important to line the backs of them with a stabilizer to keep them from stretching too much and losing their shape. I used a lightweight fusible interfacing that I found at JoAnn's for this step. How much you need depends on how large your quilt blocks are going to be and how many shirts you are using.

To adhere it to the back of each shirt, I grabbed a t-shirt square and laid it face down -- in this case, I was working on the smaller front pieces so I did two at a time. Roughly cut a piece of interfacing to lay on the back, making sure it covers all your fabric, or is slightly larger than the size you plan to cut.
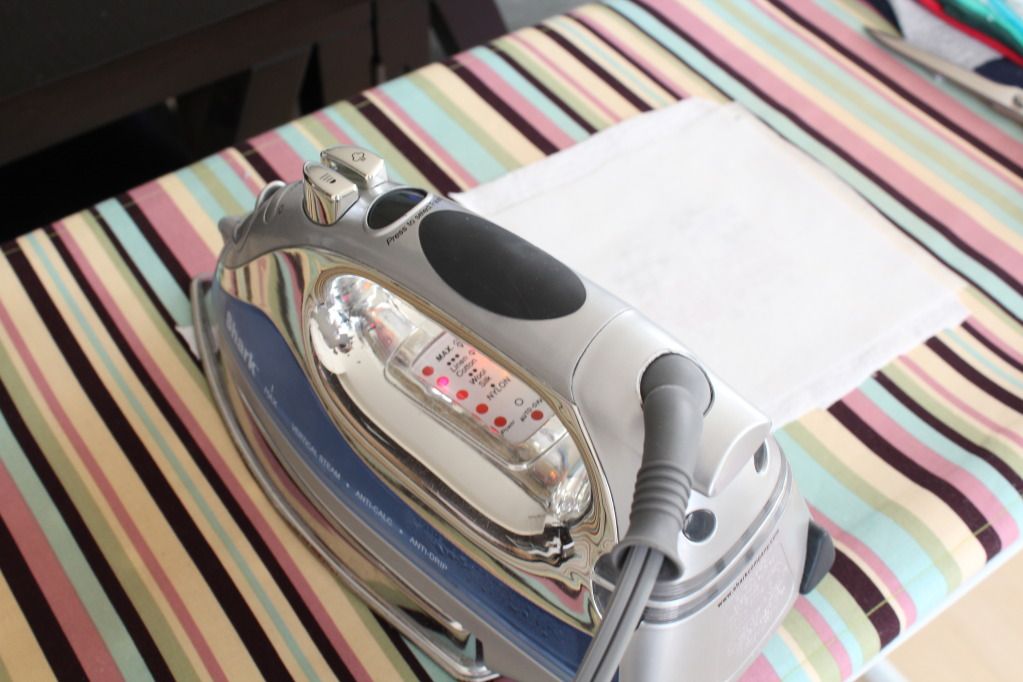
Use your iron and press the interfacing to adhere it to your shirt. Move your iron over the different parts of the interfacing until all of it has adhered. Some things to note: pressing is important over ironing because the interfacing itself has a textured surface and your iron does not glide across it well. You also want to make sure you are not pressing the front of your shirt because some of the printed parts could melt from the heat.
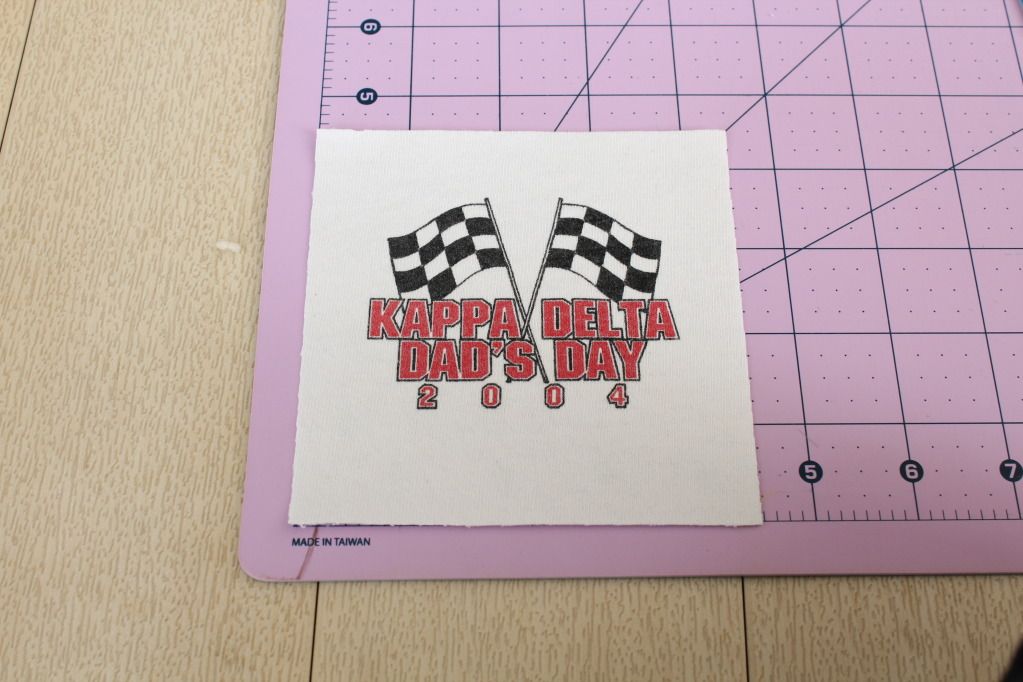
Once the interfacing has been added, you can cut each block to the desired size. I mentioned in my first post that I had planned to use 12" blocks, so my cutting ruler was 12.5" by 12.5" for the full quilt blocks and 4.5" by 4.5" for the smaller ones. For the blocks which contained three long pieces, I cut them 12.5" wide by 4.5" tall.
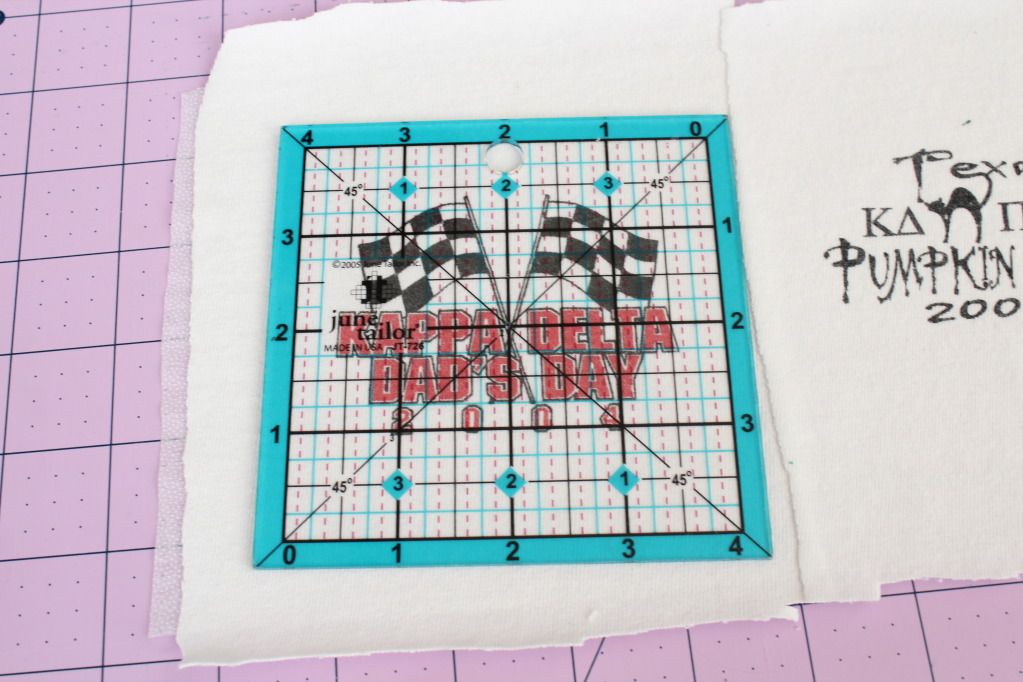
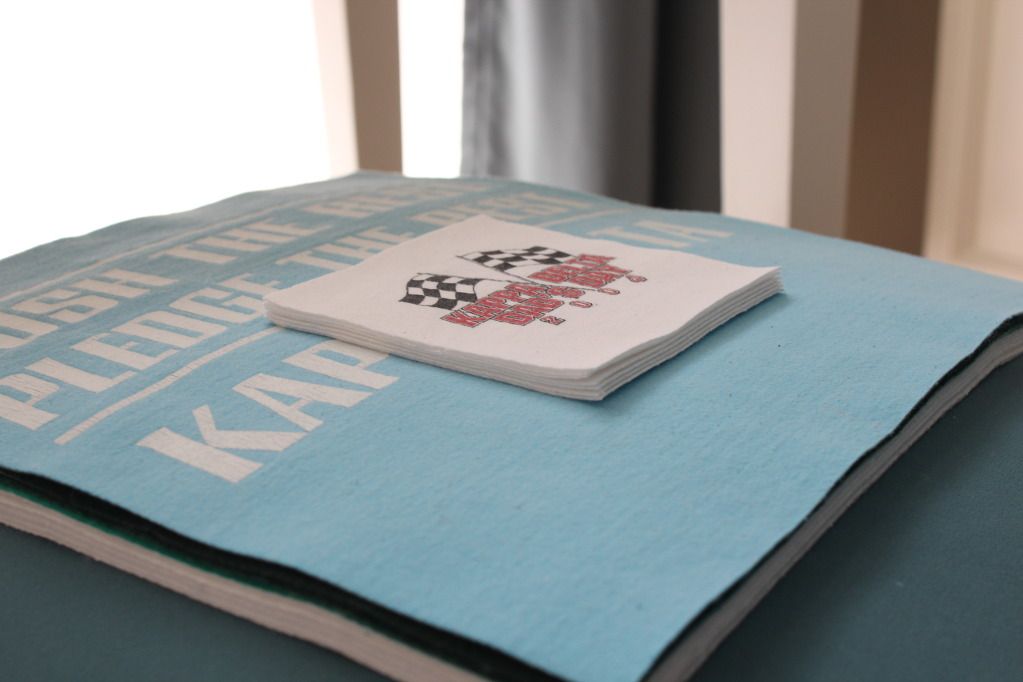
I used the grids on my square template to try and center my block as much as possible. I also tried to make sure that any wording wouldn't end up slanted by aligning it with one of the grid lines. This image was one of the few that was easy to line up but for some shirts -- especially ones that are really worn -- the image will be skewed no matter what, so just try to make it line up as much as possible.

Repeat these steps with all of your t-shirt fronts and backs until you have a pile of quilt blocks ready to go.
Next up, piecing together the quilt top!

No comments:
Post a Comment