Showing posts with label family. Show all posts

Thursday, January 12, 2012

Holiday Happenings, Part 3

I mentioned in July that I was starting a Christmas puzzle. It's a tradition we do each year in our family and I thought it'd be fun to slowly get my own collection of puzzles started.  I did finish it during the summer, but since it was meant to be glued and displayed for the holidays, I thought it'd be appropriate to show it off now. And of course, it wasn't as simple as put puzzle together, glue puzzle, and frame it, so here's the run-down of what happened.

Before many of the pieces found their mate, the sprawled out puzzle had a tough time fitting on my little table. I feared then that the puppies would quickly devour any piece that fell on the floor since they're used to tasty food crumbs falling in that general area, and sadly, I was correct.  By the end of the puzzle, two pieces were quite obviously missing.


I found some teeth marks on one piece I rescued from the floor, so I'm positive the puppies enjoyed chewing on them and pretty certain they were the culprits behind the two missing pieces.  Since the spots were in such obvious places, I knew if I wanted to keep it, I'd have to try and create my own pieces to disguise the holes, or order a new puzzle and sort through each piece until I'd found these two.  As a family, we have done this before, and I was not looking forward to doing it once again. 

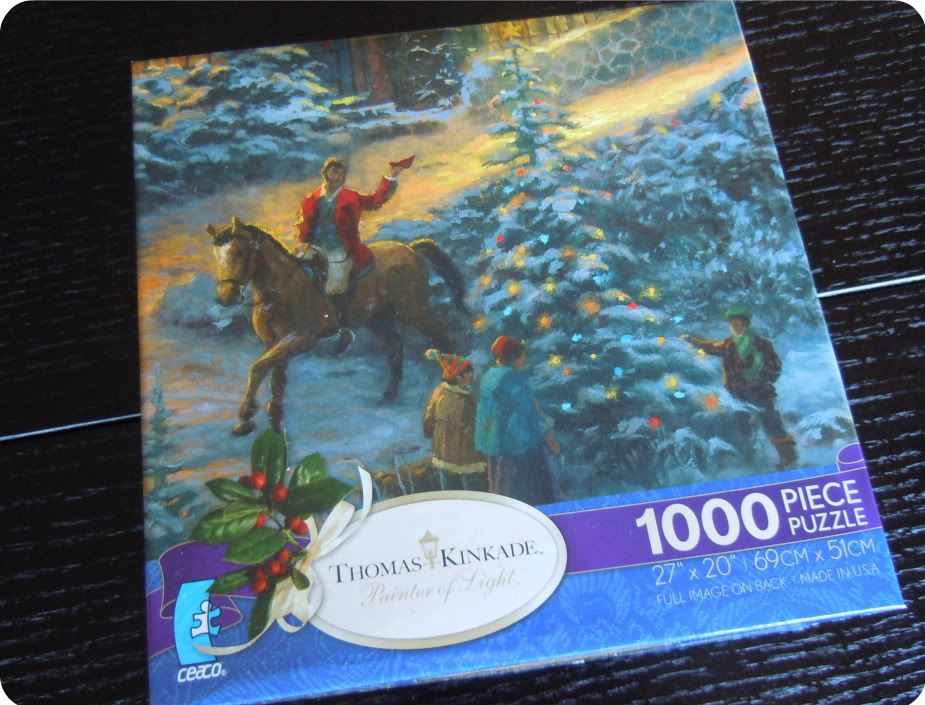
So as I was cleaning one day, I picked up the puzzle box, and noticed the front did not show the entire picture, rather it was zoomed in on a spot. And not just any spot, it happened to be zoomed in on the area where my two pieces were missing!  I brought it near the puzzle to see how the sizing was, and you can see by looking, they were pretty exact.


I decided to cut the top of the box so I could flatten it and see how the colors would look if I somehow used them to fill in the missing pieces -- lucky for me, the missing pieces were hardly visible!


With the top positioned under the puzzle holes, I started to trace the missing shapes.


I cut out each piece slightly larger than I traced so it'd be snug fit -- as if it were a real puzzle piece -- and then used a wet cloth to wipe away the trace lines.  The pieces were cardboard, thanks to the box, but not quite as thick as the other pieces. I contemplated backing them with something, but figured once it was glued, they'd stay in place like all the rest.


Here they are filling the missing holes and wouldn't even be detected without those circles highlighting their spot!


Once I was happy with how they looked, I started gluing it together. I placed it on a white poster board and applied two layers of Mod Podge and let it dry completely.  With the white poster board on the back, it'll be easy for everyone who helped put it together to sign their names -- which has always been part of our tradition.  It's always fun to go back and see how handwriting has changed and what the little messages are each year. To keep them in order, we always date the front as well. 


I didn't have a chance to frame it before the holidays, so next up is looking for a frame sale so I can get it completed.  For now though, I am content knowing I have officially started a Christmas puzzle tradition of my own! Hopefully I can keep it going year after year like I did growing up :)

Wednesday, August 10, 2011

O no U Didn't

Today's project was a completely new venture for me.  For one, it involved sewing clothing which I have never even considered doing before now. Secondly, because it was clothing, the fabrics were all new to me, knit and silk. Lastly, it involved enemy colors -- crimson and cream. As a Texas grad, I bleed orange and loathe anything maroon or crimson.  But, in the name of sisterly love, I got to work making a gameday outfit for my little sis.

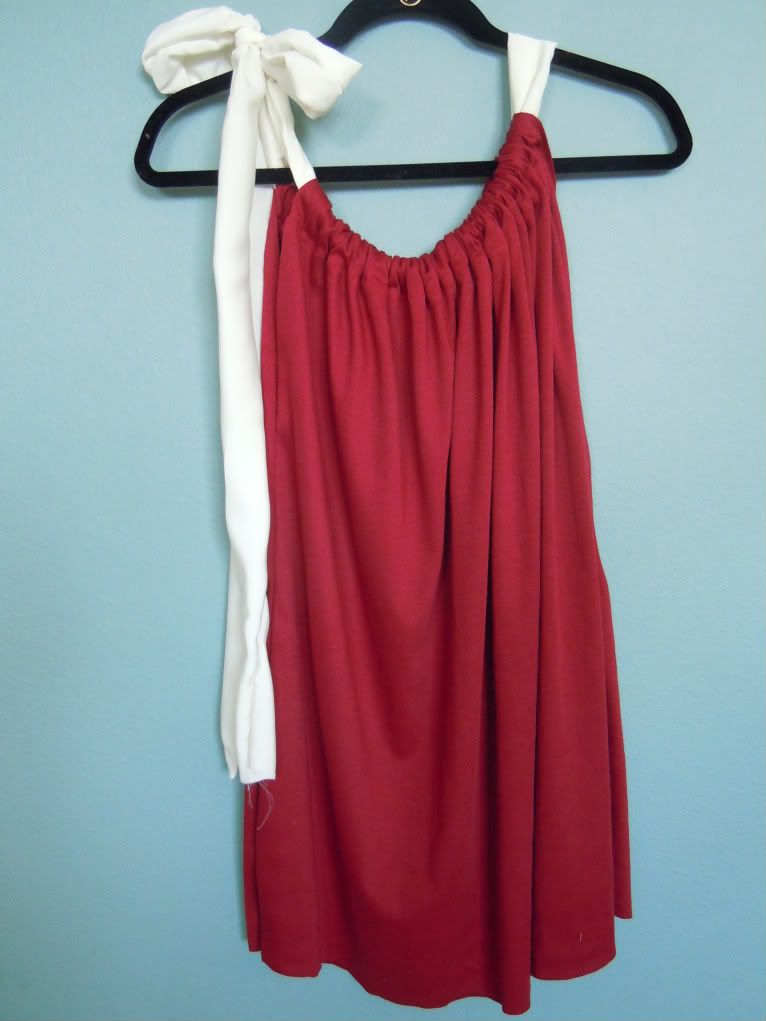
I came across this amazing blog a couple weeks ago called Sweet Verbena.  This girl is so great at inspiring and explaining things that I decided even I could sew clothes -- I overlooked the fact that she went to A&M :) We'll just call today 'Rival Inspired Sewing Day'.  But, back to her blog. She has this great bow tie shirt tutorial that looks as equally simple as it is stylish. So, I decided I'd make my sister an OU gameday shirt.  I won't bother explaining how I made the shirt because Katy does an amazing job and you should really read her blog daily.  After following her tutorial, I ended up with this sweet little shirt.

Once I finished her shirt, I happily tried it on -- overlooking the awful color choice.  It was pretty long on me and my sweet sissy is a good 6" shorter. I double checked Katy's tutorial, did a little more reading and realized this girl is 5'9"!  I needed to cut a good 9" off to get it a normal length for my sister.  I debated cutting and hemming the bottom until I remembered my leftover silk fabric.

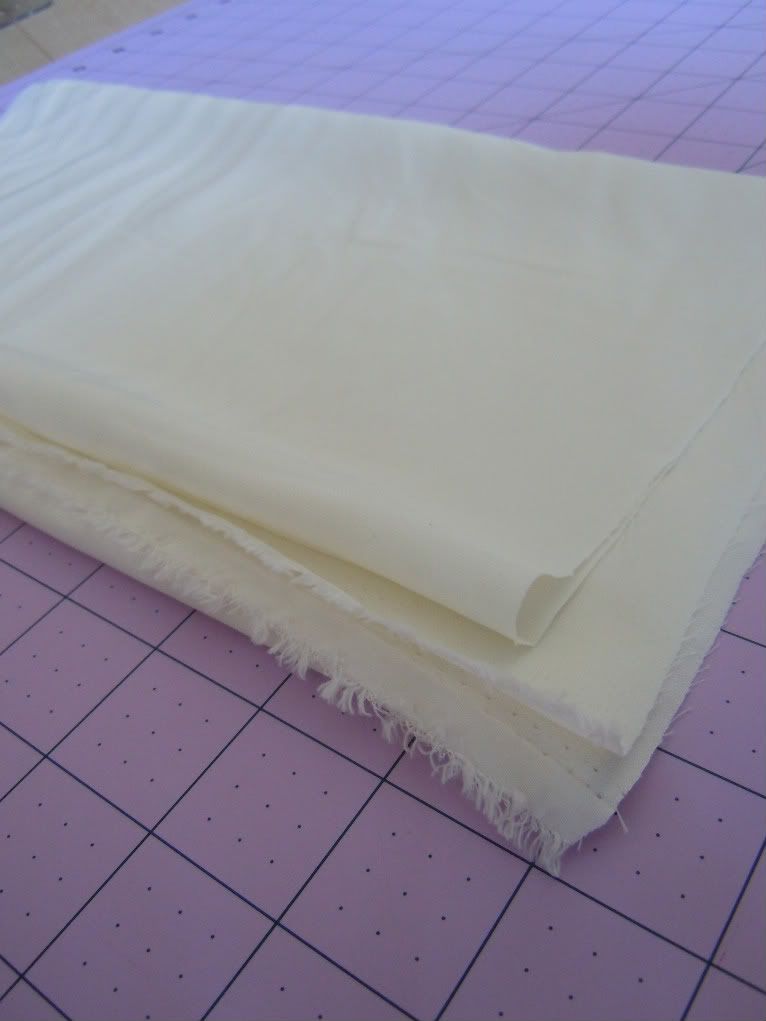
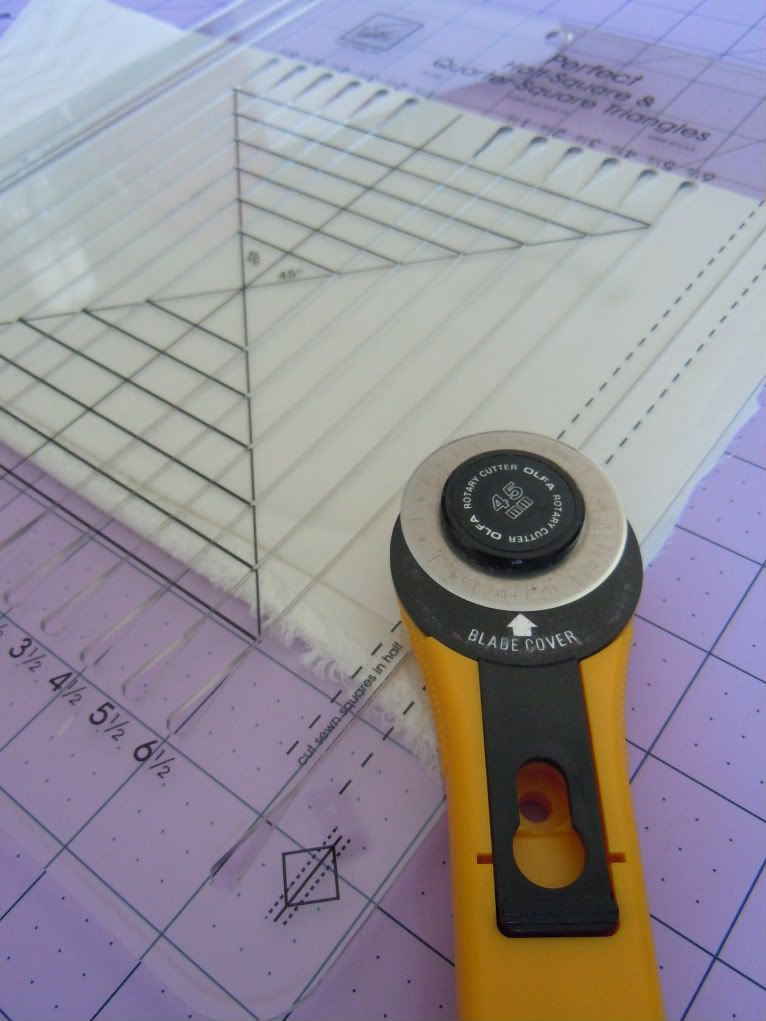
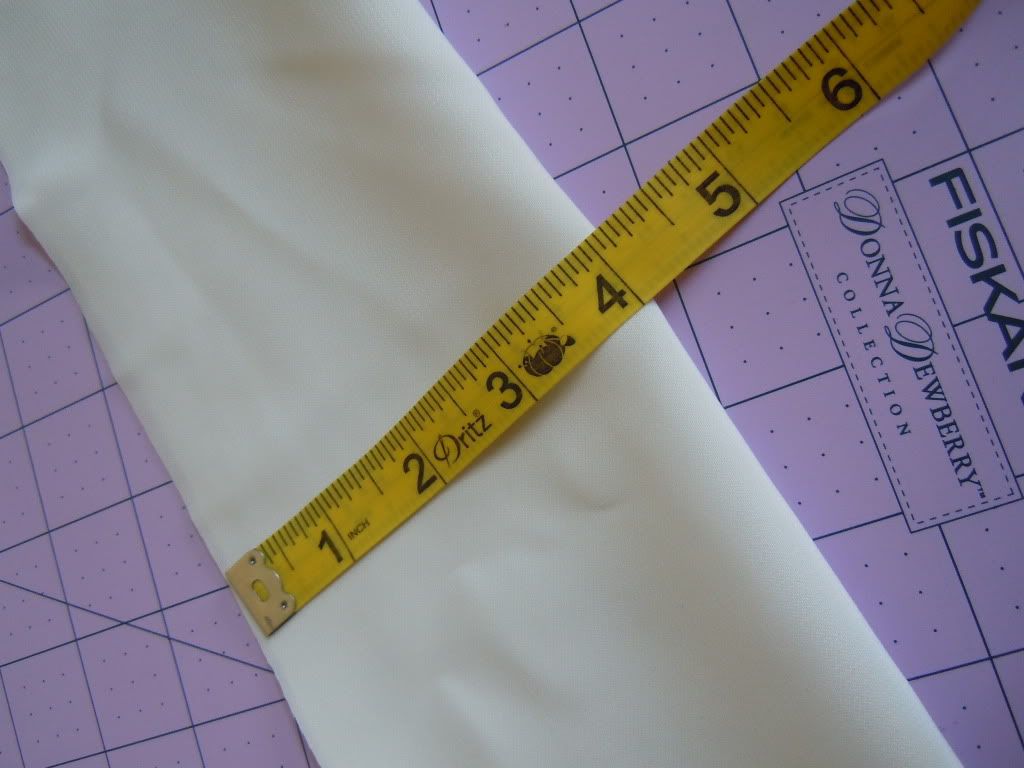
Since it was practically a dress already, I decided I'd rather add a couple inches of material than cut it off.  So, I got to work cutting my leftover silk.  I decided on 4" of length simply by eyeing it while I had it on.  Since the silk is thin and most likely see through in one layer, I cut 8" wide so I could fold it over, wrong sides together, and have a nice finished look.

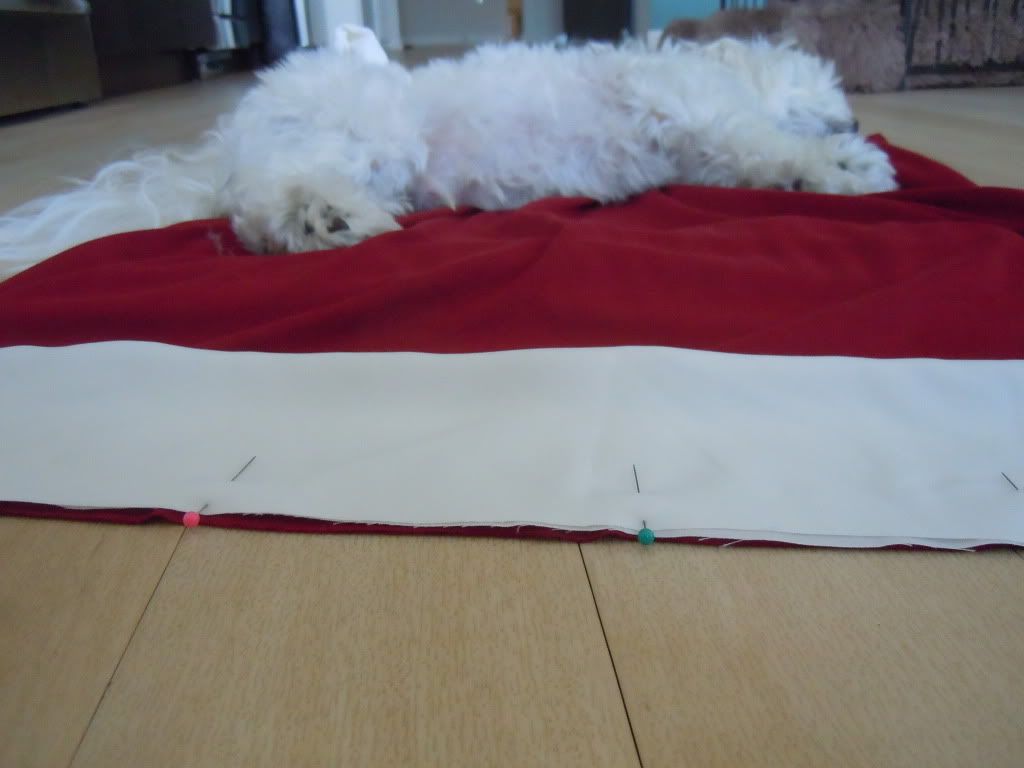
Since I wanted the bottom to look like it had been there all along, I ripped the two side seams about four inches from the bottom so the trim would later be sewn in. With the shirt-dress inside out I laid the right side of the silk along the bottom with the fold pointing towards the top and the raw edge lined up with the raw edge of the shirt-dress.  And, in case you're worried about knit, Nolan clearly approves of it's comfort.

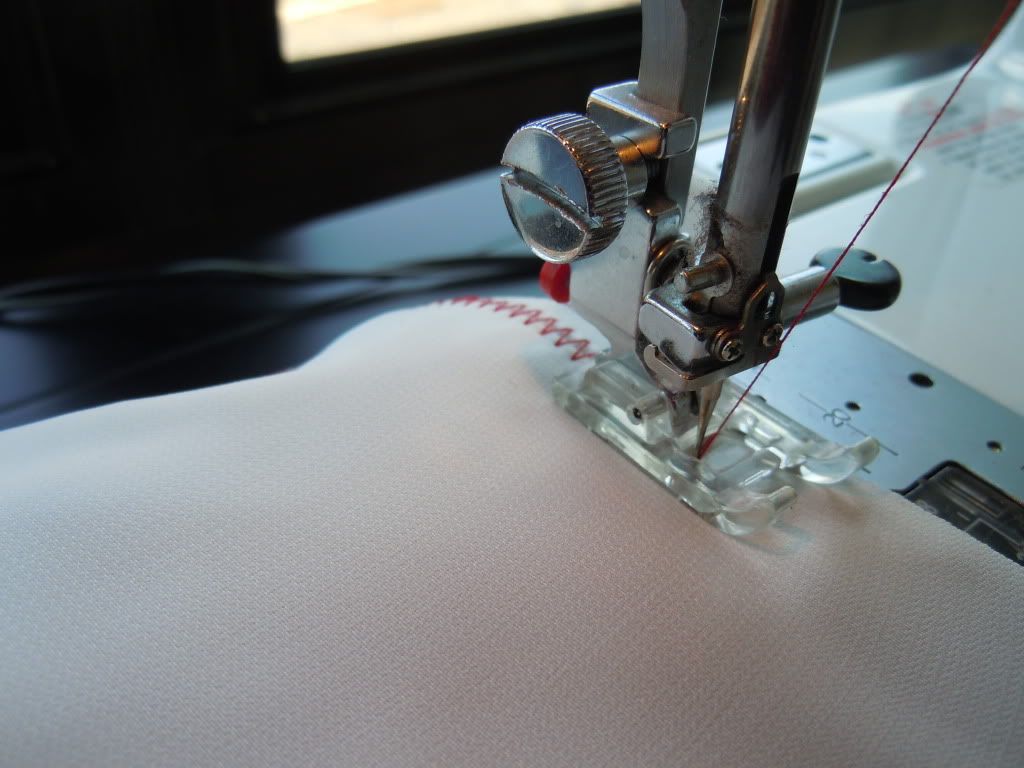
I then used a zig-zag stitch to attach the trim to the bottom of the dress.

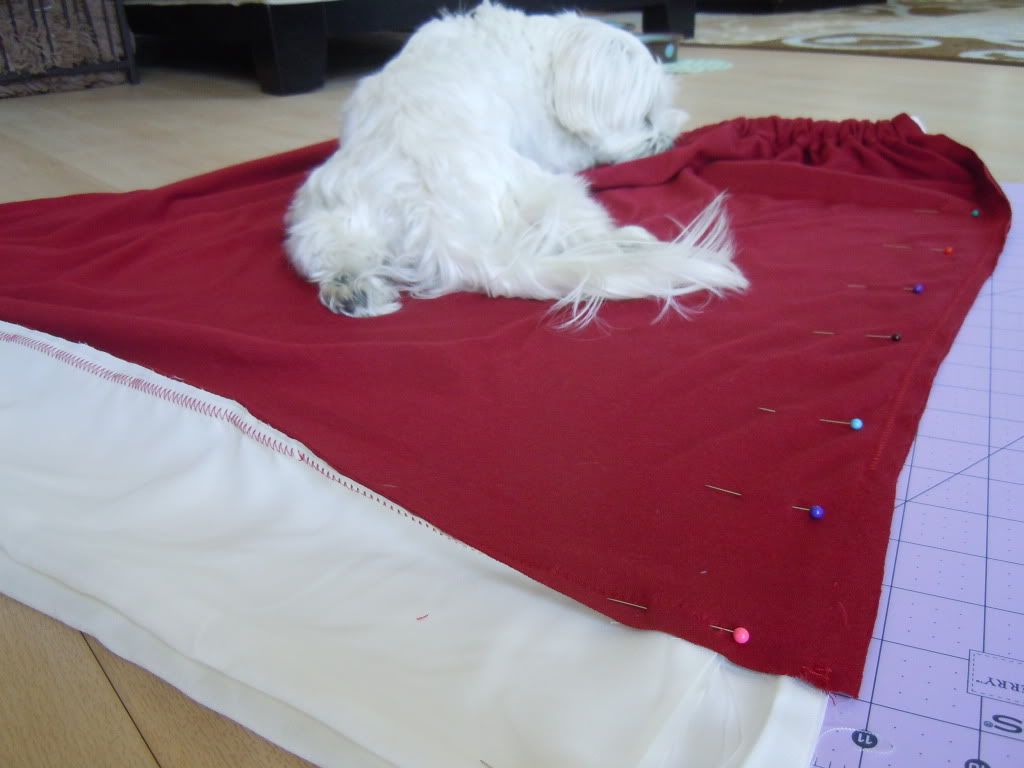
Since I needed to sew up the side seems I re-opened earlier, I tried to dress on once again to see how the width was looking with the extra length. Since my sister is a tiny 5' girl, I decide to take it in a little bit -- you can see below where I repinned and ultimately restitched the sides of the dress. At this point, Shiloh also decided to try out the dress' comfort and clearly approves. I guess I'll be using knit again!

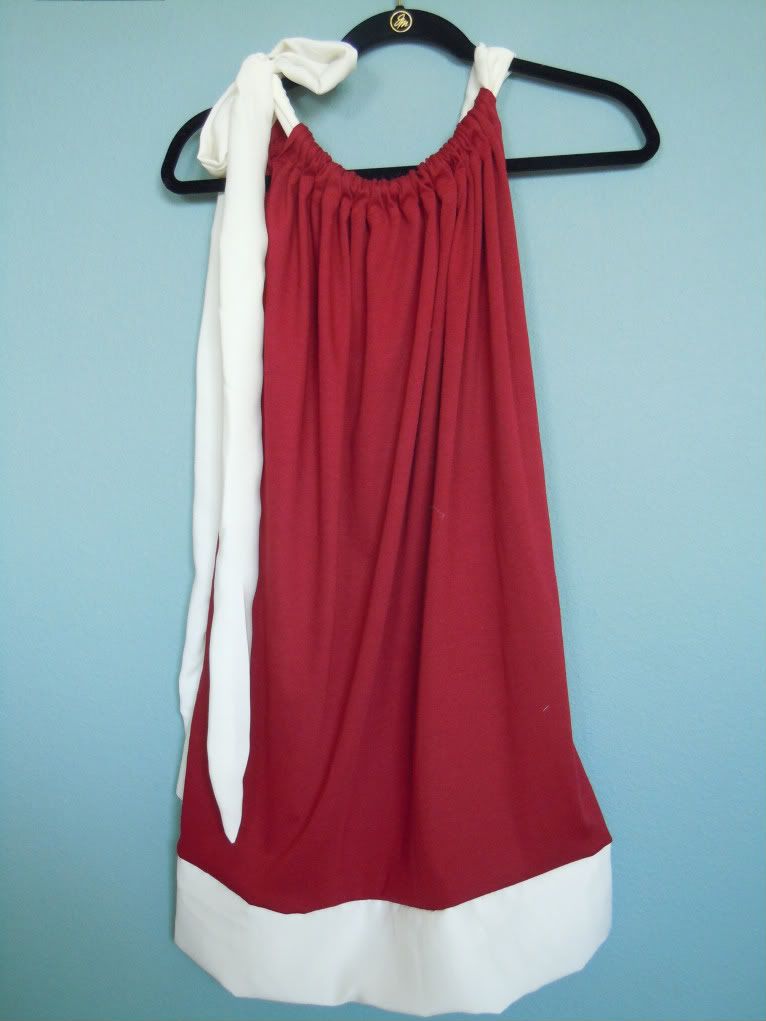
I trimmed the extra fabric from the inside seams to reduce the bulk and I was done. Hopefully Samantha will have a few OU games to attend this year.

Side note: If I had known from the start that I was going to add the silk trim, I would have done this right after making the casing at the top of the shirt and before sewing the side seams together.

p.s. after being overloaded with Crimson and Cream, I decided to get some white knit fabric and various fabric dyes to add some burnt orange clothing to my future project list.  I'll be sure to throw something together before football season starts!

Wednesday, July 27, 2011

Christmas in July

I had the urge to start a puzzle last night -- strange, I know. I’m not sure if it’s because Netflix had delivered a girly movie and I needed an activity to go with it, or was having puzzle withdrawal -- I’ll explain in a minute -- or because I have a newly rearranged apartment with a full size table just begging to be covered with stuff.  Whatever the reason, I put in “Eat, Pray, Love” and dug through my puzzle stash. 'Stash' may be exaggerating a bit. I actually only own two puzzles at the moment and both are Christmas themed. But, I figured a puzzle is a puzzle so why not?
Me and Christmas puzzles actually go way back.  Since 1991, my family has put together at least one Christmas puzzle during the holidays -- at a minimum, that's 20 puzzles so far! Some years we felt ambitious and did more than one.  We would then add the date to the front of the puzzle, glue it together, have it framed or mounted, sign the back and hang them up each Christmas.  It’s so nostalgic to see them all over the house during the holidays and marvel at how the collection has grown over the years.  So, despite the fact that it is 100+ degrees outside and we’re still in the month of July, busting out a Christmas puzzle felt all too familiar.
Once I decided on a puzzle, I started the slow process of laying out each piece and dividing them into the edge or middle piles. I highly recommend a movie, music or some sort of entertainment during this part -- going through a 1,000 pieces can become a pretty mundane task without a great movie playing.
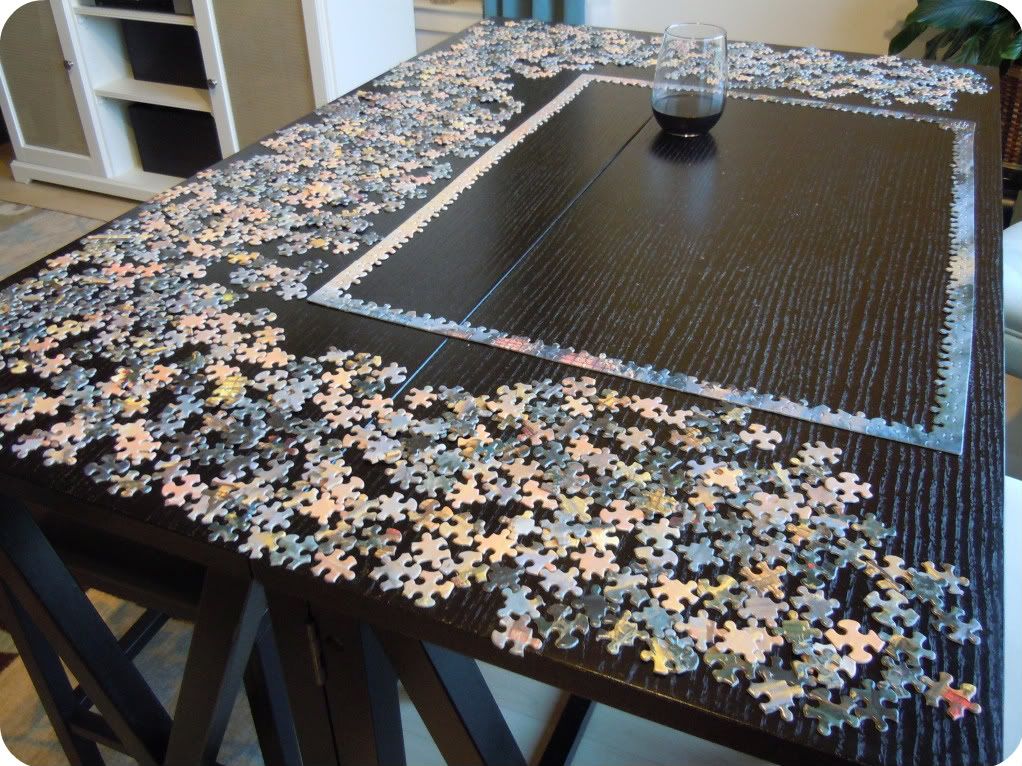
I did begin to worry if all 1,000 pieces would fit on my table. Although it's larger than it has been, it is by no means a big table. Luckily the box was emptied just before I ran out of space.
I even managed to get the border put together so I'm confident the whole puzzle will fit just perfectly. And, with those pieces pushed so close to the edge, I have more motivation to get them put together. I must have dropped at least five pieces last night and both dogs ran for them like steak just hit the floor. It'd be terrible if I got to the end and discovered they'd eaten one fallen piece!  
Oh, and apparently I decided wine would be the perfect complement to a movie and puzzling -- that part is completely optional  J 

Although it's still summer and a somewhat nontraditional start, I'm excited to begin my very own Christmas puzzle collection.  I didn’t get too much further last night, but I’d love for my 'Christmas in July' puzzle to be finished before August.  Hopefully I can con some weekend visitors and my sweet boyfriend into helping me  J 

Tuesday, May 17, 2011

Before It's Too Late

Before it’s too far past Mother’s Day and we all start focusing on the next parental holiday, I wanted to share how I spent the day celebrating with my Mom -- and not because it was a super fabulous idea that's never been done, but simply because it involved a lot of yummy, easy recipes everyone should try!
Since I am no mother myself, I get to focus all my attention on making it an enjoyable day for my Mom.  I decided a couple weeks beforehand that I wanted to surprise her somehow. After spending a lot of time on foodnetwork.com, thekitchn.com and countless blogs, I knew breakfast would be the perfect opportunity -- it’d be a first-thing-in-the-morning surprise and give me a chance to try all the delicious brunch recipes I kept finding.  So, after I narrowed it down to the top three must try recipes, I bought all my groceries, and prepped as much as I could the day before. 
One thing to know about my mother is that she is up early. Every. Single. Day.  I suppose that’s what happens when you’ve spent countless years -- like how I didn’t give away her age? -- waking up early for work, children, and now puppies.  So, if I was going to surprise her with breakfast, I knew I’d have to get up even earlier so I could finish putting things together, load up the car, and make the 45 minute drive all before my early-rising mother ate her own breakfast.  So, I hesitantly happily set my alarm for 5:30am.
Unfortunately, when you’re not used to waking up that early, it is far too easy to simply reach over and unknowingly stop all annoying sounds -- which is what happened.  When I woke up on my own and saw the sun shining in, I immediately jumped out of bed in a panic and realized what had happened. By some small miracle, it was only 7:30, so the plan wasn’t totally lost.
I ran around like a mad woman finishing up cinnamon rolls which had to rise for 45 minutes before baking -- perfect for the car ride there -- and running to my car with all the things I needed to bring. Knowing my early rise would lead to a greater chance of forgetting things, I was wise enough to put almost everything in one large bag in the fridge the night before, along with wrapping her present, signing her card, and arranging her flowers.  I didn’t look nearly as glamorous as I had hoped for her big day, but I did finish the food prep and got the car loaded surprisingly fast considering the frantic wake up just 30 minutes earlier.
So, just an hour and a half later than planned, I was off to surprise my mother.  I got about 15 minutes into the drive when I realized I’d left the stuffed French toast!  It had to soak overnight and would not fit in the large bag with everything else, so it somehow got overlooked while I was gathering things.   Seeing as it was a third of the breakfast and pretty important to the meal, I frustratingly turned the car around to get it -- what’s another 30 minutes at this point, right?
I got back, ran up the stairs, grabbed the French toast, looked around to double check nothing else was being forgotten, and headed off once again.  Although I was late according to my own schedule, it was still early in the morning and the roads were clear allowing me to make excellent timing.  The best part of the whole morning was that despite my alarm mishap, my mother was completely surprised when I did show up and to my amazement, had not eaten breakfast yet -- at least that’s what she told me. 
After I arrived, we finished some of the baking and enjoyed this lovely feast Sunday morning.
Now, for the scoop on the delicious dishes -- we had Hazelnut Cinnamon Rolls and Mini Frittatas via the lovely and oh-so-talented Giada, along with Mixed Berry Stuffed French Toast from a blog I happened across last week.  Sadly, I cannot find the blog, so I've included the recipe below.


The French toast requires some advanced planning since it has to soak overnight and the cinnamon rolls require defrosted bread dough and need about 45 minutes of rising time. 
Other than a little pre-planning, all dishes were super easy and tasted amazing!  The mini frittatas are extremely versatile and you could add anything you have in the fridge. Ours followed the recipe, but bell peppers, onions, various cheeses or even bacon would all be great additions.  And although the recipe calls for mini muffin pans, I was feeling far too lazy to pour my egg mixture into 48 tiny spaces and opted for a regular muffin pan and just doubled the cooking time -- which did not seem to have any effect on how fast they disappeared.
So, the next time you want to surprise someone, throw a brunch, or just want to make a huge breakfast for your family, I encourage you to try all of these recipes!

Thursday, January 6, 2011

A (not-so) Little Behind

I know it’s late but MERRY CHRISTMAS and HAPPY NEW YEAR to everyone! Ok, so the picture above is actually from last Christmas but it’s one of my favs so I couldn’t resist :)

Once again, I find myself falling behind on my blogging! As we learned in October, I’m easily distracted by life’s events and can let the blogging fall behind -- I’m trying to get better! New year’s resolution, perhaps?! Anyway, I hope everyone had a wonderful Christmas filled with lots of family and friends.  

This year, I was fortunate enough to have nearly two whole weeks off for the holidays and managed to stay busy the whole time. Here are some holiday highlights and ‘would-be’ posts during my time off -- I’ll try to keep them short and sweet with mostly pictures!

Family Christmas

Every year, our extended family gets together before Christmas day for gift exchanging and to eat lots of food! Sadly, I have no photos of our yummy desserts, but here are some present opening action shots and fun pictures of the cousins…
The boys opening their college blankets -- both winning teams this year!

Little Ivan inspecting a present as big as he is!

Sisterly love :)

My sister, Samantha, and boyfriend Jon

A handful of cousins

 Me and Adam -- his first year at Family Christmas!

All the cousins! Poor Chase is the only boy and probably thinks we’re all nuts!

It’s always so much fun when the whole family gets together -- I think we need to start inventing holidays so it can happen more often :)

Tacky Sweater Party

During the break, I also attended my very first tacky Christmas sweater party. When I heard the dress code, I was going over all the horrible sweaters my mom made us wear -- and documented with photos -- growing up, and how perfect they would be for an evening like this! Since most of the tops we wore back then were large enough to be ‘dresses’ worn with leggings or stir-up pants, I was certain I could fit into at least one as an adult. Unfortunately, tacky Christmas sweaters were not considered sentimental in my book, and I could not find a single one in the attic.

Also, with the recent popularity in these silly parties, I knew finding one second hand would not be easy and I had no desire to pay full price for one in the ladies department at the mall. So, I decided the only way to participate was to make mine -- and Adam’s since he’d also never attended one. Luckily, my Aunt had been cleaning out her sewing supplies just before Thanksgiving and brought me several Christmas fabrics and Christmas themed appliqués she no longer thought she’d use. I decided they’d be perfect on our sweaters and could be easily embellished with some tacky items at the craft store. I bought us each a sweater at Target for around $10, glitter paint and a few ‘tacky’ embellishments from the fabric store, and Ta-Da! Two tacky Christmas sweaters ready for a party…

The front -- minus glitter puff paint and embellishments

The back -- also minus the tacky embellishments

Adam’s front all completed and tackied out!

And the back sans music notes and glittery puff paint -- I didn’t do the best job of taking pictures.

Once at the party, I discovered home-made was the way to go! Here are the girls and I with 75% home-made sweaters. Kelly’s also went a step further and had working lights adorning a Christmas tree on the back -- good ideas for next year already brewing!


Thanks Chris and Betsy for putting on such a fun party!

Yummy Baking

One of my favorite things to do is bake and this year, I had lots of time to make some tasty treats. One new adventure was caramel making -- more on the successes and failures of that another day -- and did manage to get one amazing batch! I dipped half in milk chocolate like a home-made milk dud but a million times better -- and kept the other half plain. Unfortunately, all but a handful were given away as gifts…

I wrapped each individually in parchment paper and put them in clear goody bags tied with a green ribbon and labeled with a cute Christmas tags -- those adorable pictures seem to be missing.

I also made one of my favorite holiday treats -- FUDGE! I brought some to work, gave some away, and still had a lot left over, which I unfortunately could not resist eating. One of my favorite fudge give-aways was to the groomers.

They are so sweet to Shiloh and Nolan every time I bring them in, so I thought they deserved a sweet treat and a cheerful, puppy friendly, Christmas card to say thank you.

I actually received a call yesterday from the owner of Lucca Bella -- what a cute groomers name! -- saying how much they enjoyed the fudge and asking for the recipe the next time I bring the pups in. In fact, every time I make it, I find myself sharing the recipe, so I thought I’d post it here for anyone to try.  It really is the easiest, tastiest fudge and impossible to mess up!

4-Chip Marshmallow Fudge

¾ c. Butter
14-oz can Sweetened Condensed Milk
3 T. Milk
12-oz. package Semi Sweet Chocolate Chips
10-oz. package Peanut Butter Chips
12-oz. package Milk Chocolate Chips
1 c. Butterscotch Chips
7-oz. jar Marshmallow Cream
1 ½ tsp. Vanilla Extract
½ tsp. Almond Extract

Melt butter in a double boiler. I don’t have one so I place a glass bowl on top of a saucepan to keep the ingredients from burning. Stir in condensed milk and milk. Add chips and stir constantly until fully melted. I usually do one type of chip at a time to make it a little easier to stir and melt. Remove from heat and stir in marshmallow cream and extracts. Pour into 15” x 10” baking pan. Refrigerate until firm then cut into squares. Makes 3 dozen.

Three dozen is not an exaggeration -- it seriously makes a ton! Hope you try it and enjoy!

My other dessert adventures included lemon bars -- which I love all the time -- and sugar cookies, perfect for the holidays. Unfortunately, I left the dough in the fridge for too many days and by the time we were able to roll it out, it was too hard to use.  I’ll just have to try another day!

Christmas Day

Since we do our big family Christmas early, Christmas day is typically low key in our home. We wake up, make some coffee, watch the puppies open presents -- yes, before the humans -- then we open presents, cook breakfast, relax, watch football, cook dinner, and relax, watch football!  This year was not much different except I left after breakfast to spend part of Christmas day with Adam and his family. We had a huge, delicious lunch cooked entirely by his grandmother, opened presents and played a game invented by his mom.  After all the fun and food, we came back for games and more food!
 
Puppy stockings! They get treats to keep them occupied for a while; however, with 6 dogs in the house this year, some growling and treat stealing took place!

Christmas cheer! From left to right: Shiloh, Bentley, my sister, Jon, Nolan, me Adam, Bella, and Rue -- the newest member of the family and Adam’s new best friend :)

The cutest boy that ever lived -- after a hard day of treats, presents, and playing!

Sorry for the never ending post and millions of pictures! I’ll try to make the next few shorter :)

Happy New Year!!

Tuesday, November 23, 2010

Birthday Apron

My cousin’s daughter has a birthday coming up in December. To keep her birthday from being over-shadowed by Christmas, we try to have presents ready by Thanksgiving. This year we learned she is showng an interest in cooking and baking -- which I love! My sister and I decided to get her an easy bake oven -- can't believe I actually bought one -- and wanted something to go along with it. I’ve been curious about sewing aprons for a while now and decided this would be the perfect time to attempt one. First, she’s turning 9 so any glaring mistakes I made would not be super obvious to her and second, if I failed miserably, we still had the easy bake oven to give.

I looked through a couple books and read some techniques before deciding that I wanted to make a reversible ruffled half apron with a pocket. I took some measurements on myself to decide what size I needed to cut my fabric, and went to work! Since this is an apron and inevitably going to get dirty, I made sure to wash, dry, and press the fabric before cutting!

I picked two coordinating pieces of fabric and started by cutting out two rectangles from both -- I made mine 28"x16". I then cut out the pocket I wanted to attach to one side. There are many ways you can attach the pocket but I chose to line mine with some ribbon I had...

Sew two pieces together -- one right side facing one wrong side so when attached, the inner pocket would have a right side showing, although I don't think this matters or is even necessary…

Invert and press!

Once I had my pocket put together, I top-stitched it onto one of the rectangles. Next time, I think I'll add a pocket to both sides so it is truly reversible.

I then sewed the two rectangles together -- right sides facing one another. Make sure to leave the top completely open!

After sewing the three sides, I turned it right side out and pressed. To get the ruffle in the apron, I had to attempt a basting stitch once again, which made me nervous. Luckily, since my first attempt, I had discovered a quick reference guide for my sewing machine complete with a basting stitch! I went to work changing the settings on my machine and did a quick basting stitch along the top of my apron panels. I then tied the thread at one end of my stitch -- to keep it from pulling out completely -- and began pulling one thread from the other end. To my surprise, it worked a million times better than my first try! From the measurements I took on myself, I knew I wanted the top of my apron to be 20 inches long, so I ruffled the panel until I was left with that amount. I then tied the other end of the thread to keep the length from changing and distributed my ruffles evenly and to my liking.

All that was left was attaching the waistband and ties! I knew one length of my fabric would not be long enough for tying a pretty bow, so I decided to make one section 20 inches long -- to incase the top -- and each side would be one full length of fabric. I wanted my waistband to be about 2 inches thick, so I cut each piece 5 inches wide -- that gave me enough to fold over and hem.

First, I attached each of the three pieces along their short sides so I'd have one lone strip -- with the 20 inch one in the middle. I then folded in the two short sides about an inch in and pressed. Next, I folded the long strip in half and pressed.

I then unfolded the strip of fabric and folded each edge inward about ½ inch and pressed again.

Next, I folded along my first middle fold and pressed once again to complete my waistband and ties.
I centered the middle section over the top of my apron, pinned in place, and attached with a normal top-stitch.


Once the top was attached, I continued to sew along the ties, closing them together.

And that was it! I now have a very cute apron for my cousin that I hope she loves and inspires her to bake! I don’t have a picture of the reverse side, but it is the polka dot pattern without a pocket -- which I will be sure to add next time.

Hopefully Reese will be baking us some delicious treats for Christmas this year!