Tuesday, October 9, 2012

Someone Got a Haircut

So of course, a little photo sesh ensued.

This is a typical Nollie picture with at least one ear flopped back and a soaking wet beard from dunking his face in his water bowl -- apparently he couldn't wait until after his photoshoot.  He is the happiest puppy that ever lived so the wide-open-mouth smile is also pretty standard around here, too :)


This next photo is a little blurry but I love it because it highlights his super obsessive toy behavior.  Mr. Cow Cow is his current favorite and he is seriously the first thing Nolan looks for when he wakes up in the morning or when I let him out of his crate after work.  I try to cry quietly as he jets past me to find him every evening.


Getting pampered is apparently very exhausting.  Shiloh has her spa appointment in one week so I'm sure more photos will be coming -- can't wait to have two freshly pampered pups!

Oh, and because no good post is complete without a 'before' and 'after', here is Nollie's handsome transformation -- seriously love that sweet boy face!


Saturday, October 6, 2012

Lucky Lady

Spending the day with this handsome man...


I'm a lucky lady :)

Love you, boyfriend!

Friday, October 5, 2012

T-Shirt Quilt -- Prepping & Cutting Blocks

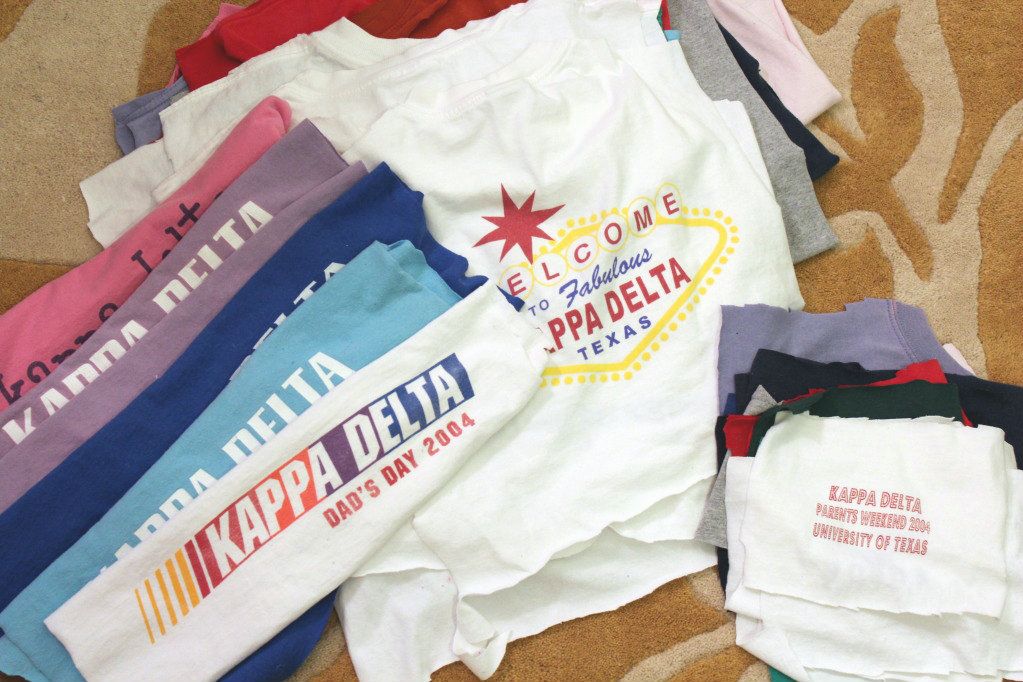
The last thing I had done with my t-shirt quilt was decide on a quilt layout and roughly cut around the images of the shirts I planned to use.  You can see that process here and how I was left with this pile of shirt pieces. 


Since t-shirts are a more flexible fabric, it's important to line the backs of them with a stabilizer to keep them from stretching too much and losing their shape.  I used a lightweight fusible interfacing that I found at JoAnn's for this step.  How much you need depends on how large your quilt blocks are going to be and how many shirts you are using. 

To adhere it to the back of each shirt, I grabbed a t-shirt square and laid it face down -- in this case, I was working on the smaller front pieces so I did two at a time.  Roughly cut a piece of interfacing to lay on the back, making sure it covers all your fabric, or is slightly larger than the size you plan to cut.


Use your iron and press the interfacing to adhere it to your shirt. Move your iron over the different parts of the interfacing until all of it has adhered.  Some things to note: pressing is important over ironing because the interfacing itself has a textured surface and your iron does not glide across it well. You also want to make sure you are not pressing the front of your shirt because some of the printed parts could melt from the heat.


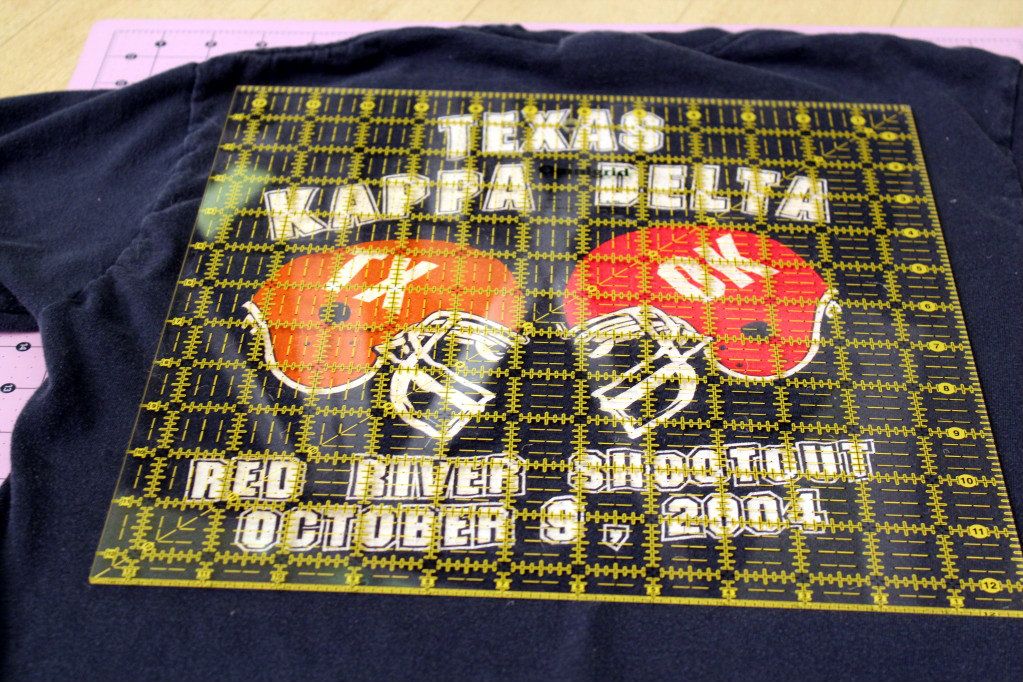
Once the interfacing has been added, you can cut each block to the desired size. I mentioned in my first post that I had planned to use 12" blocks, so my cutting ruler was 12.5" by 12.5" for the full quilt blocks and 4.5" by 4.5" for the smaller ones.  For the blocks which contained three long pieces, I cut them 12.5" wide by 4.5" tall.


I used the grids on my square template to try and center my block as much as possible. I also tried to make sure that any wording wouldn't end up slanted by aligning it with one of the grid lines. This image was one of the few that was easy to line up but for some shirts -- especially ones that are really worn -- the image will be skewed no matter what, so just try to make it line up as much as possible.


Repeat these steps with all of your t-shirt fronts and backs until you have a pile of quilt blocks ready to go.


Next up, piecing together the quilt top!


Tuesday, October 2, 2012

Let It Snow

I finished another quilt and this one is all ready for the holiday season!


I used a "Let It Snow" layer cake and a simple tutorial from The Polkadot Chair to put it together.


I love the turquoise added in with the traditional holiday colors to make it a little more fun and modern. I used a green snowflake for the back and turquoise dots for the binding.


To quilt it, I used diagonal lines spaced 3" apart which created these cute little diamonds all over.  In a happy accident, it also created a large diamond in each of the blocks.


The final size ended up being 44"x58", just a couple inches short of crib sized.  I don't really have a need for this quilt so if you're interested in it, message me for details -- I'd be happy to give it a new home :)


Monday, October 1, 2012

Heaven

Last week I decided to give myself a little gift this Monday morning -- a vacation day!  I'm so glad I took this day for myself and am loving this break from my normal weekday routine. Right now I can be found still in my pj's with a cup of coffee in hand, watching "Kelly and Michael" and catching up on some of my favorite blogs.


The rest of the day will involve lunch with boyfriend, a little errand running -- without the normal weekend crowds, -- some cleaning, and some sewing.  

Off to soak up this wonderful Fall day because it's back to reality tomorrow -- Happy Monday!

Saturday, September 29, 2012

Rainy Day Quilt

Staying in on this rainy Saturday and starting a new quilt...


I decided to just rummage through my fabric bin for this one.  Updates on this bright, scrappy quilt soon!

Friday, September 7, 2012

T-Shirt Quilt -- A Pattern & Some Rough Cuts

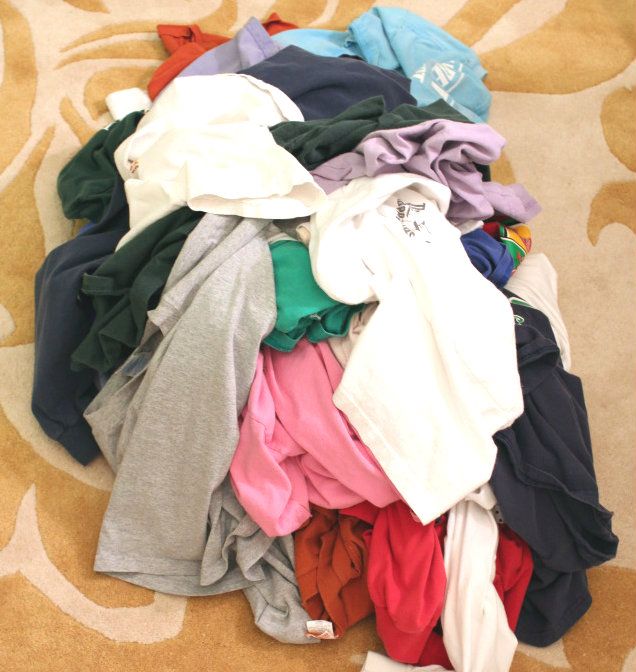
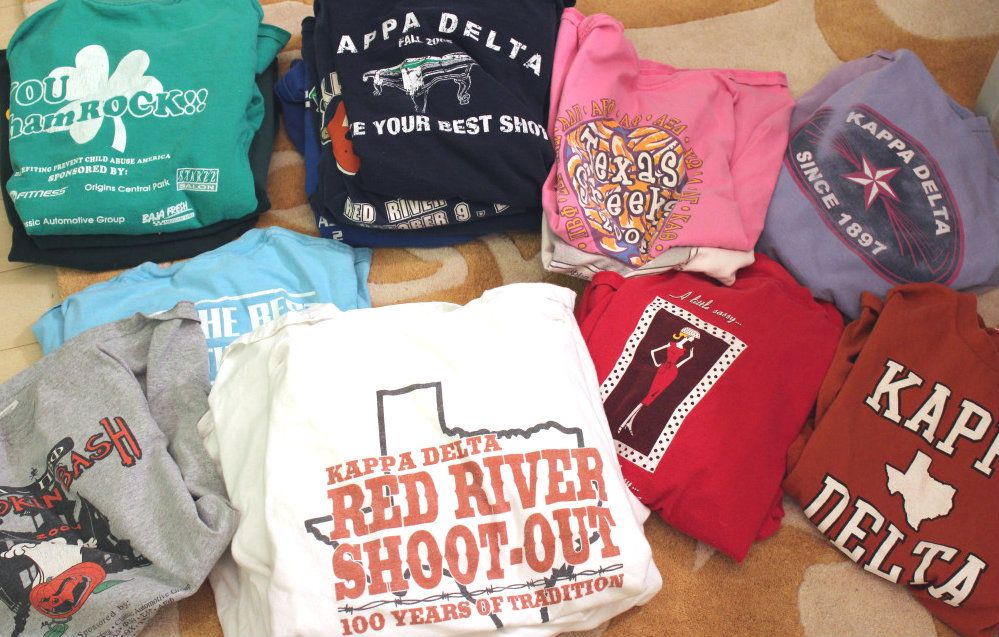
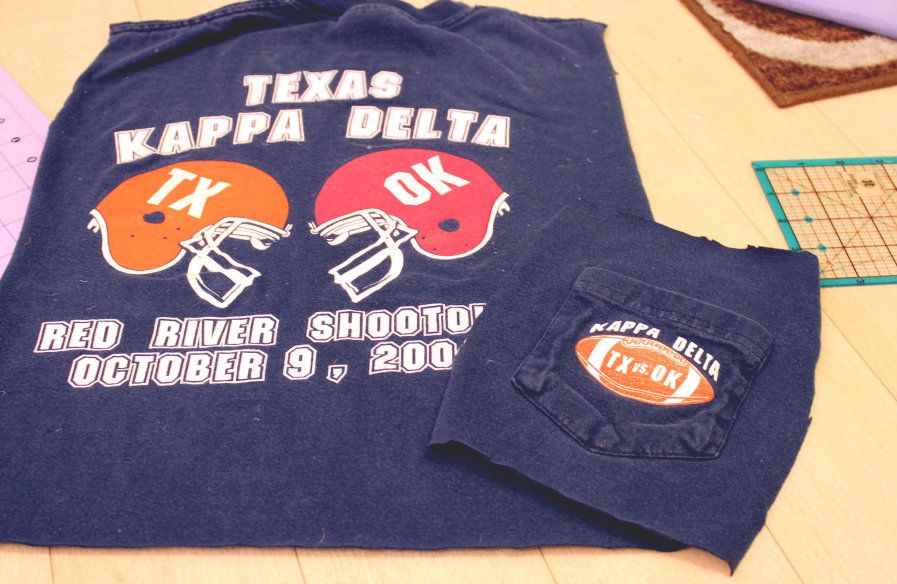
In a recent closet purging session, I came to the realization that I have far too many t-shirts taking up valuable hanging space -- and yes, I'm one of those crazy people who hang t-shirts, and in color order, no less.  Anyhow, when it comes to t-shirts these days, I prefer to grab a pack of men's x-small v-neck undershirts in grey or white -- they're cheap, comfortable and not bad for working out in.  Since I just rotate through a handful of those, most of the shirts in my closet weren't being worn and were kept purely for nostalgic reasons.  So, down they came until I was left with a huge pile, mostly consisting of college / sorority shirts.


I'm not someone who holds onto every little thing, but for some reason, I was having a hard time letting these go. Since I have had a recent love affiar with quilting, I decided to stretch my skills and attempt a t-shirt quilt -- shirts would no longer be taking up closet space and they'd be saved from the dumpster!

To begin, I gathered all the shirts I wanted in the quilt and kept a couple on the side to be used just in case of a cutting fiasco or additional ones were needed to balance it out.  I sorted them into color piles to see what I had available so I could start brainstorming patterns.


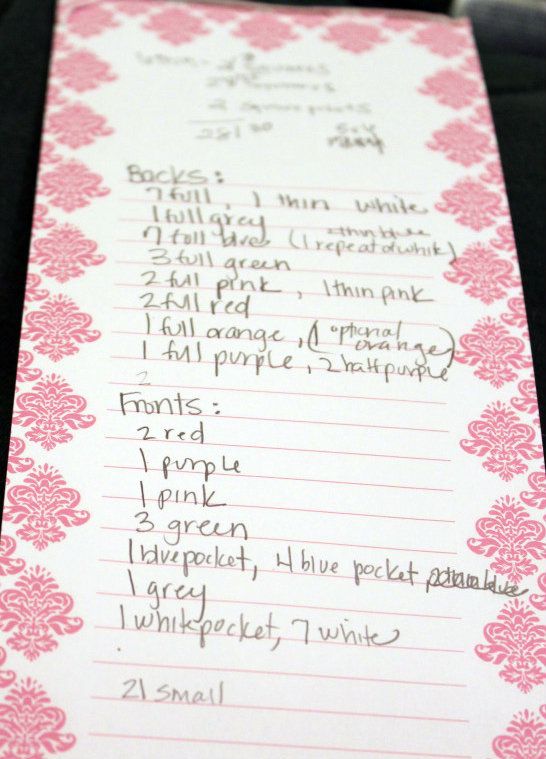
Most of the shirts I had gathered had something on the front and the back, so if possible, I wanted to use both.  Because this was a lot to keep track of, I decided to 'take inventory' of the possible quilt squares I had available.


As you can see, there was nothing fancy about my list, but it allowed me to easily see what I had to work with.  Then it was off to the computer to create each of the blocks in the size and color indicated so I could decide on a layout.  I did this in PowerPoint since it was the easiest for moving all my blocks around.  The full/solid squares below are the shirt backs, the 9 block squares are made up of various shirt fronts, and I had a handful of shirts with just one line and was able to form two of the 3 rectangle squares.


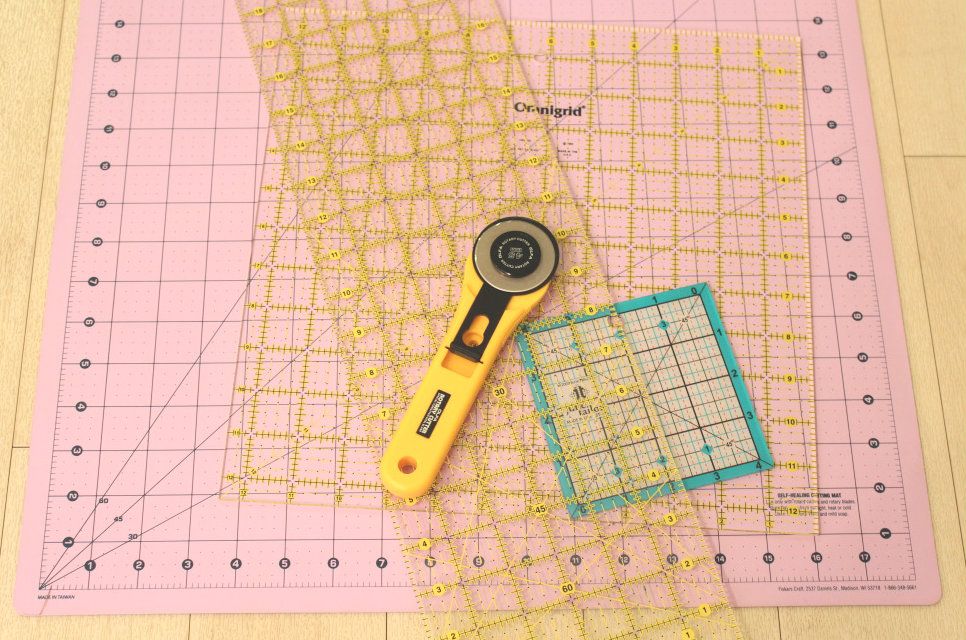
Once I had a finalized layout, I felt safe taking scissors to my shirts.  For this part of the process, I used a cutting mat, clear ruler and rotary cutter along with my fabric shears.  Also, after getting a general idea of graphic size on my shirts, I decided 12" squares would be perfect so I picked up 12.5" and 4.5" square grids to help with cutting.


I didn't use the squares for this part of the process, I merely kept them handy so I could quickly see how much excess shirt I was safe to cut. 


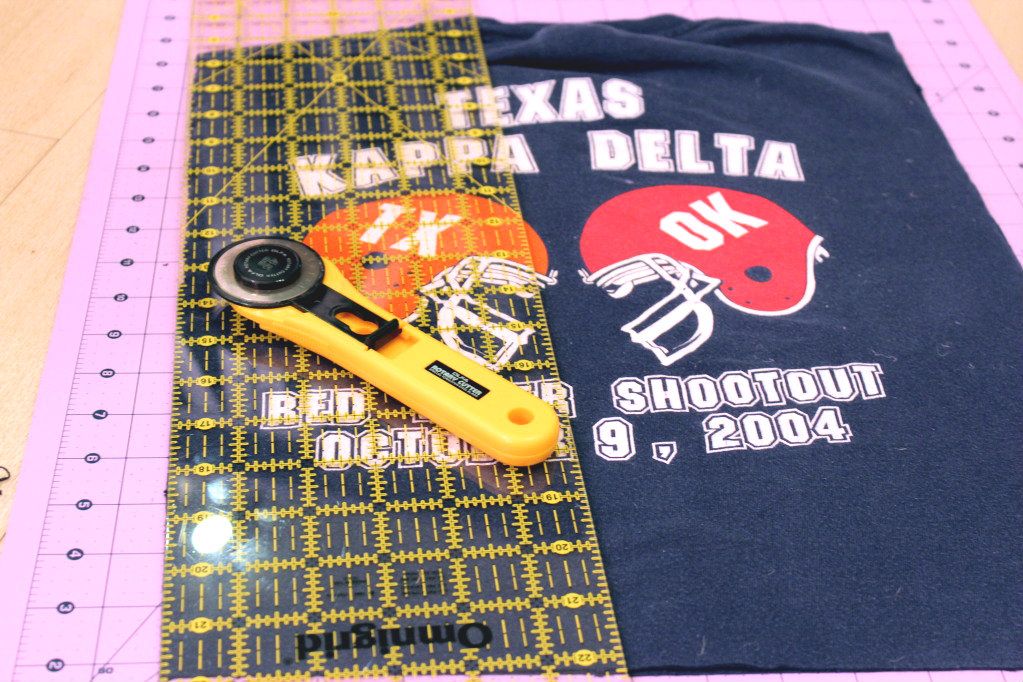
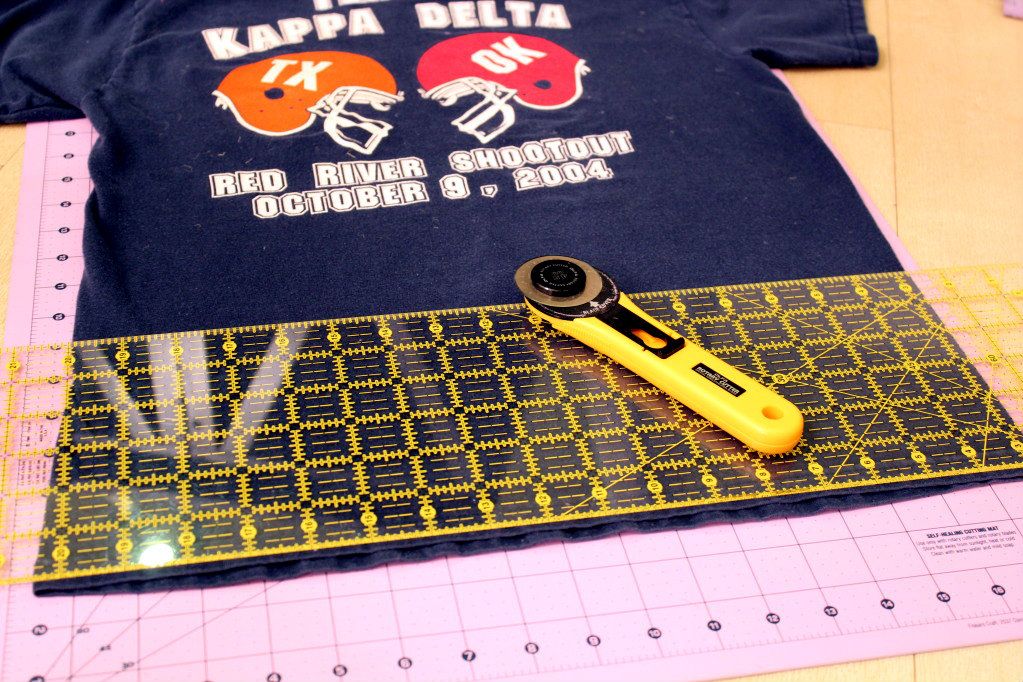
I'd pick a shirt and lay the back face up. I placed the square grid on top and began cutting a good inch or two outside the edge, starting with the bottom then moving up the sides to remove the sleeves.   

Once the sleeves were gone, I opened it up and cut along the top shoulder part to separate the front from the back.


Then I used my 4.5" square grid to roughly cut around the front graphic on the shirt.


I repeated this process 30+ times until I had cut all the shirts I planned to use.  Then I piled them up to admire my hard work and decided to save the next step for another day.


Next up, adding a stabilizer and cutting actual quilt squares!

Thursday, September 6, 2012

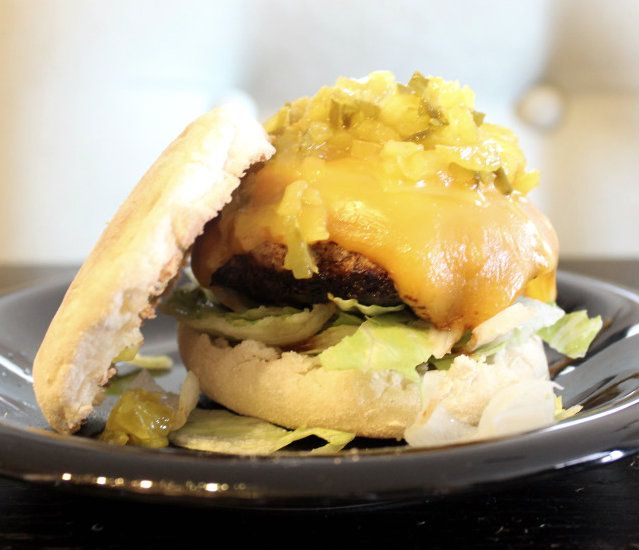
Recipe Review: Adirondack Red Wing Burgers

A friend of mine recently shared this burger recipe with me and I just can't get enough of them -- Thank you Betsy! 
Since the recipe makes four burgers and there are no more than two eating in my household, I like to make a batch of these and freeze the extra patties for later.  They're perfect to get out before work to defrost and cook up quickly when I get home. 


I make and serve mine exactly as Rachel Ray intended and can't think of anything I'd change about them!  I was a little skeptical of serving them on an english muffin and mixing blue cheese and cheddar, but it all just comes together perfectly to make the most yummy burger.  If you're looking for something different than the average burger, I highly recommend you try this recipe!

Wednesday, September 5, 2012

Fall Fever

Despite the 100+ degree temperatures still looming here in Dallas, I have already declared it Fall in my book.  With the official calendar change to September, the return of college football, and the flashing school-zone lights on my drive to work again, the past few days have undeniably felt like fall. 
I’ve been trying not to go overboard in anticipation of my favorite season of the year -- i.e. no boots or scarves just yet -- but have been adding little touches to make it feel like fall around here.
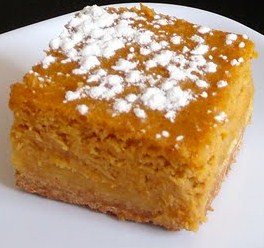
Apparently I’m not the only one who loves this time of year. Some of the girls and I at work declared last week to be ‘pumpkin treat week’ so we could bake up some of our favorite fall desserts. I went with my tried and true, always a winner, Pumpkin Gooey Butter Cakes via the butter lovin’ gal, Paula Deen.  
via
These bars are extremely easy to throw together, make the house smell amazing, and disappear in no time by pumpkin and non-pumpkin lovers alike!  Seriously, a non-pumpkin loving coworker of mine tried one and loved it.  I highly recommend them if you are craving something sweet or just want a taste of fall.
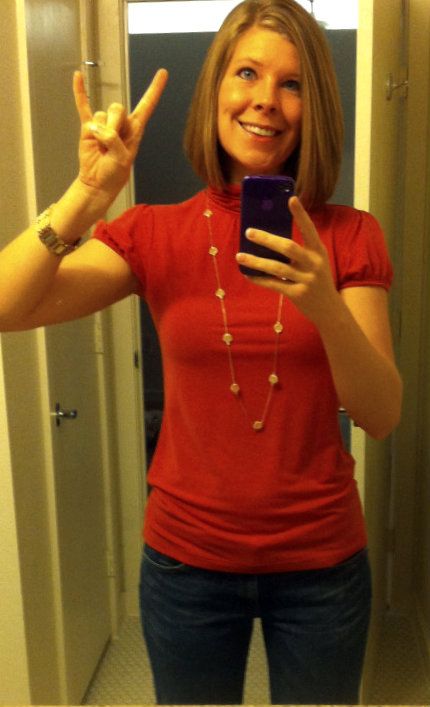
In addition to the baking, I’ve been sporting my burnt orange once again in support of my lovely Longhorns.  It was so exciting to cheer them on last weekend and I can't wait for the rest of the season -- Hook 'Em!

It's an oldie, so try not to laugh too hard at my cheesy-ness :)

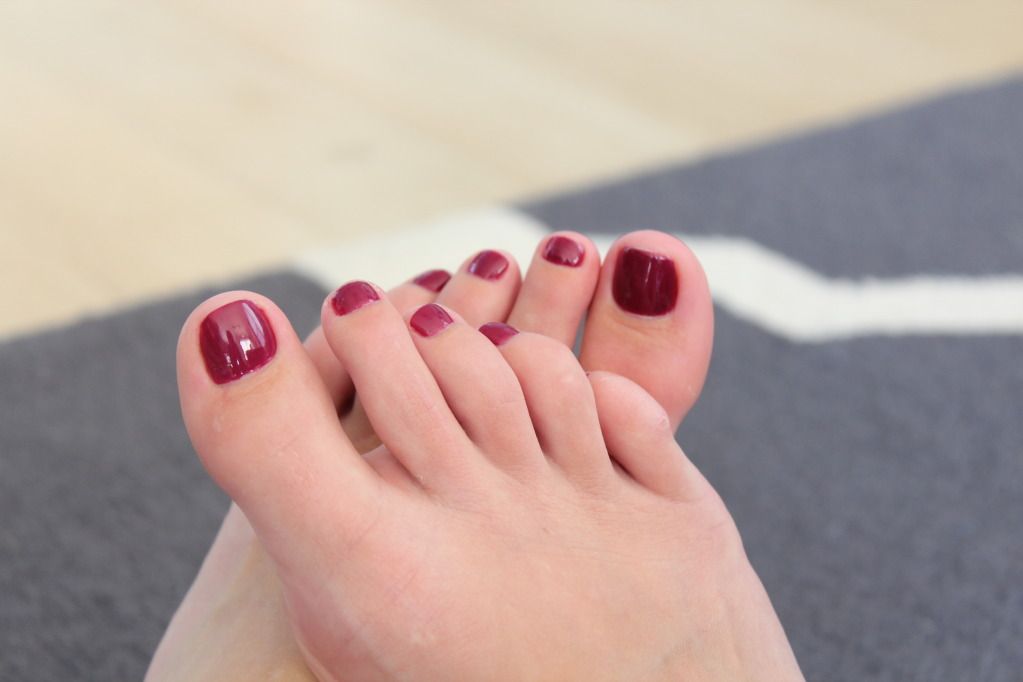
Last, but not least, even my toes got a little bit of fall fever.  When I went in for a pedicure this weekend, I could not resist picking out a darker shade of purple to carry me into October!


Stay tuned for more fall changes around here -- I promise not to post anymore pics of my toes.  Here's hoping the weather catches fall fever soon! 
Happy -- almost -- fall, ya’ll!

Friday, June 1, 2012

Recipe Review: S'more Cookies

I love to cook -- well bake is probably a bit more accurate -- but I'm not super adventurous or original in the kitchen. I typically find a recipe that sounds delicious and follow it to a tee.  If I love the result, the recipe is a keeper. If not, I usually never try it again -- I'm not daring enough to try tweaking it myself.  There are so many amazing food blogs out there, so I thought every now and then it'd be fun to just share the ones I stumble across and the recipes I've tried and loved.  It should be no surprise at all that I decided to start with something sweet :)

The other night I was craving s'mores. They -- along with anything caramel related -- are among my most favorite things.  Since I am without a fireplace and it's 90+ degrees this week, I decided making actual s'mores was out of the question so I began searching for s'more related baked goods.  I started looking at cookies and it didn't take long for me to find the recipe I wanted to try from Ice Cream Before Dinner.  

I quickly ran to the store to grab marshmallows and got started right away. They were extremely easy to make and only require a minimal amount of babysitting while baking so you can push the Hershey bars in half way through.  When they were done, it took some serious self control to let them cool completely, but they were worth the wait!


This was the only photo I managed to snap before digging in!  Needless to say, these hit the spot and I'll be making them again when the s'more craving strikes -- maybe next time with a few extra marshmallows :)

Happy baking and eating!


Wednesday, May 30, 2012

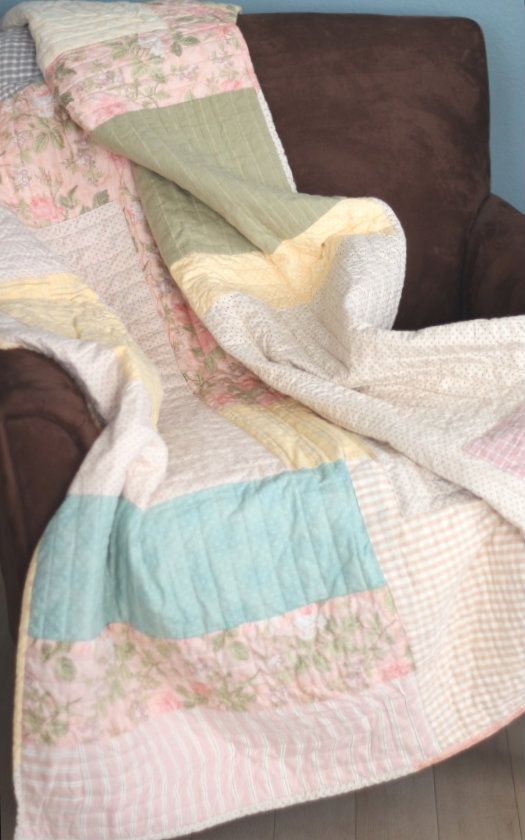
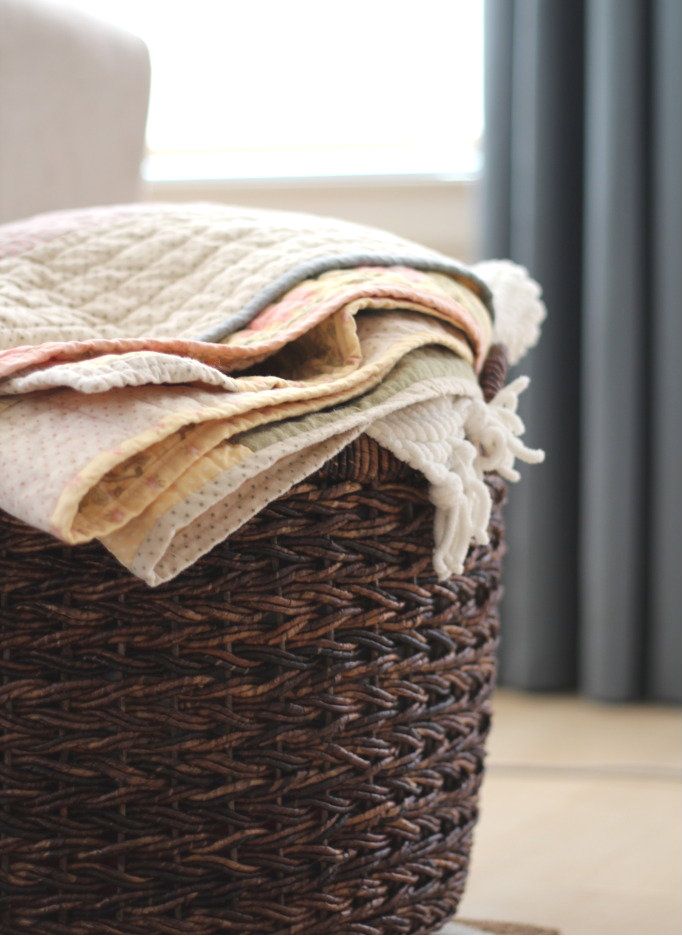
Patchwork Throw

I can already feel the slower pace of summer having an effect on me -- not that I get summers off or have kids out of school to entertain during the next three months -- but I am feeling work finally slow down and my energy to create coming back! 

With three days off this past weekend, I made it my personal goal to finish at least one of my "in process" projects and get started on a couple I have already gathered materials for. With boyfriend away for a guys weekend at the lake, I had a little extra "me" time and accomplished even more than I expected.  The one I am most excited about finally finishing is this patchwork throw that I started over a year ago!


I found the tutorial for this project in Amy Butler's book, "In Stitches" and thought it would be so great to have as a blanket to cuddle with on the couch.


Looking back, I realize that at the time I started this project, it was a bit above my skill level. I ran into several challenges that discouraged me from finishing and I just kept putting it off.
  
The quilt top was my first challenge. The individual pieces weren't actual sewn to one another, instead they were pieced together on top of muslin. This caused several of mine to have some 'slack' in them by the time I was finished. The next challenge came with the actual quilting. I had no experience with this when I started and I did not do a great job of pinning my layers together. Then, to make matters worse, I started quilting random pieces based on what was easiest to get through my sewing machine.  This combined with poor pinning caused a lot of the back to get bunched when quilted sections came together. This was extremely discouraging at times and I would simply fold it up and vow to finish it later.  


This past weekend was my 'later' and despite the many problems it already had, I knew finishing would be good practice and regardless of the mistakes, would still make a great throw for the couch or a cute blanket for picnics in the park.

After many hours and hundreds of 1" quilting lines later, I was ready and super excited to bind!  I decided to do a patchwork binding to go along with the patchwork throw. I think it adds just enough charm to to distract from all the rookie quilting mistakes :)


The second I finished binding, I threw it in the wash and got myself a glass of wine!  When it was washed and dried, I curled up on the couch, just as I had envisioned, and settled in to watch "The Bachelorette." 


Despite it's many flaws, I am thrilled it's finished and I get excited in a very nerdy sewing way when I get to use it at night. I am happy to say it now has a home next to my couch instead of hiding among the other projects in the "in process" sewing pile.


Happy Sewing!