


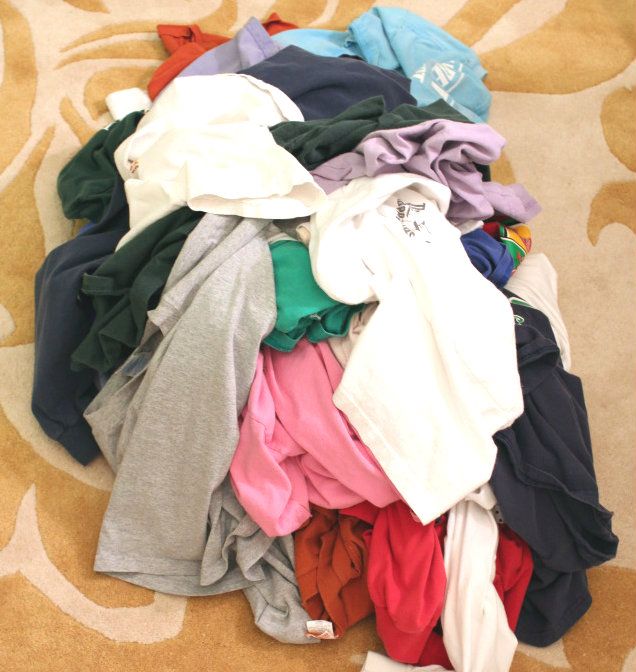
I'm not someone who holds onto every little thing, but for some reason, I was having a hard time letting these go. Since I have had a recent love affiar with quilting, I decided to stretch my skills and attempt a t-shirt quilt -- shirts would no longer be taking up closet space and they'd be saved from the dumpster!
To begin, I gathered all the shirts I wanted in the quilt and kept a couple on the side to be used just in case of a cutting fiasco or additional ones were needed to balance it out. I sorted them into color piles to see what I had available so I could start brainstorming patterns.

Most of the shirts I had gathered had something on the front and the back, so if possible, I wanted to use both. Because this was a lot to keep track of, I decided to 'take inventory' of the possible quilt squares I had available.
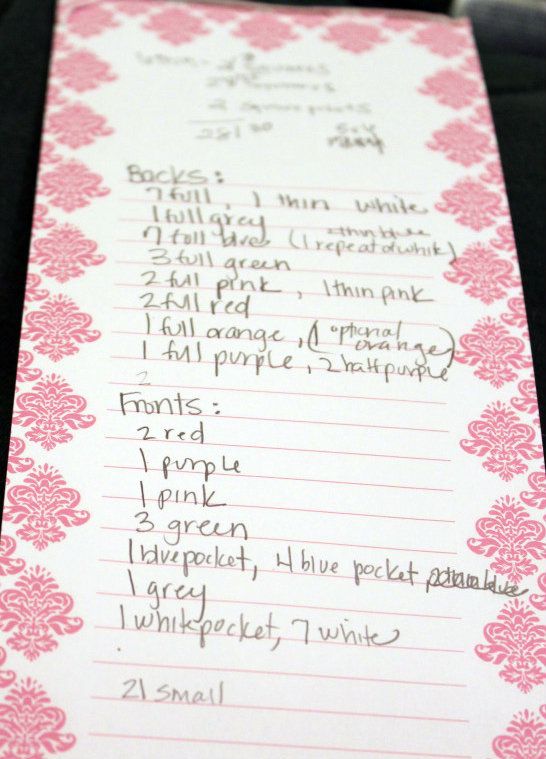
As you can see, there was nothing fancy about my list, but it allowed me to easily see what I had to work with. Then it was off to the computer to create each of the blocks in the size and color indicated so I could decide on a layout. I did this in PowerPoint since it was the easiest for moving all my blocks around. The full/solid squares below are the shirt backs, the 9 block squares are made up of various shirt fronts, and I had a handful of shirts with just one line and was able to form two of the 3 rectangle squares.

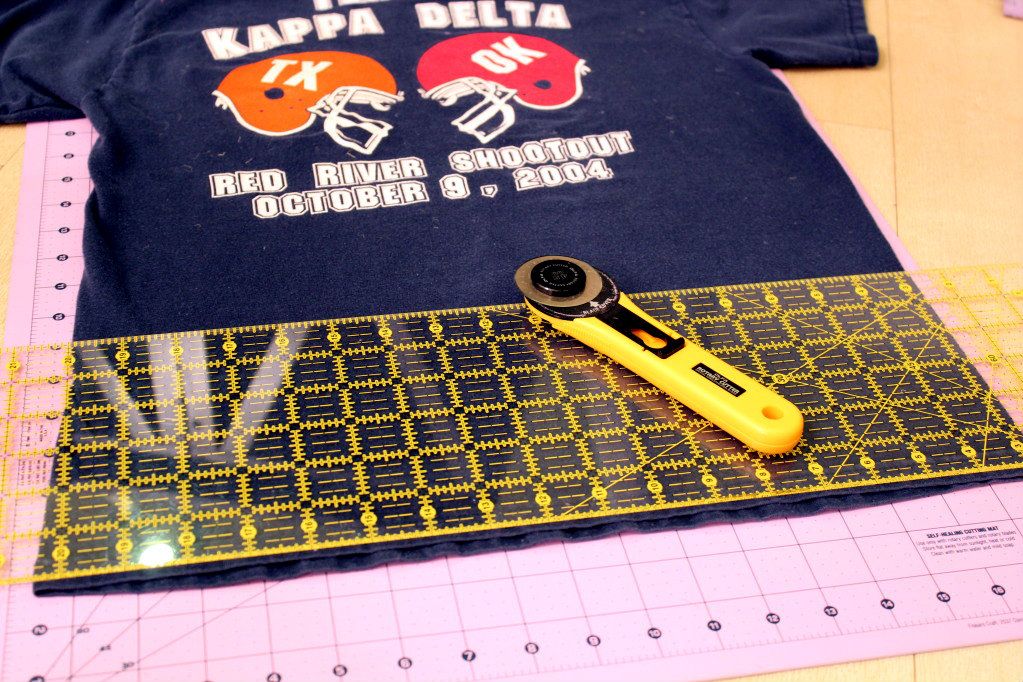
Once I had a finalized layout, I felt safe taking scissors to my shirts. For this part of the process, I used a cutting mat, clear ruler and rotary cutter along with my fabric shears. Also, after getting a general idea of graphic size on my shirts, I decided 12" squares would be perfect so I picked up 12.5" and 4.5" square grids to help with cutting.
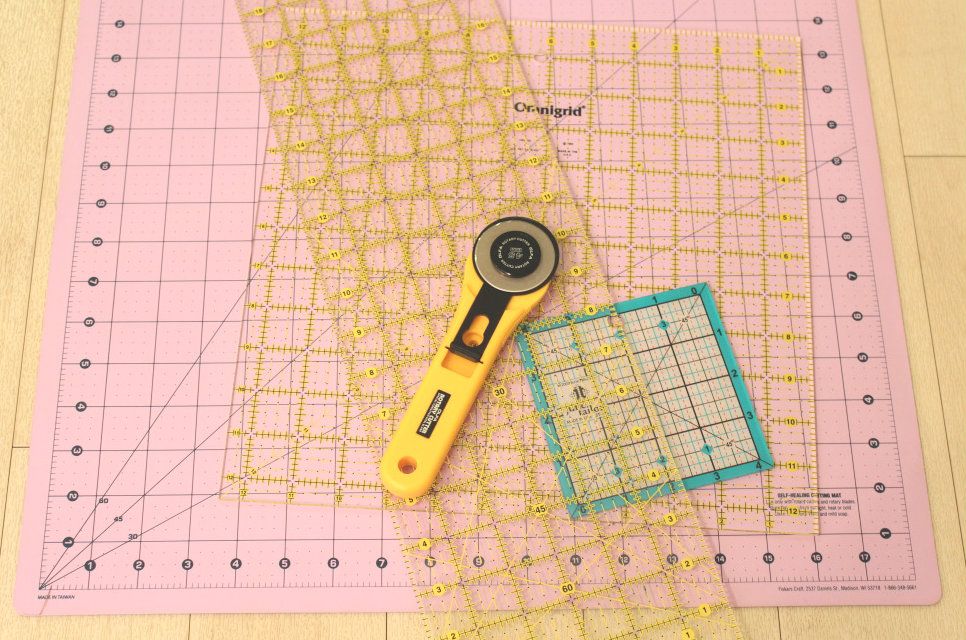
I didn't use the squares for this part of the process, I merely kept them handy so I could quickly see how much excess shirt I was safe to cut.

I'd pick a shirt and lay the back face up. I placed the square grid on top and began cutting a good inch or two outside the edge, starting with the bottom then moving up the sides to remove the sleeves.
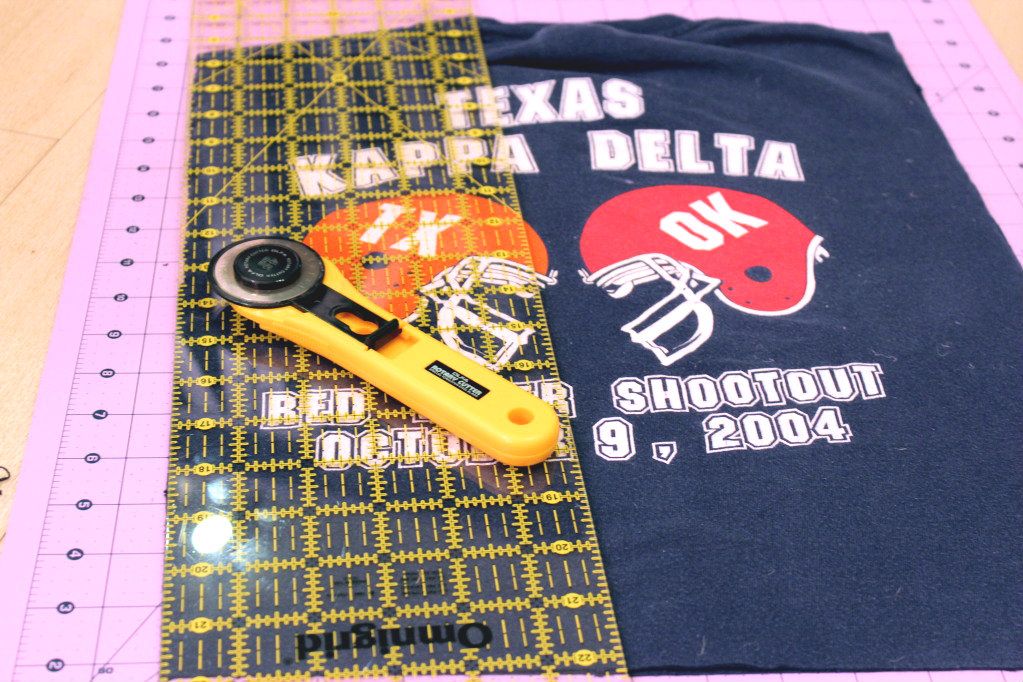

Then I used my 4.5" square grid to roughly cut around the front graphic on the shirt.

I repeated this process 30+ times until I had cut all the shirts I planned to use. Then I piled them up to admire my hard work and decided to save the next step for another day.

Next up, adding a stabilizer and cutting actual quilt squares!

Looks so neat!
ReplyDeleteAny update on this quilt? I just started one myself!
ReplyDeleteYes! You can find the second part of the quilt here: http://kiki-mysewcalledlife.blogspot.com/2012/10/t-shirt-quilt-prepping-cutting-blocks.html
ReplyDeleteHoping to get the third part posted soon!