Tuesday, August 16, 2011

End of Summer Vacay

The boy and I snuck off last week for a little vacation at the beach.  We had the most amazing time and met so many wonderful people while we were there!  In very few words and lots of pictures, here's a short summary of our whirlwind trip...

Our room, which was spectacular!
We had a huge bathroom complete with a large Jacuzzi, walk-in rain shower and plenty of room for every girls bathroom essentials.  We also had a sitting area, small table for eating and a large balcony with lots of seating and a view of the infinity pool and ocean.
We had lots of great food while we were there and not nearly enough time to try it all!
The French restaurant where we had salmon, shrimp and fillet our first night.
The Hibachi restaurant where we had dinner with friends and a ton of sushi, noodles, rice, and dessert.
Oceana, one restaurant overlooking the pool and a great spot for lunch.
Outside of eating, we also played hard -- we went snorkeling, took out a catamaran and kayak, Adam played volleyball twice a day while I lounged by the pool, tried darts, Mexican Lottery, a putting competition, saw a dance show and even did our fair share of dancing.
We also met several fun, newlywed couples from all over -- California, Ohio, Austin, Canada, and Wisconsin -- I'm sure there's more I'm missing!
We were very sad to be leaving on Sunday and can't wait to go back!
Goodbye for now, Cancun! We will miss you!

Saturday, August 13, 2011

It's a Girl Thing

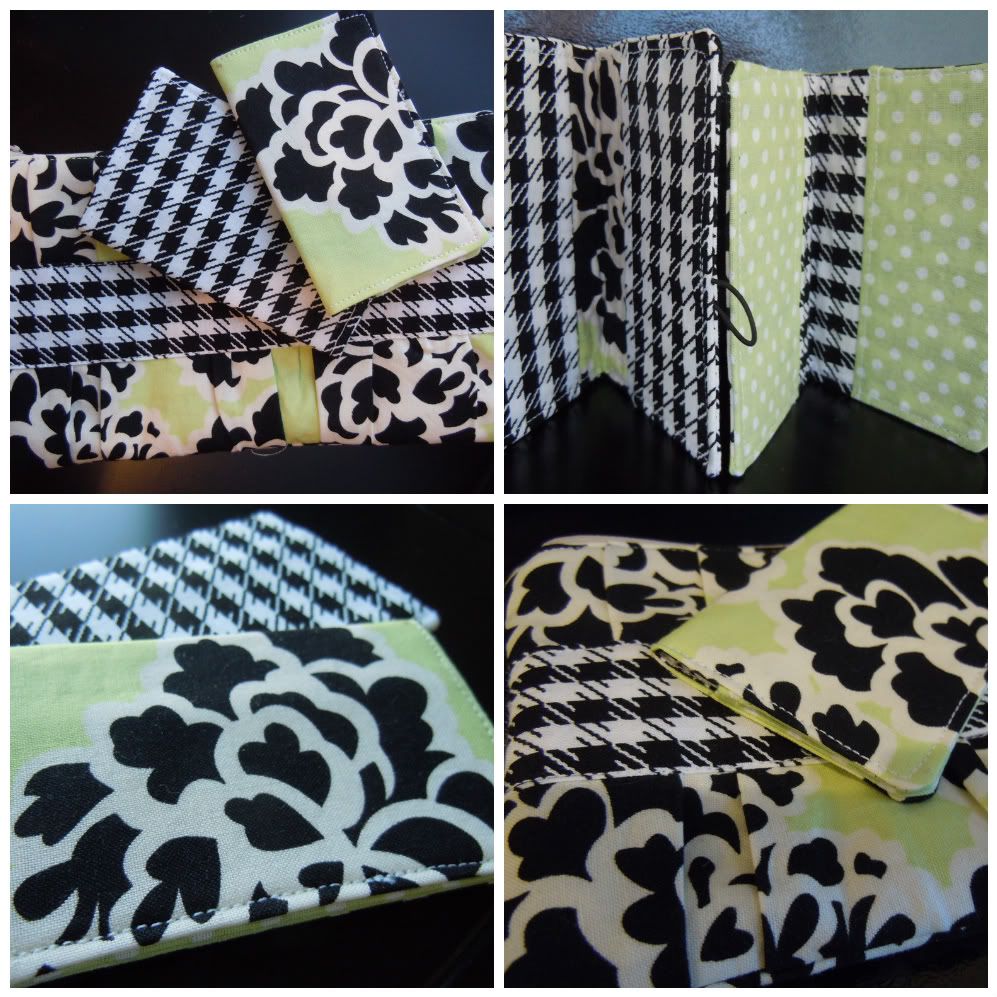
I can't believe it's the last day of my seven day self-imposed sewing challenge! For my final project, I used two tutorials from two wonderful ladies to make a small clutch and coordinating wallet in this fun and bright leftover green and black fabric.  I followed Noodle-head's Gathered Clutch Tutorial and The Crafty Cupboard's Business Card Tutorial to make a fun little combo to carry around when I don't feel like lugging around a heavy purse -- it's a girl thing :)


Both tutorials were really great and easy to follow. I would definitely recommend them!

That, my friends, is the official end to my sewing challenge. It's been fun and a bit exhausting all at the same time. Most importantly, however, I feel like I know my machine better and have learned so much in just seven short days.  My plan is to take a short break from sewing and switch gears to some crafty projects, but I still have so many sewing items on my to-do list I'm not sure how long that will last!

Here's a quick look back at the previous six days of the challenge...


HAPPY SEWING!
 

Friday, August 12, 2011

Protecting my Nook

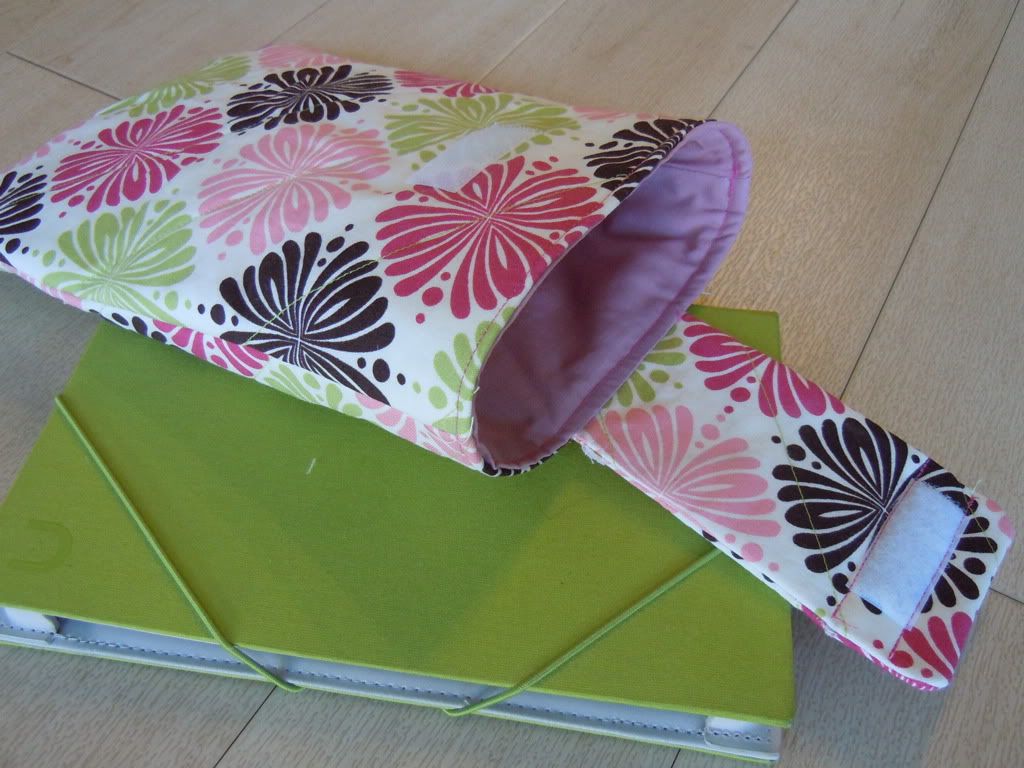
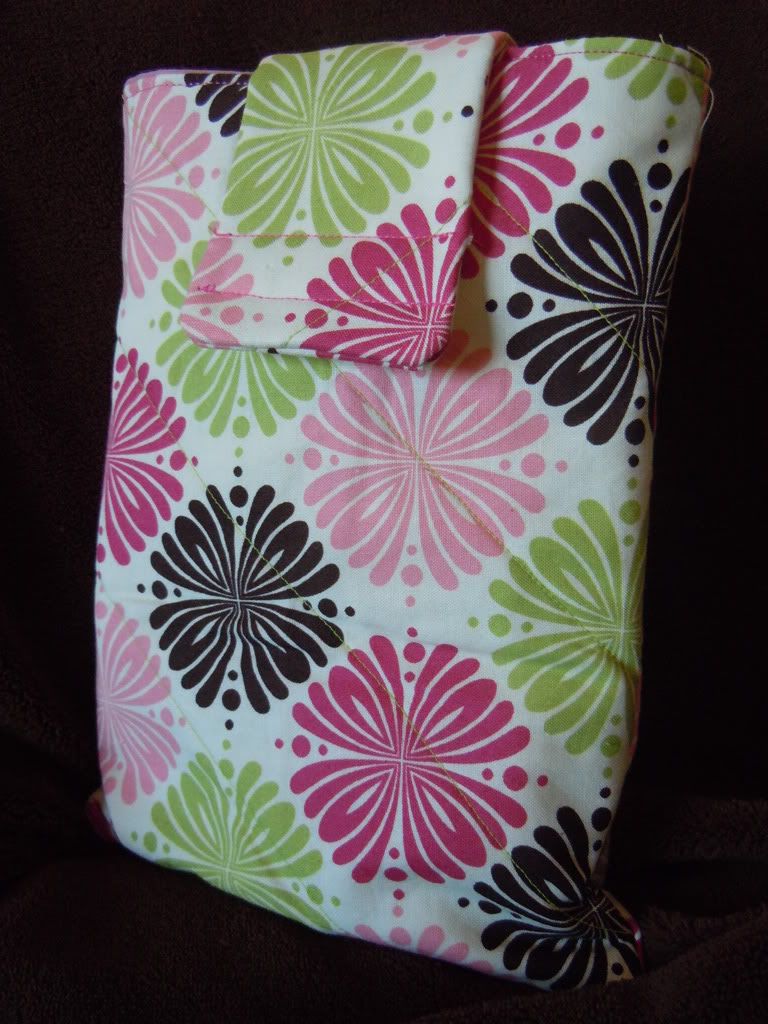
For Christmas this past year, I was given the oh-so-fabulous Nook Color.  I have enjoyed toting it around with me to the gym, in the car, on trips and just enjoyed it at home.  Along with the nook, I also received a protective cover which I never take it out of. I decided to go even one step further and make an additional case for it to cozy up in. 

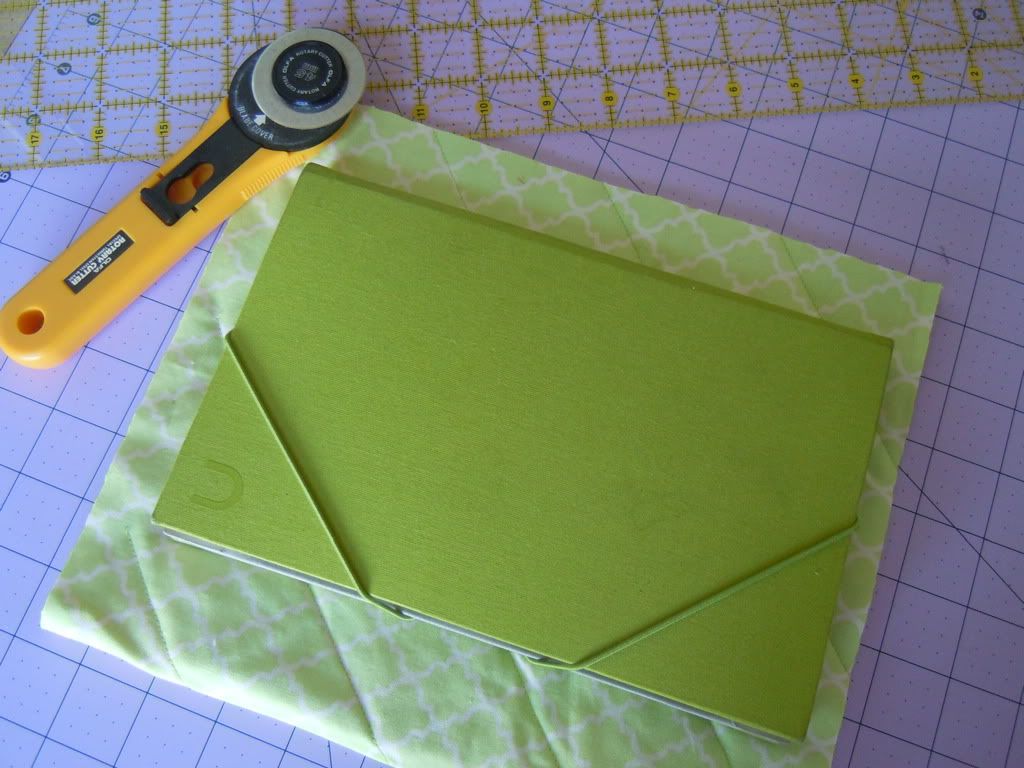
I started by using the last piece of my quilted scraps, which I mentioned having in Day One. I saved this one from my pot holders because it was the largest one and I was hoping I'd come up with something else to do with it -- after five pot holders, how many more do you really need?! After laying my Nook on it, I knew I'd have plenty of material to work with.
I started by folding the scrap and placing the Nook on top. I then cut around it, making sure to leave plenty of room for seam allowances and so it would go in and out easily.
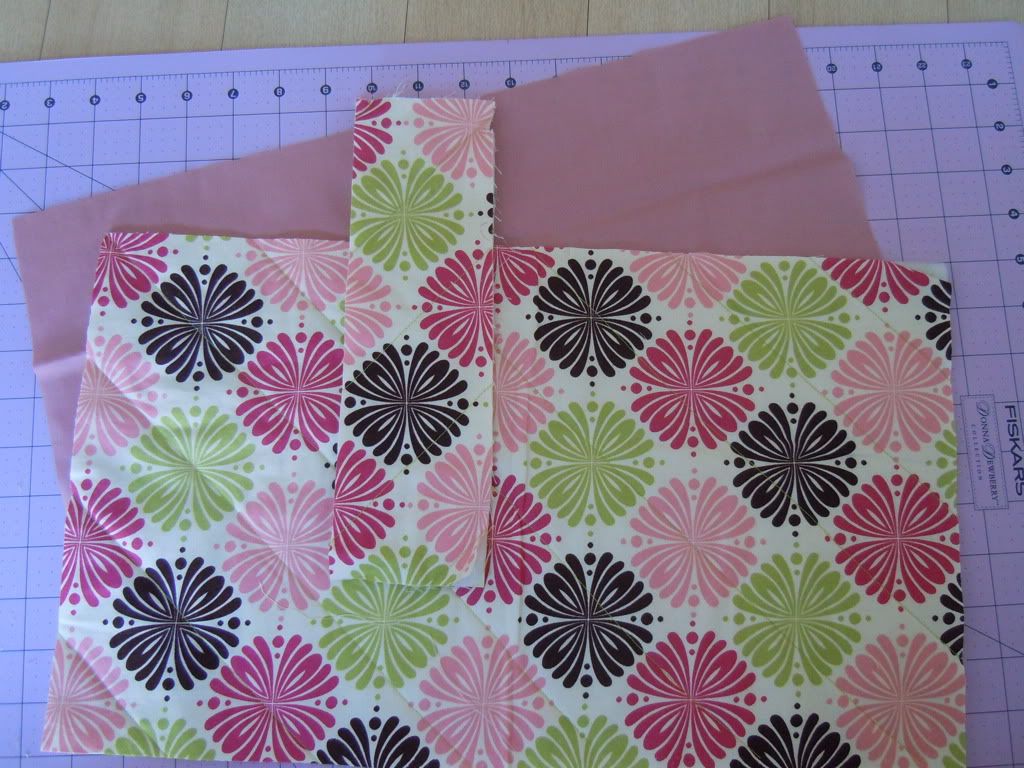
I used another, thinner scrap for the clasp and dug around for coordinating fabric to be used for the lining. Once I'd cut my outer piece, I used it as a template for cutting my lining.
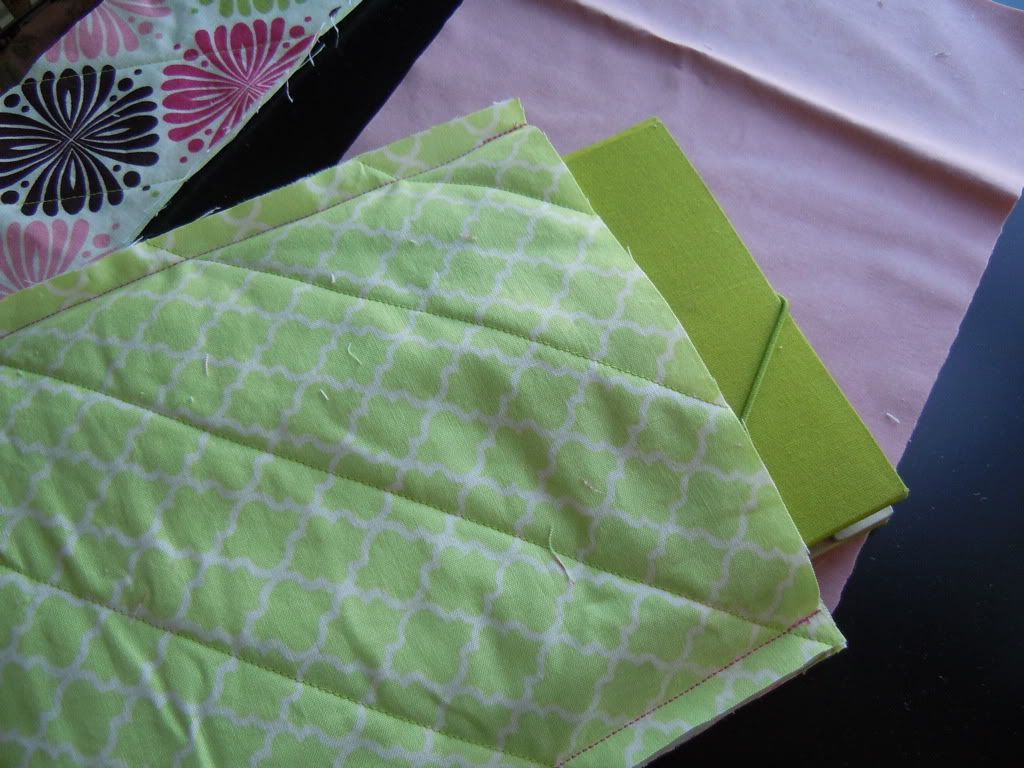
To begin, fold the outer piece in half with right sides together. Stitch around the two side seams and bottom seam, leaving the top open. At this point, I also double checked that there was plenty of room for my Nook. Be sure to keep it wrong side out.
Repeat with your lining piece but turn it right side out and press.
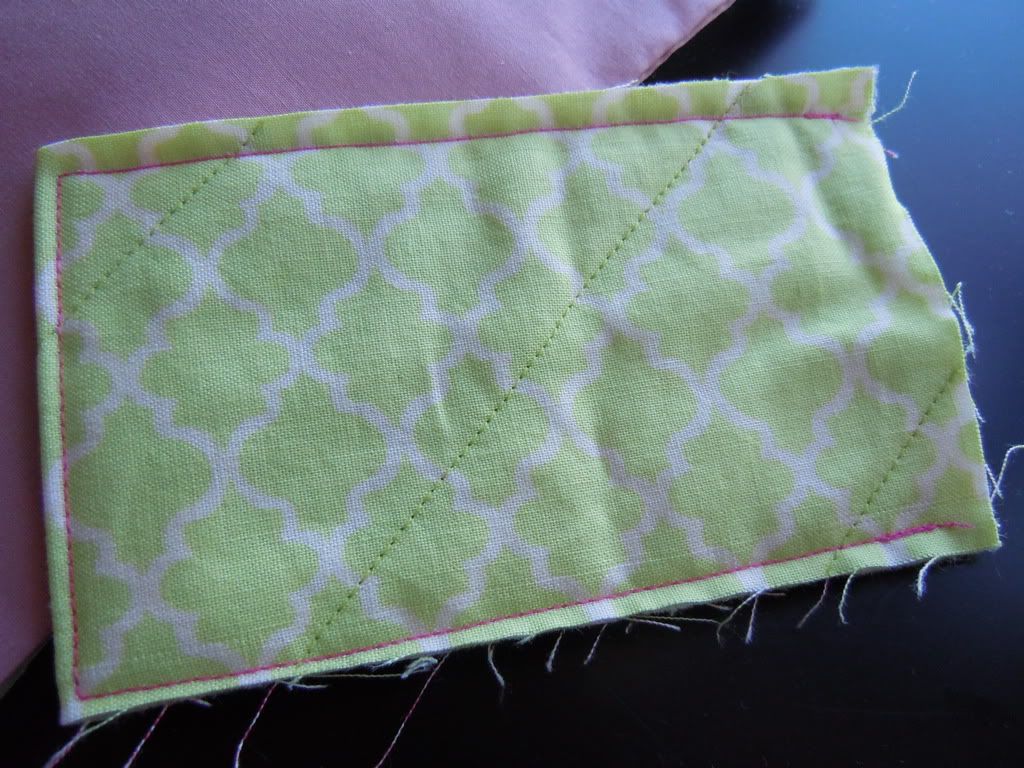
Now, make the clasp by folding it in half right sides together. Sew around the edge making sure to leave an opening for turning. Turn it right side out and press.
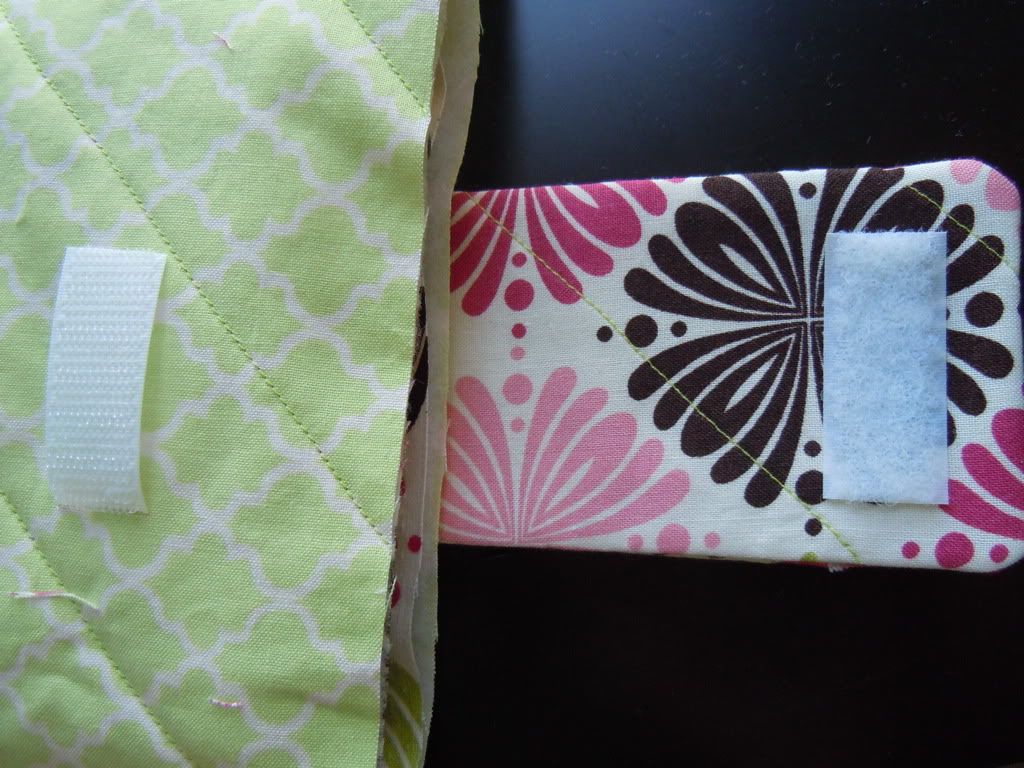
I then attached one half of my Velcro. It probably would have been wise to measure and attach this before sewing my clasp so you don't see the stitches on the other side. I tried to disguise it by sewing two lines all the way across, that look intentional and coordinated with my fabric.
Line up the raw edge of your clasp with one raw edge of your lining piece, making sure to center it. You want the Velcro to be facing into the lining piece and not up at you. Stitch in place.
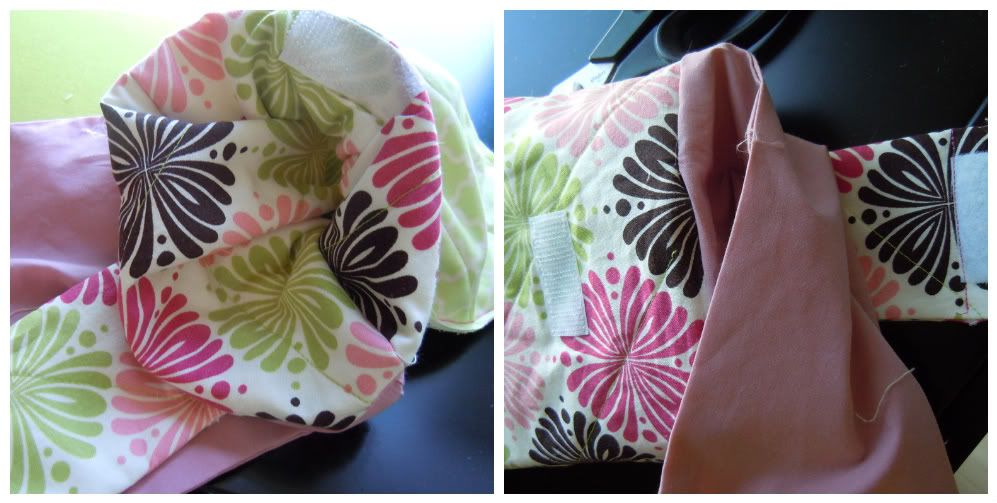
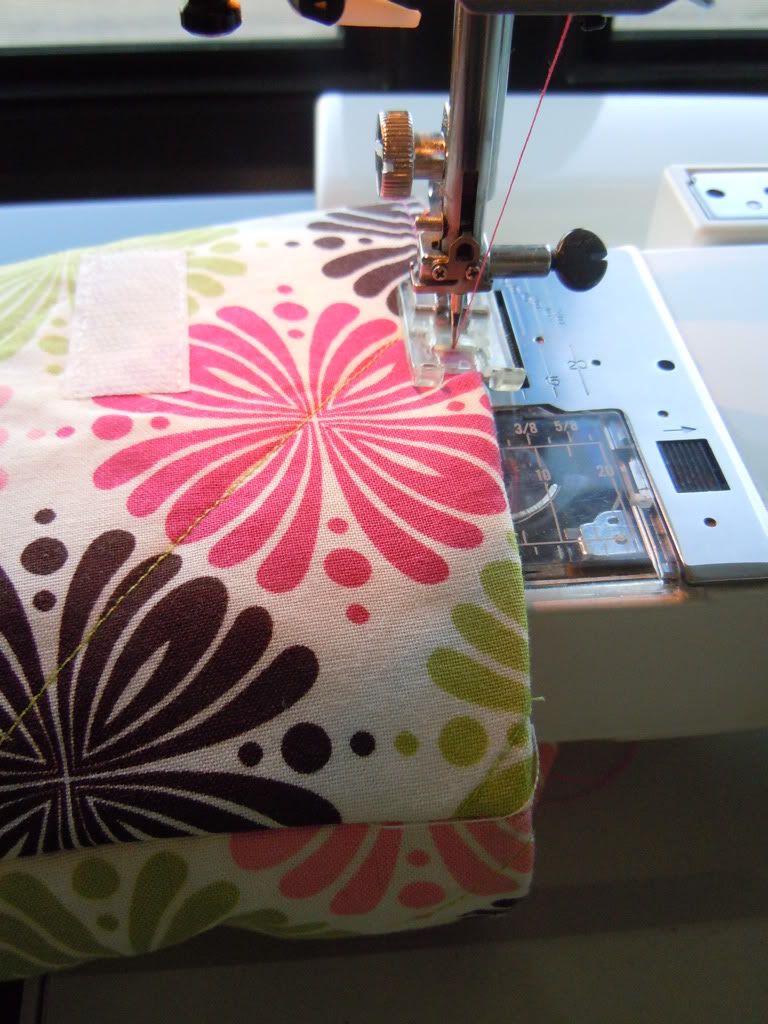
Turn you outside piece right side out so you can attach the Velcro. I measured where the other half of my Velcro needed to be for the clasp to close tightly and pinned it in place. I then slipped it over my free arm so I could stitch it in place easily and not accidentally attach it to the backside.  I also changed just my top thread to white so it wouldn't be noticeable after I stitched it in place -- something that would also be wise to do with the first half of the Velcro. Now turn the outside part wrong side out again.
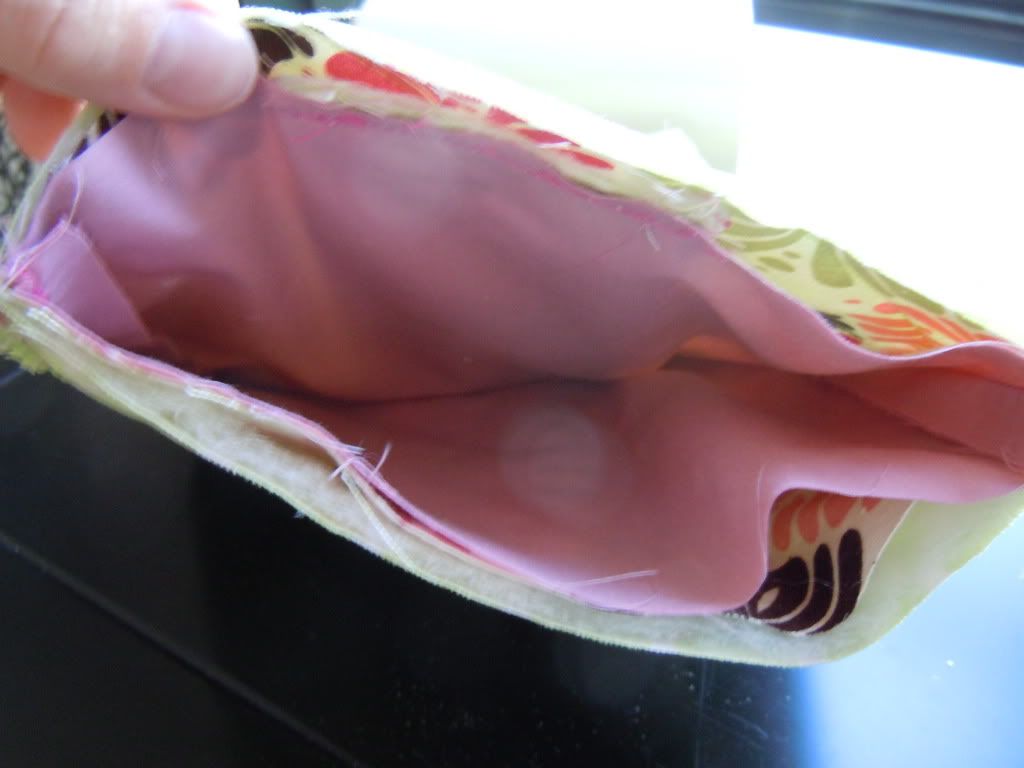
Place your lining piece inside the outer piece and line up the raw edges. Stitch in place, making sure to leave a small opening for turning.
Reach in the opening and pull the outer piece through so both are now right sides out.
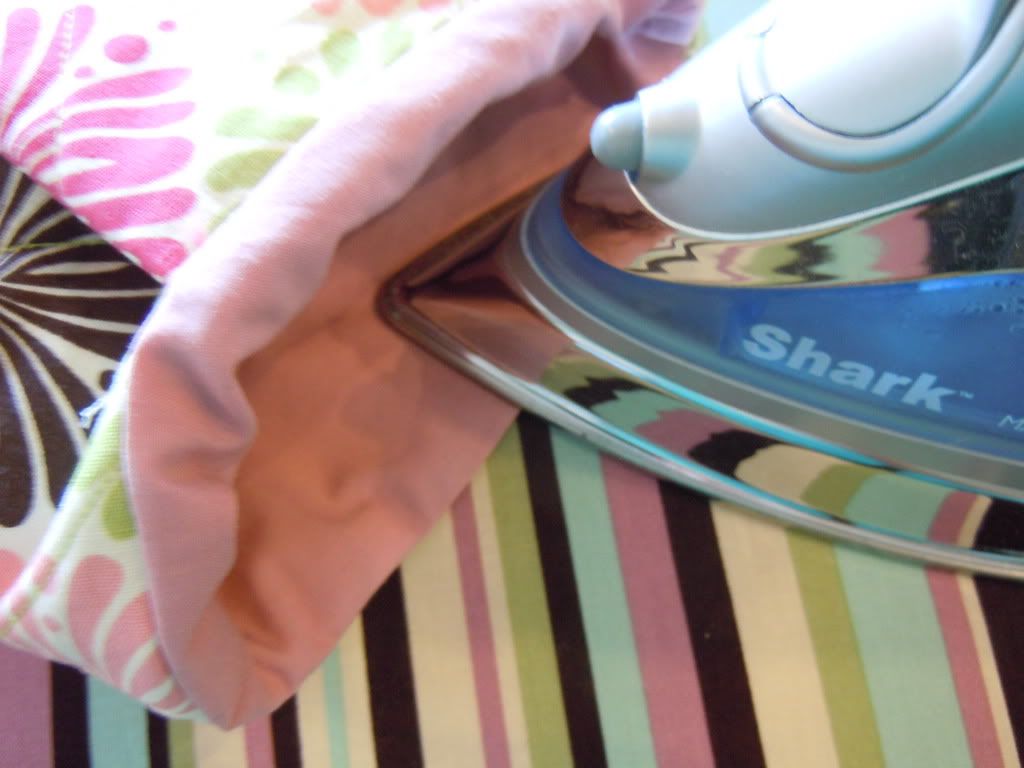
Tuck the lining into the outer piece and press the open edge inwards.
Top stitch around the entire opening and you're done!
Slide your Nook in and you can take it with you anywhere without worrying!
Just one more day left in my 7 Day Challenge!


Thursday, August 11, 2011

One Step Towards Being Green

So many people have begun bringing their own reusable bags into the grocery store.  I currently have only one which I take with me every time. This means I usually end up leaving with one really heavy bag or some combo of it and paper.  After making one of my very own, I plan to make many many more so I'll never walk out with paper or plastic again.
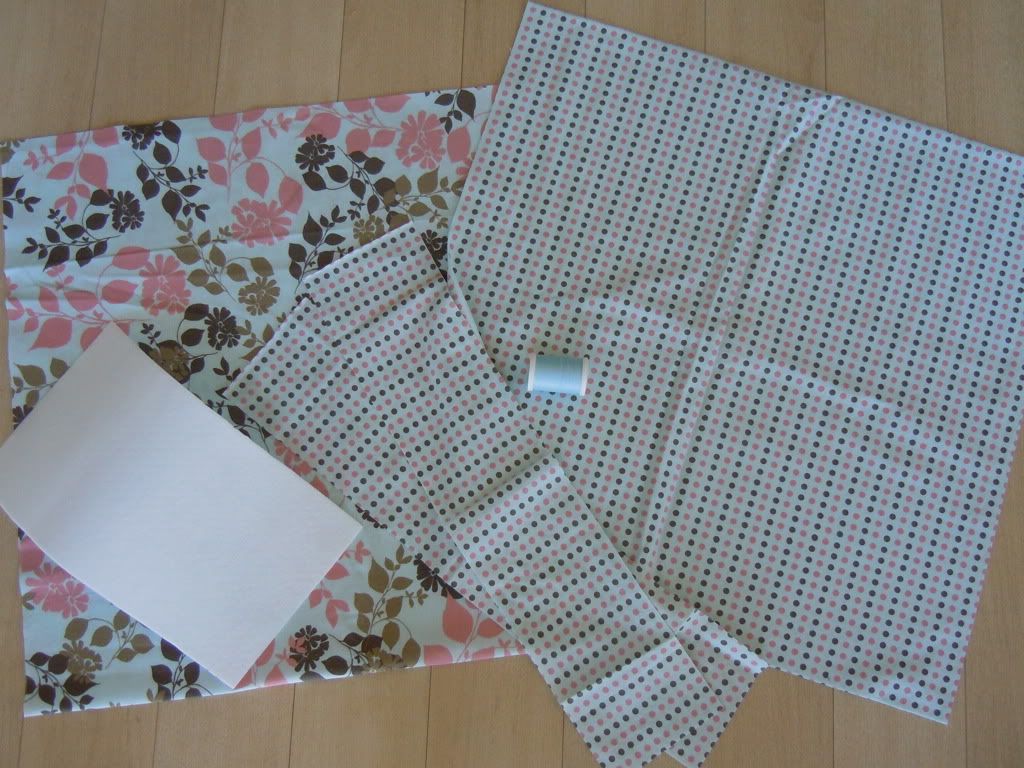
To make a reusable grocery tote, you need two pieces of fabric each measuring 36" by 19", two pieces of fabric measuring 4" by 18", a piece of Peltex measuring 5" by 11" and coordinating thread. The two large pieces of fabric will be used to make the outside and lining of the bag, so they can be the same or coordinating, like mine.  The Peltex is a very heavy interfacing which can be found at any sewing store and purchased by the yard.
We'll start by constructing the outside of the bag. Fold your fabric piece in half hot dog style, with right sides together. Stitch the sides and bottom -- the folded part -- but leave the top open.
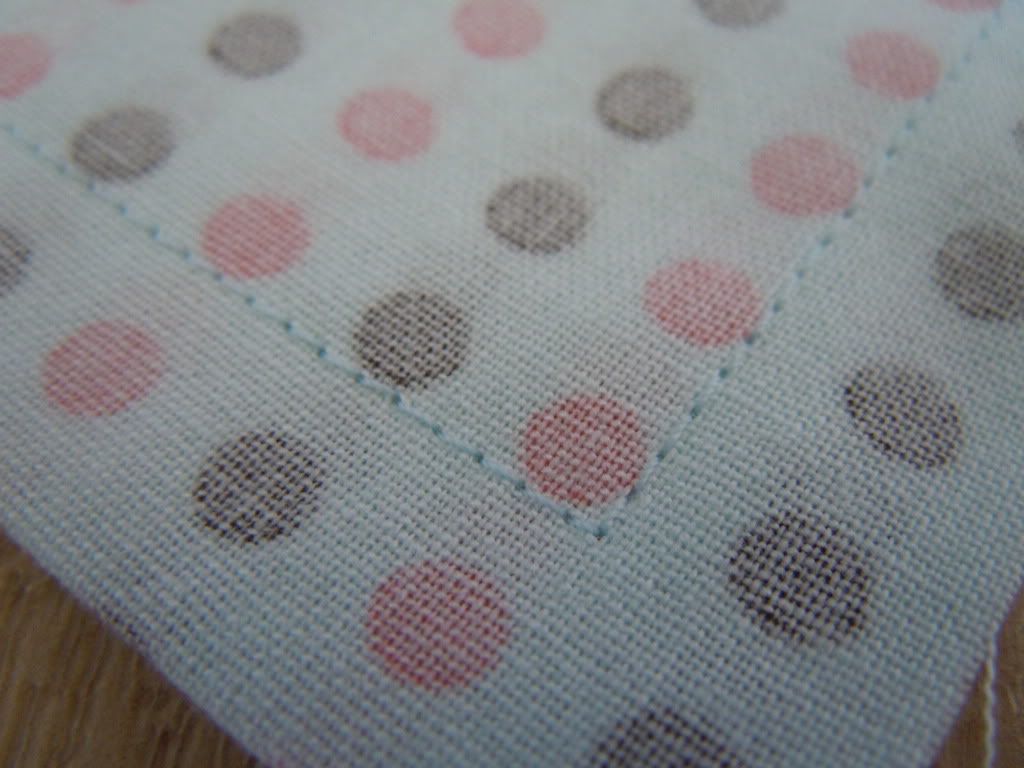
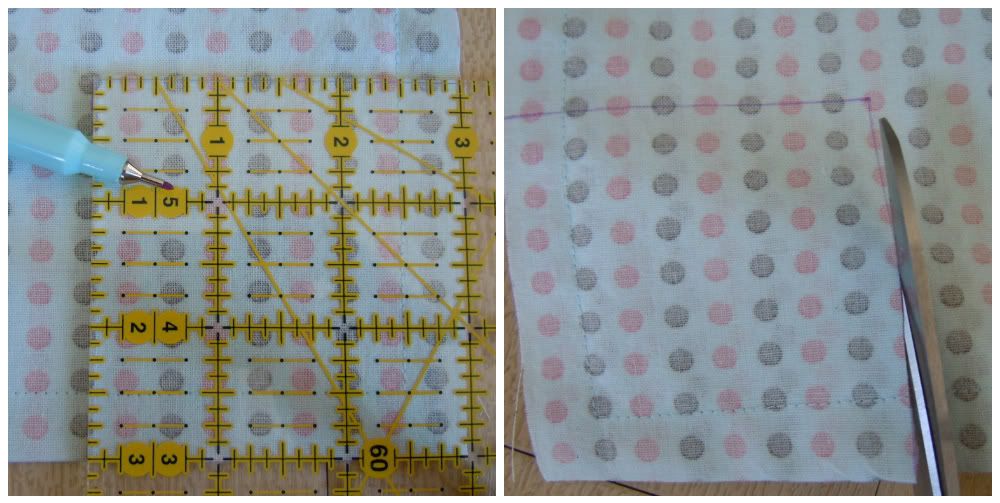
With the fold on the bottom, draw a 3" by 3" square in each of the two bottom corners and cut them out.
Insert your scissors into the seam of the folded edge and cut it open. You should now be able to press your three seams open.
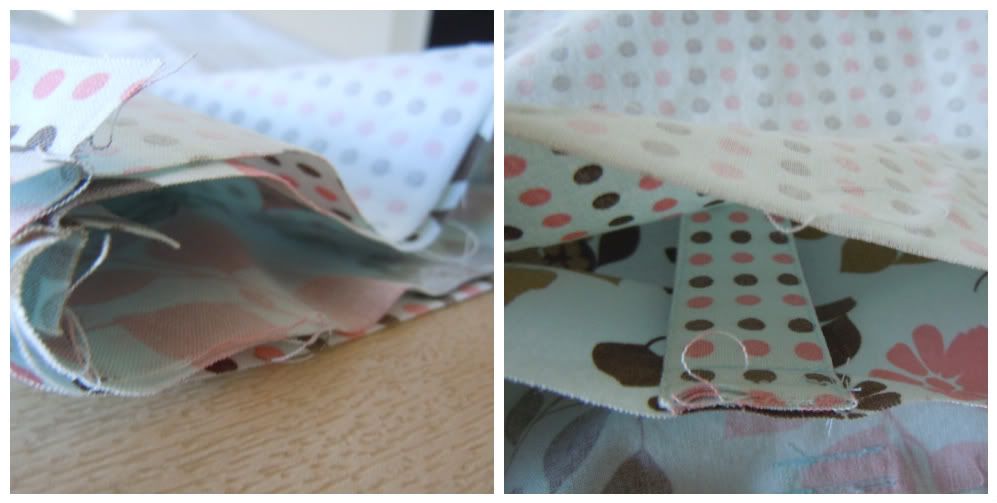
Pull the bag sides apart from one another at the cutout and pinch the bottom seam towards the side seam, lining them up with one another. Stitch the opening closed and repeat the with other side. Leave the outer piece wrong side out.
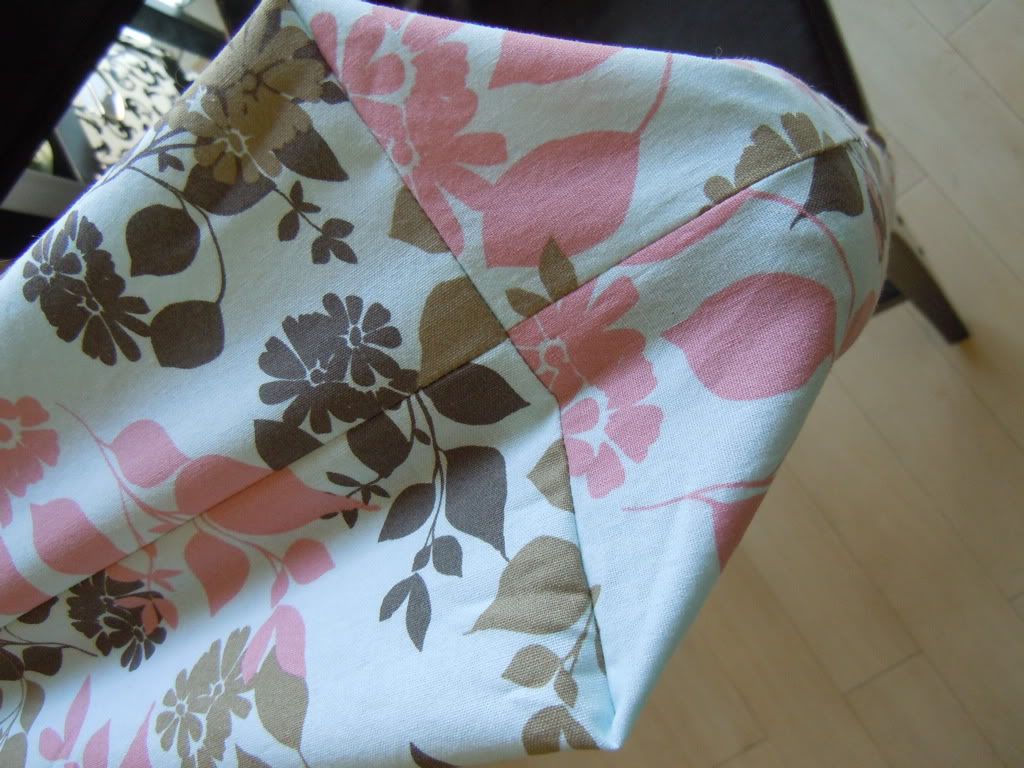
Repeat these same steps with the lining piece and turn it right side out. The bottom will now look similar to this.
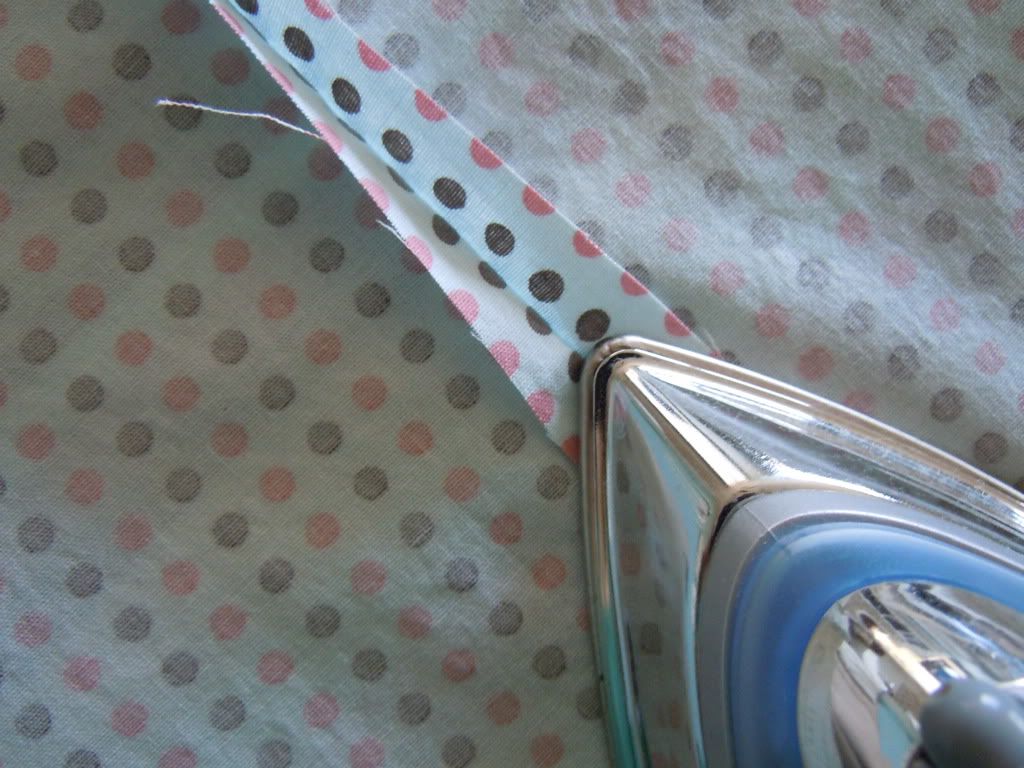
Next, we'll make the handles. For each of the handle pieces, fold them in half hot dog style and press. Unfold and fold each edge towards the center and press. Now fold in half again and press.
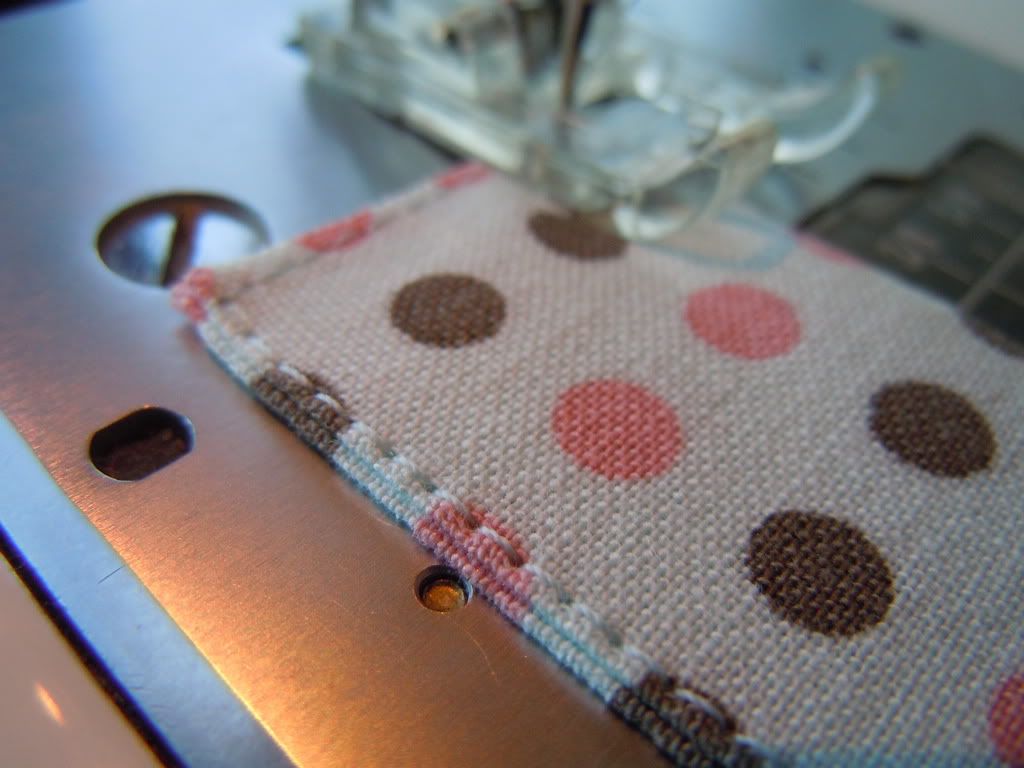
Edge stitch all the way around each handle.
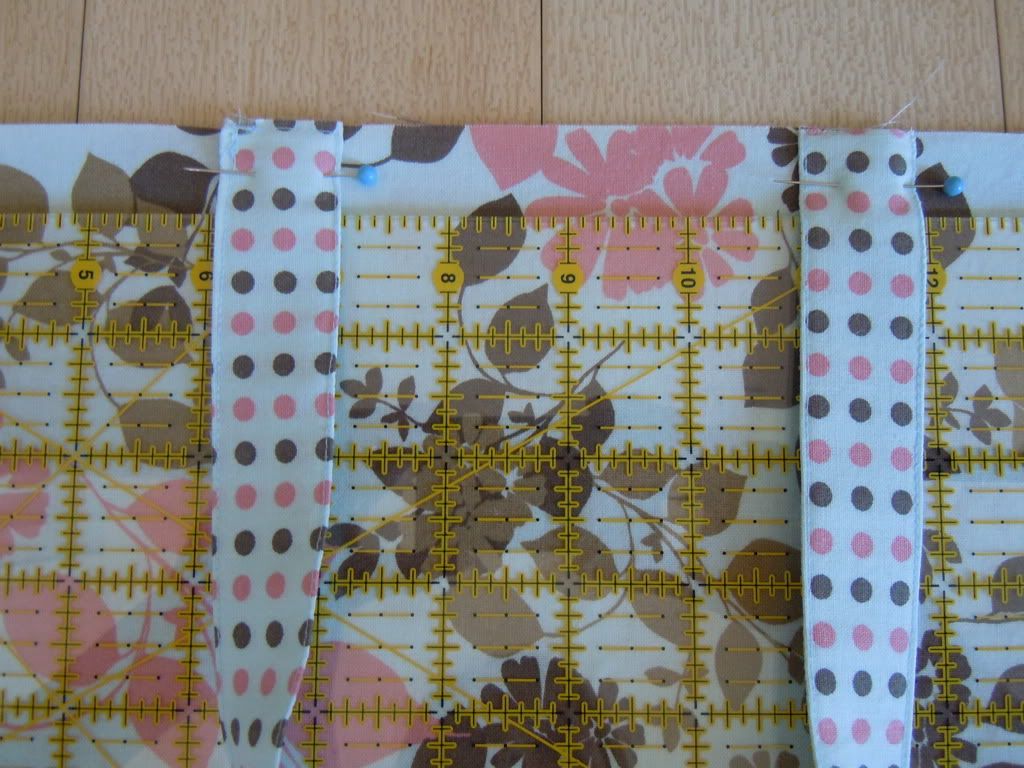
To attach them to your bag, grab your lining piece and one of the handles. Line up one edge of the handle with the top edge of the lining piece, 6" from the side. Pin in place. Attach the other end of the handle to the top edge of the bag, 6" from the other side. Make sure the handles are not twisted before pinning.
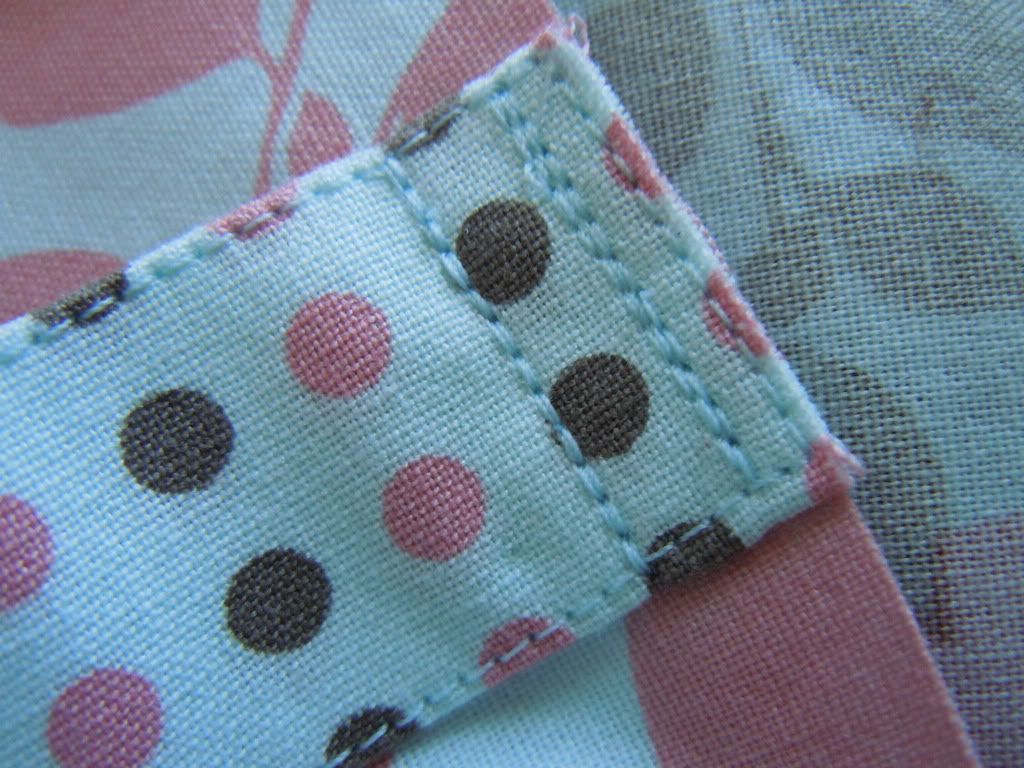
Use a 1/2" seam allowance and secure the handles to the side of the lining. I sewed a second seam just to reinforce them.
Repeat with the second handle on the opposite side of the bag. Now place the lining piece inside the outside piece, which should still be wrong side out. Make sure the handles are in between the lining and outside pieces. Also, make sure the seams of the lining and outside bag line up. Pin in place along the top edge.
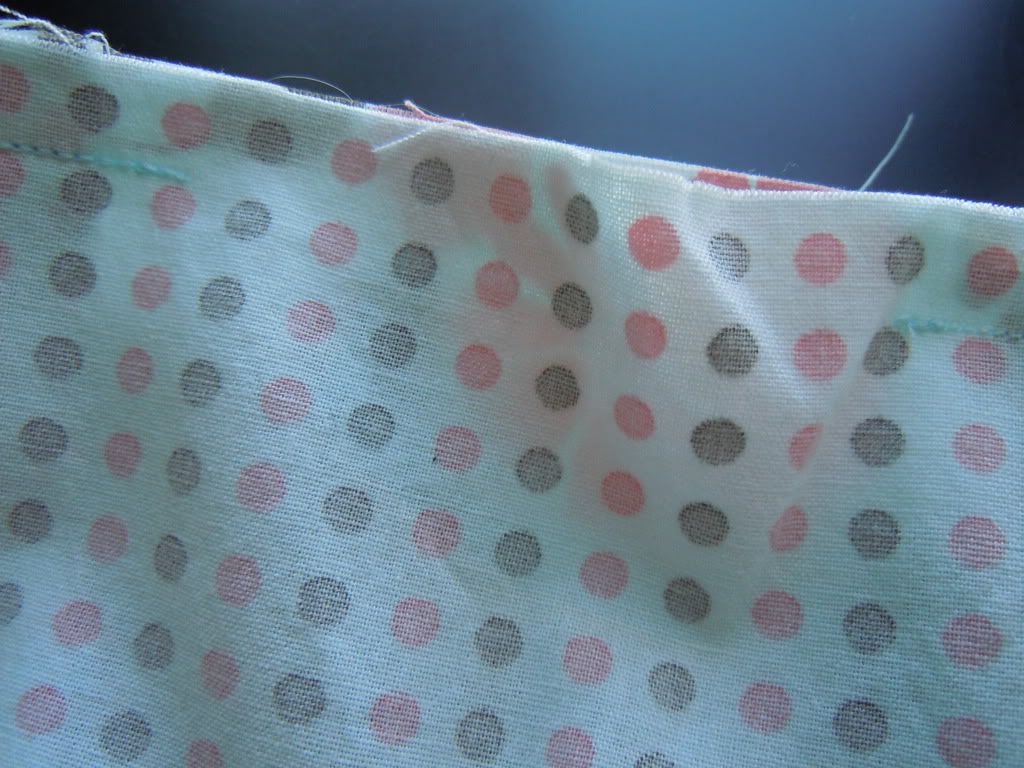
Sew all around the top of the bag, leaving a gap on one side in between the handles for turning.
Reach in through the opening and pull the outside of the bag through. Your outside and lining should now be right sides out with handles in the adjoining seam.
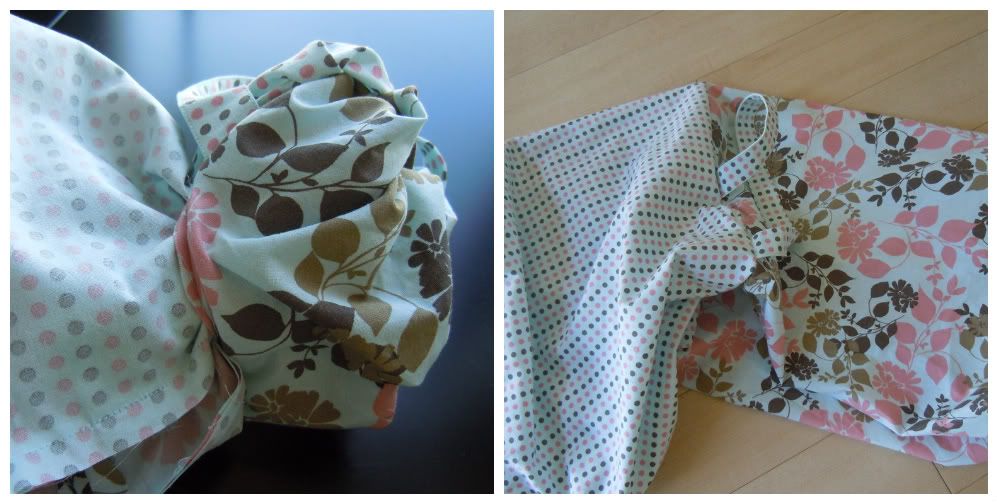
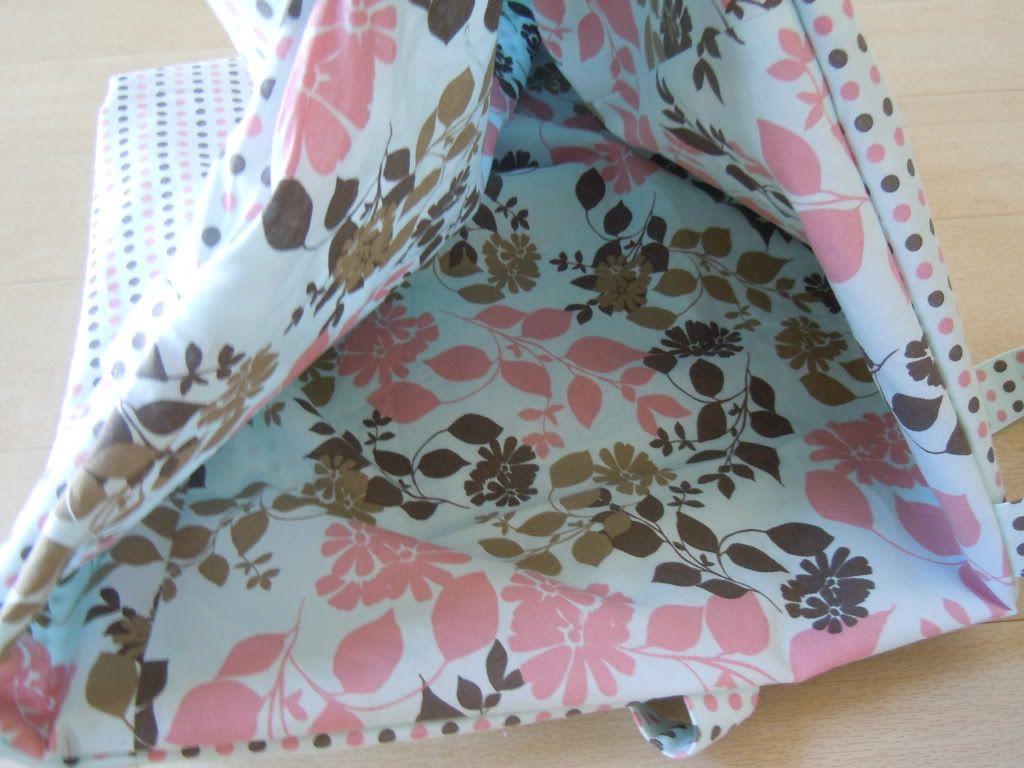
Then push the lining into the outside of the bag.
Before stitching the opening closed, insert your piece of Peltex and position it at the bottom of the bag. It's pretty flexible, so it's okay if you have to curve it a bit to fit in the opening.
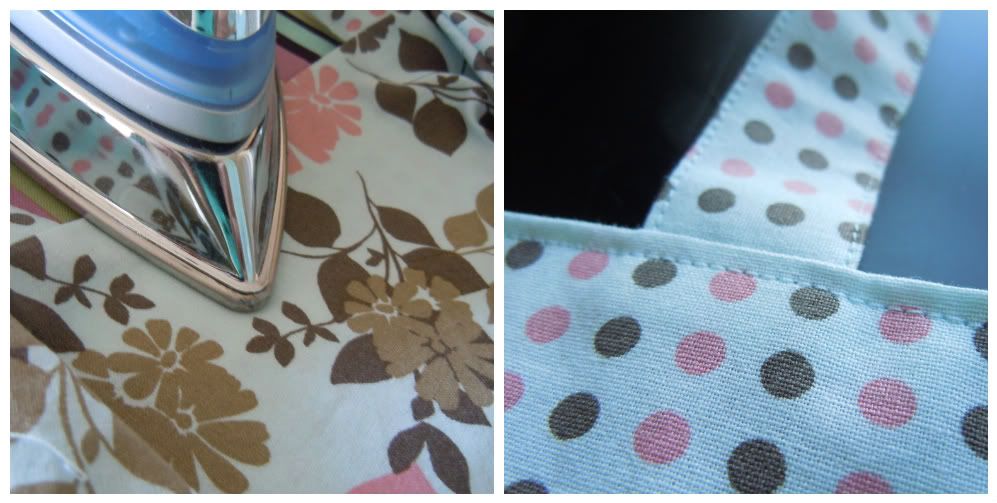
Now, fold the raw edges of the opening inwards and press closed. Then topstitch all around the top of the bag.
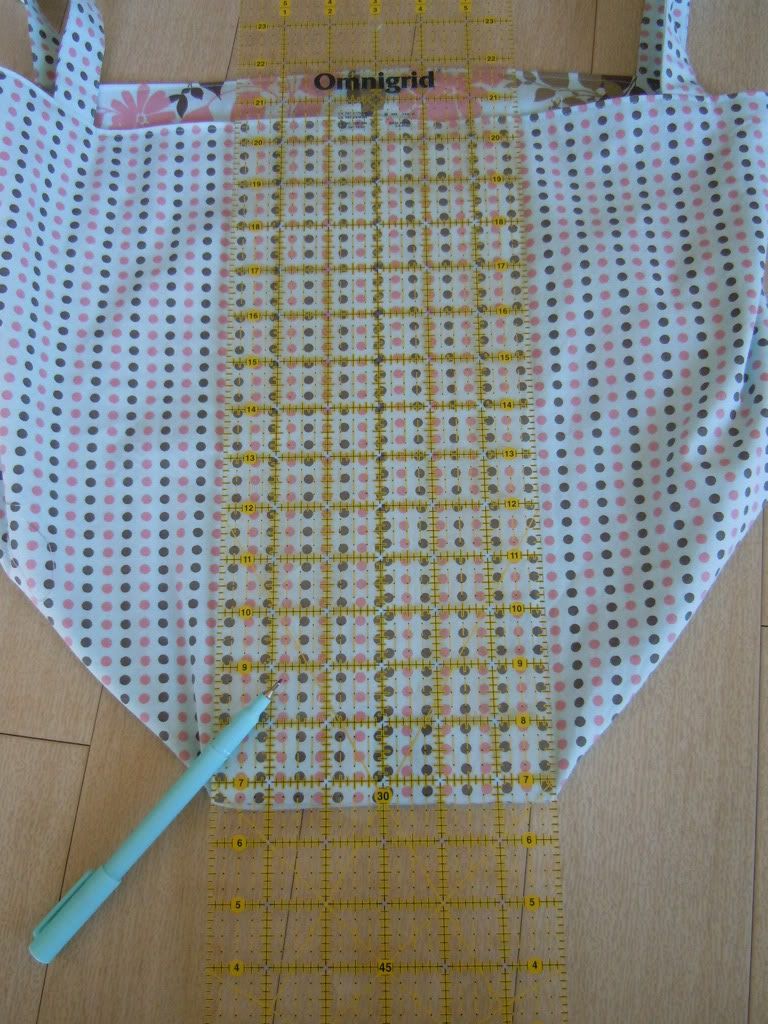
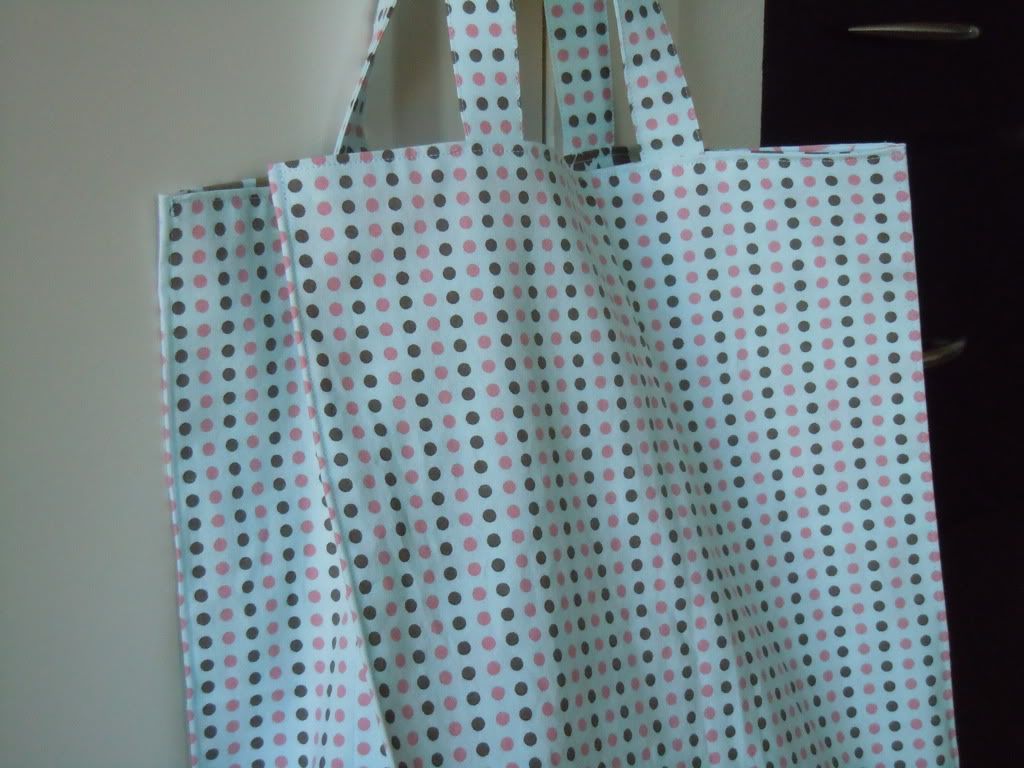
You could stop here and have a perfectly usable grocery tote, or you could continue by structuring the sides of the bag. To do this, lay one short side flat and draw a line 3" on each side of the middle. Your line should end in the bottom corners.
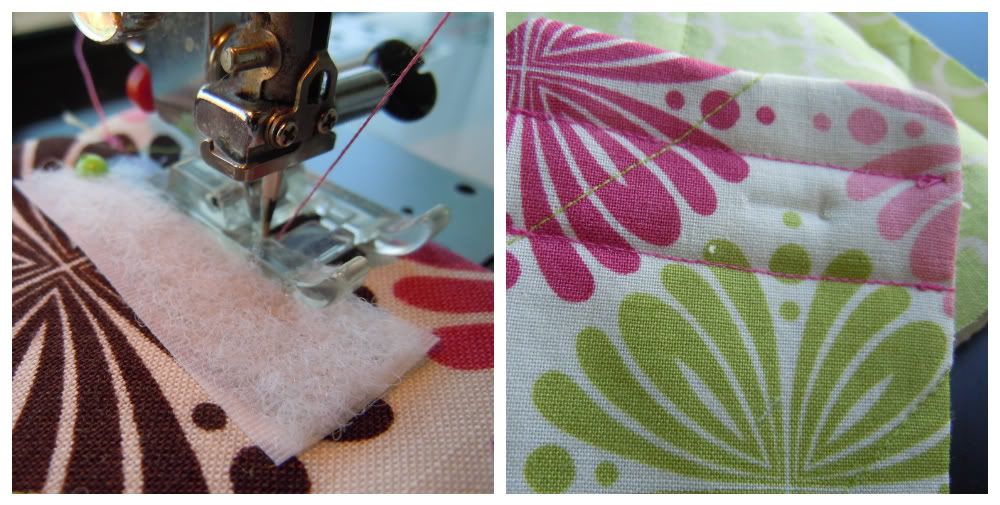
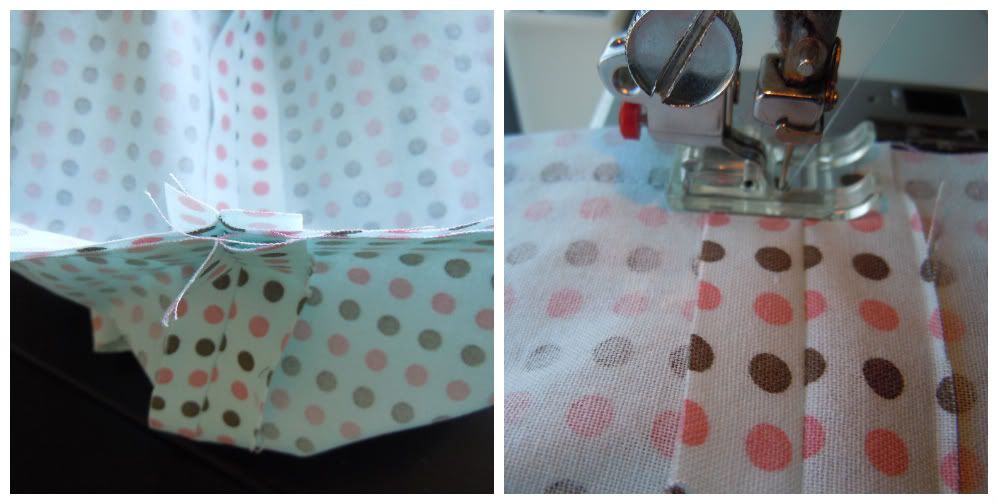
Pinch each of the drawn lines and pin from the top to the bottom making sure to get all four layers.  Repeat this for the other side of the bag. Pinch along the long bottom side of the bag as well, making sure to get all the layers but not the Peltex.
Starting at the top of the bag, stitch down one side. When you reach the bottom, pivot the needle and stitch along one bottom edge. When you reach the other side, stitch up until you reach the top of the bag. Repeat with the other side that you pinned.
You're done! Put it in your car and use it each time you go shopping.