


After digging through my fabric bin to see what I could use for Day 2’s project, I discovered there were 3 different yards of fabric that had not been touched at all. With a whole yard of fabric, I had a broader range of project possibilities. I got out my iron and began pressing each one while I thought about what to sew next. It didn’t take long to realize one yard was most certainly going to have a new life as an ironing board cover.
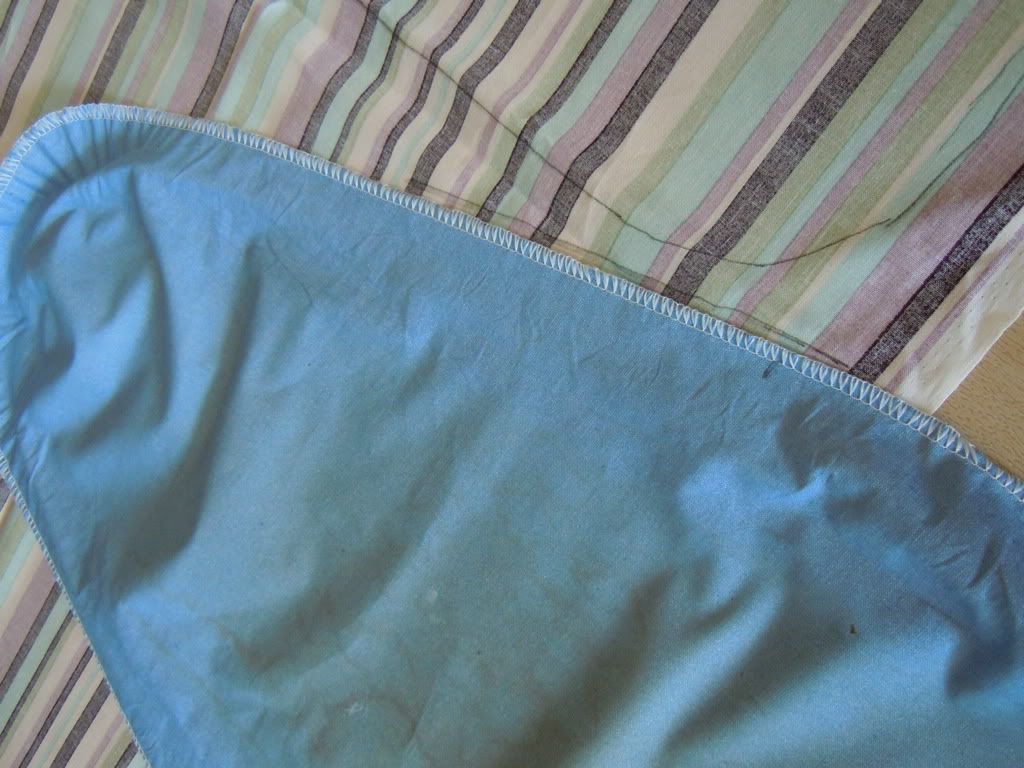
 I am almost too embarrassed to admit that my ironing cover is in this bad of shape.

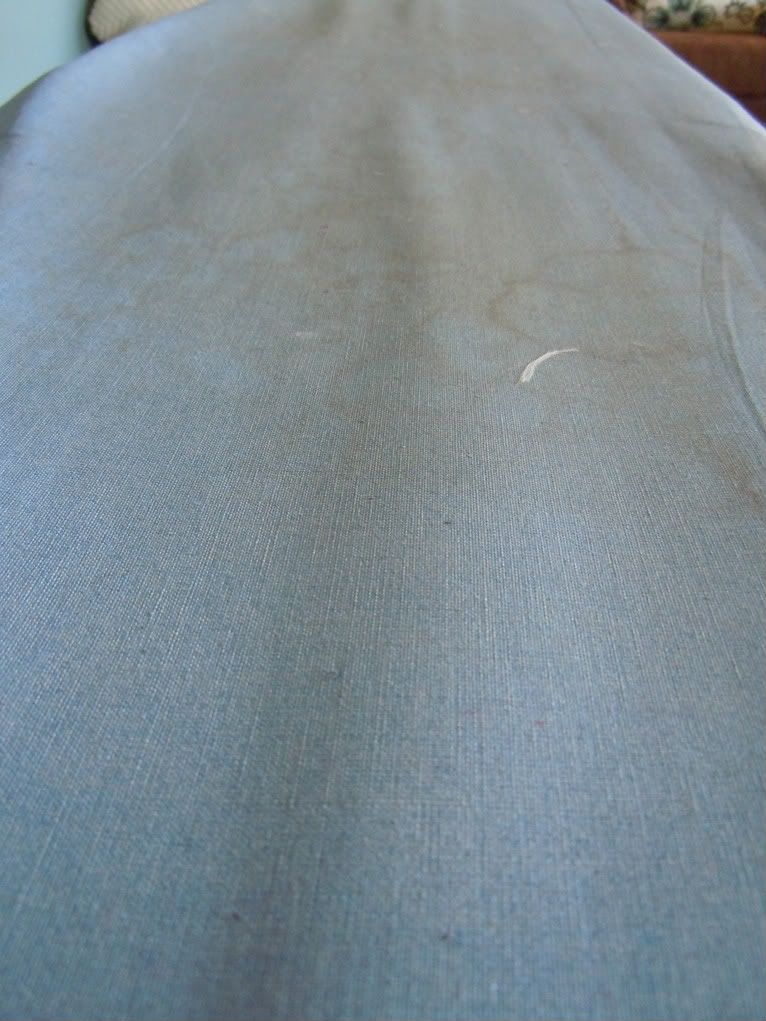
I am 100% blaming the current state of this cover on the tacky Christmas sweaters I made last year. It involved a lot of fusible fabric pieces and I was not nearly careful enough with cutting exactly on the lines. Once heat touched the pieces, a sticky mess was everywhere. It caused major damage to my iron and ironing board -- and a few shirts I tried to iron afterwards. At least one of those disasters was an easy fix I decided to take care of just a short 8 months after. Better late than never, right?
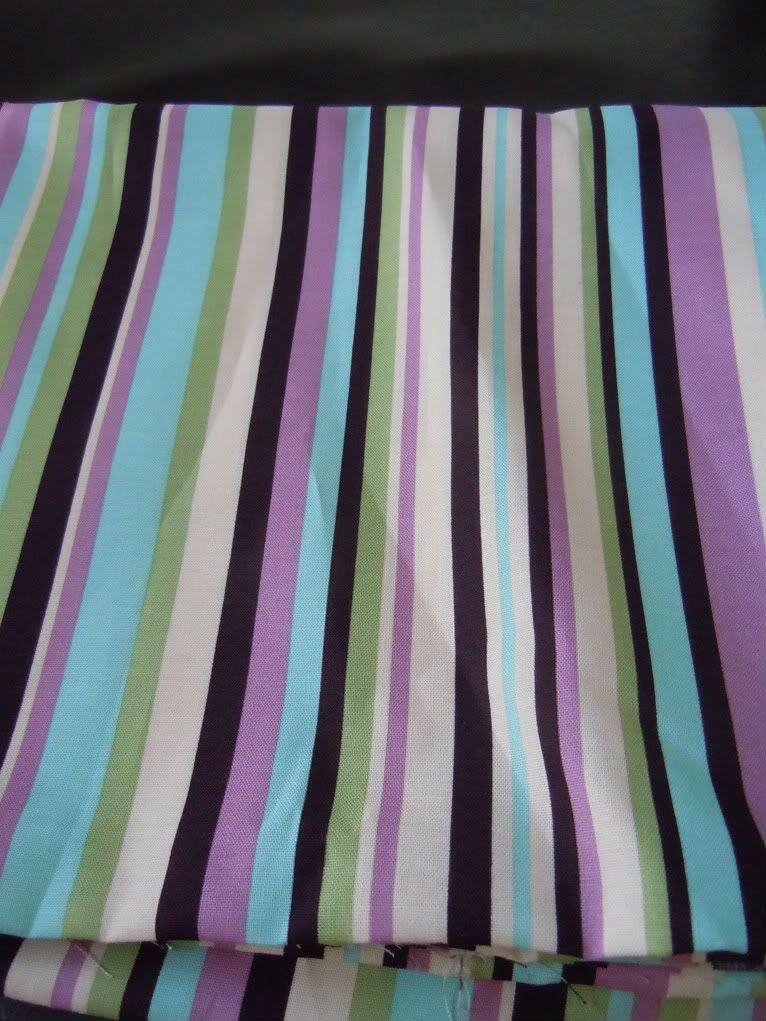
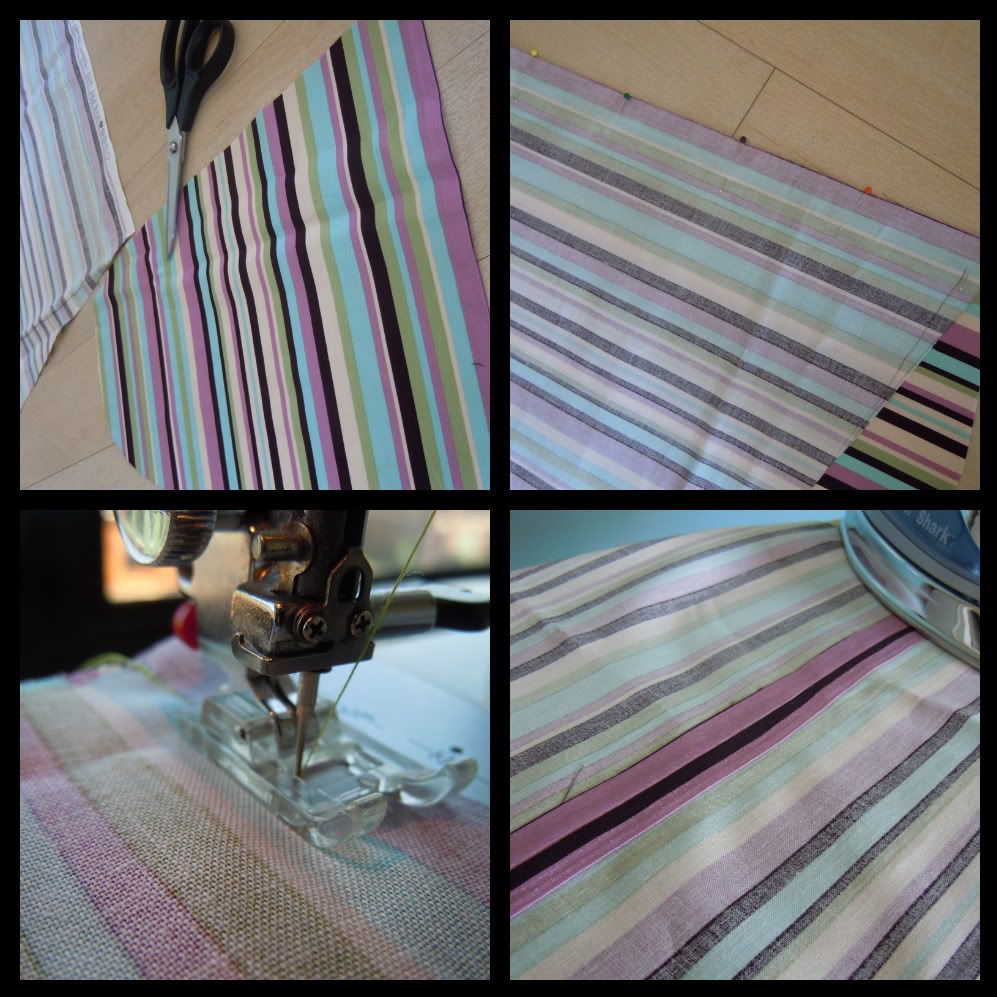
I chose this fun striped piece because it was a non-directional pattern and any necessary seams would be nearly impossible to detect if I ran the stripes horizontally.
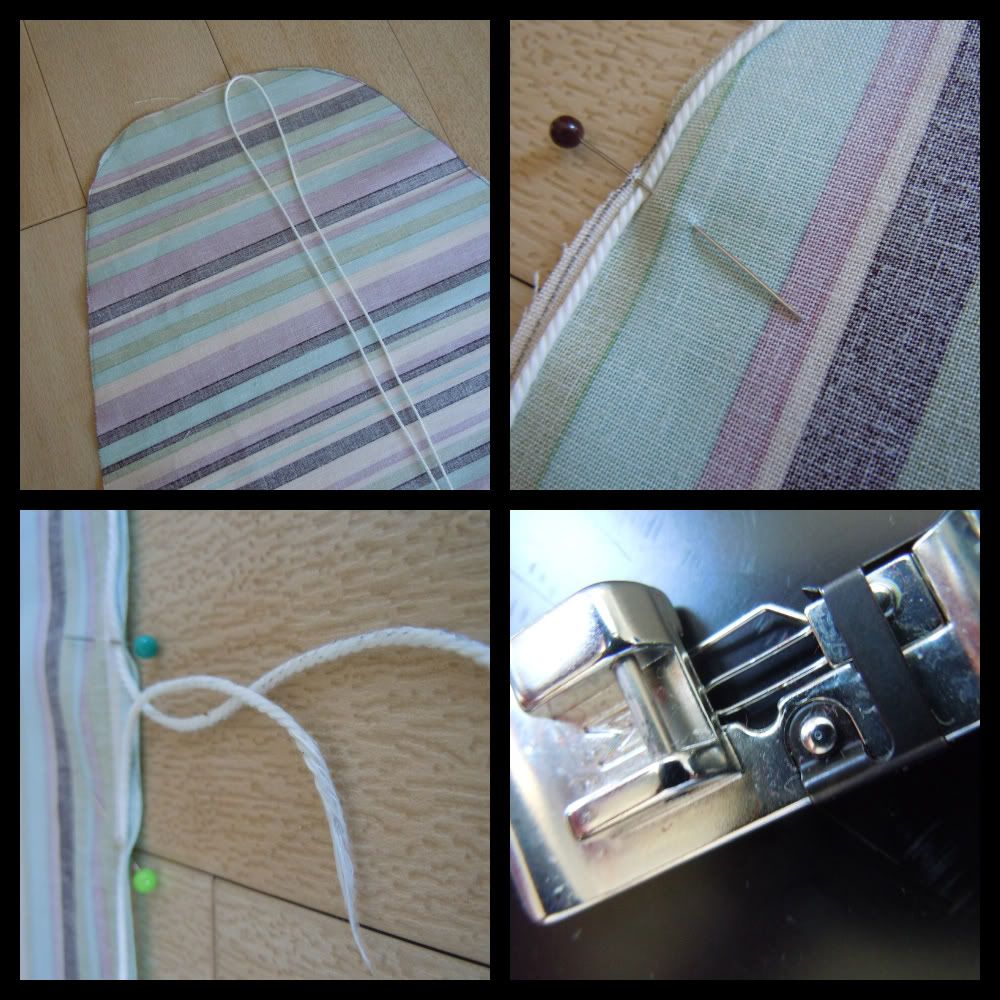
I started by removing my old cover so I could use it or the ironing board itself as a pattern. The only tricky part here was undoing the string clasp.
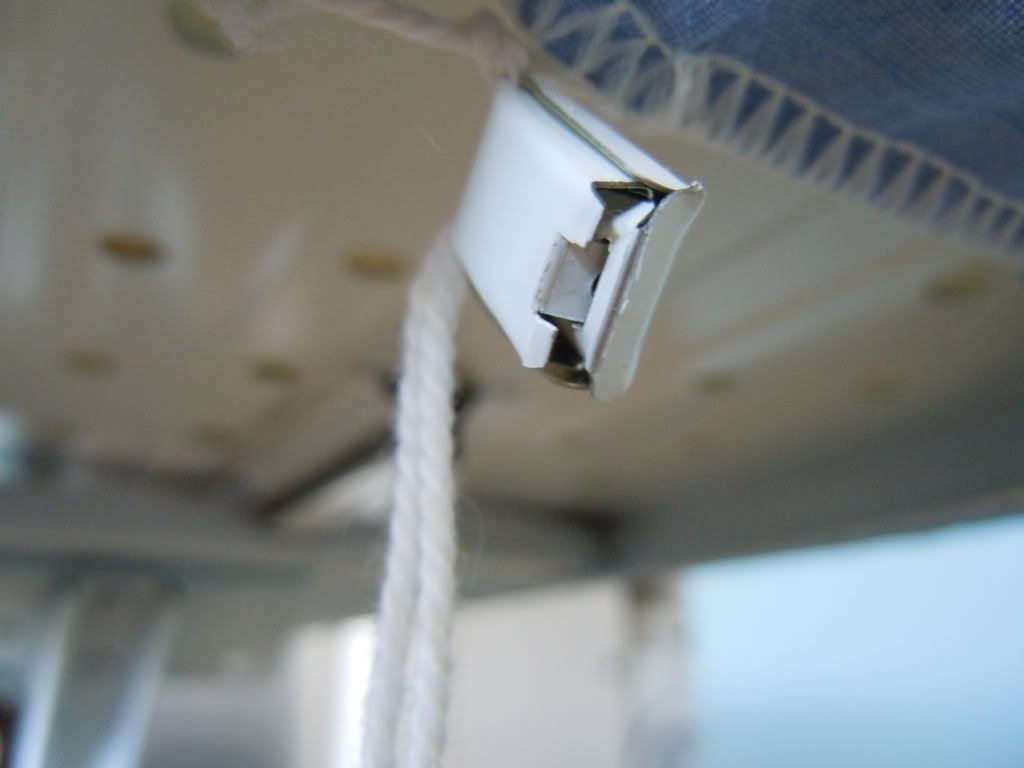
Once that was removed with a flat head screwdriver, I pulled out the string to use with my new cover. I then unwrinkled the cover and laid it out on the wrong side of my fabric. If you can’t get it to lay flat over your fabric, I would suggest flipping your ironing board over and tracing it. I would also suggest tracing 2 - 2 ½ inches from the edge of your pattern. My picture does not show this because I had a different method in mind at the start of this project which I’ll explain in a bit.
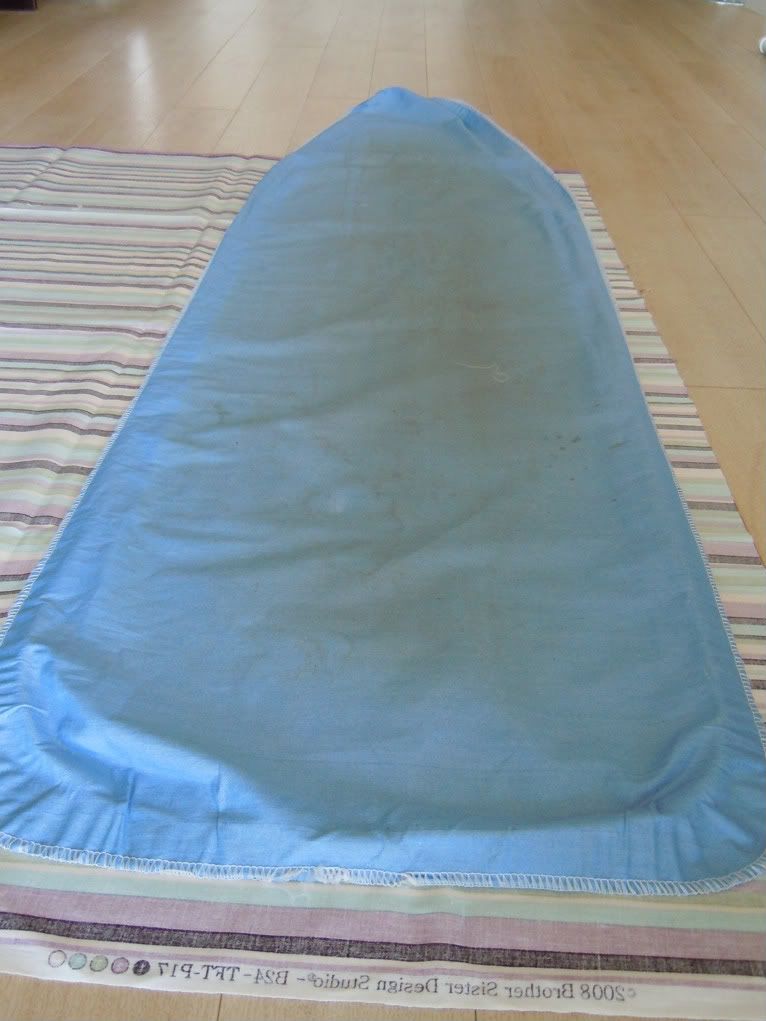
Since it won’t fit the entire length of your fabric, trace as far as you can, pick it up and trace the remainder. Be sure to add about a half inch to inch to compensate for the seam allowance.
Cut out both pieces and lay them on top of one another, right sides together. Stitch along the seam to join them and make one large cover. Press the seam open.
At this point, my plan was to basically recreate the cover I had just removed. The drawstring was incased in an overcast stitch the entire way around. You can see this in some of the pictures above. This seamed the simplest method because I didn’t need an extra 2 inches of fabric all around or have to spend time pressing a casing and then working my string through. So, if you are gifted in sewing an overcast stitch, this would be perfect. All you'd need to do is find the center of your string and lay it at the point of your fabric. Pin so that it stays in place but is not going through the string. Work your way around the entire edge of the fabric until you reach the middle of the flat end. You should have a few inches of string hanging off the edge.
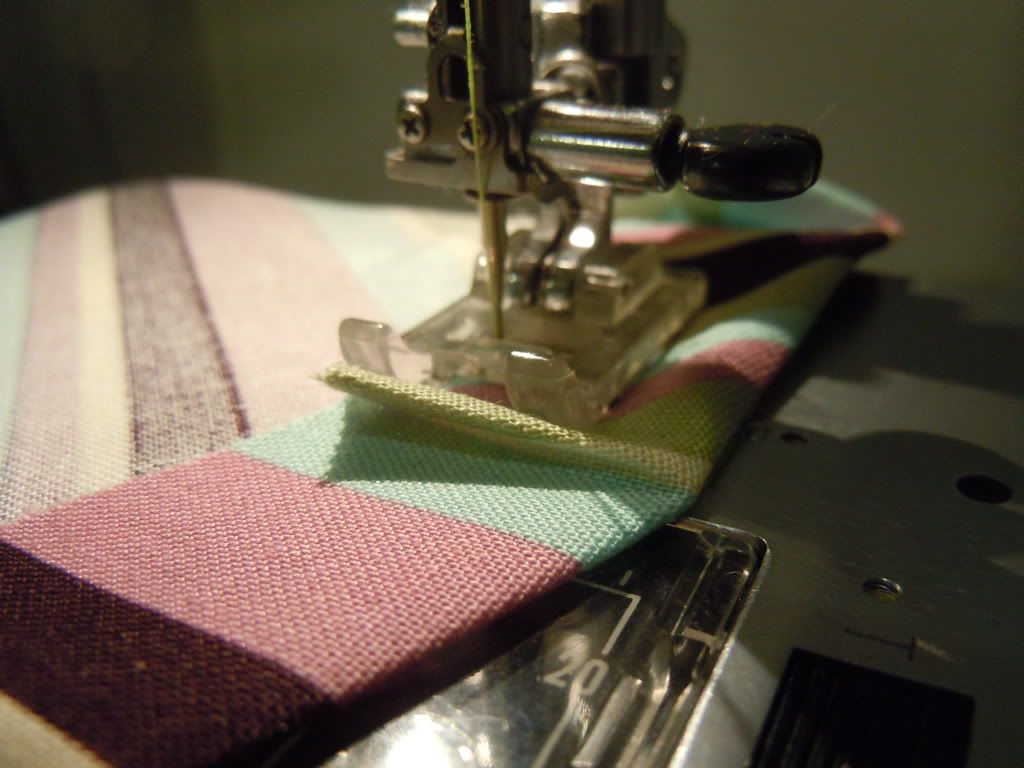
Then, using your overcasting foot, start at one end of the flat side and stitch all the way around staying right at the edge. Be sure you do not accidently stitch the string because it won’t pull when it’s time to place it on your ironing board. I had major trouble staying at the edge around the curves and did manage to stitch the string down a couple times. That’s when I decided to abandon the initial plan and went with plan b.
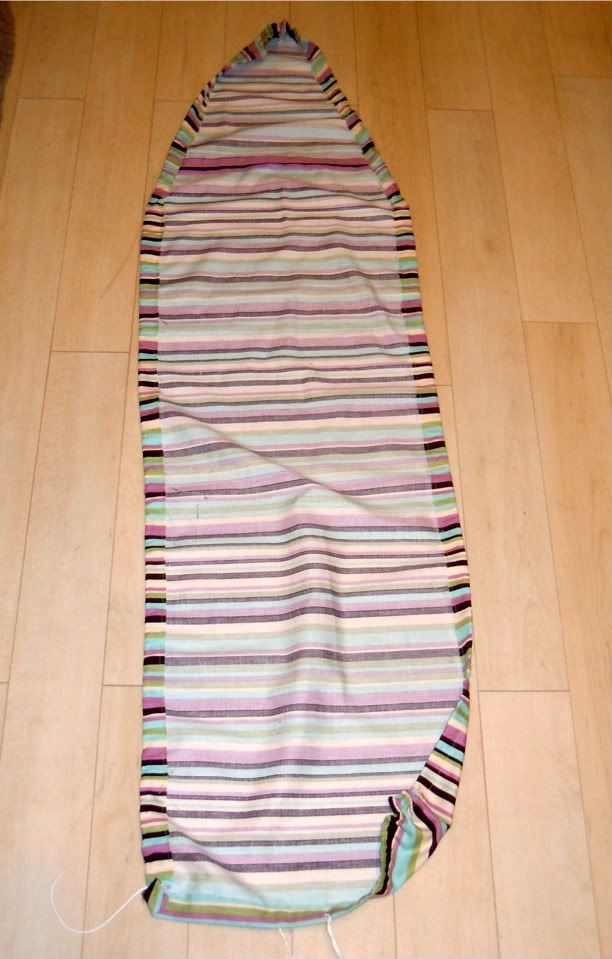
Plan b started with about an hour of removing my first stitches and the string. Then I started folding in the edge around the entire cover to make a casing. Mine had to be as thin as possible since I didn’t cute my original pattern to compensate for this. Some of the fabric around the corners will overlap in order to keep the desired shape, which is fine. After you’ve pressed a casing, sew it in place as close to the edge as possible.
Once you’re finished, cut out a small opening in the middle of the flat side, tie your string to a safety pin and start feeding it all the way through.
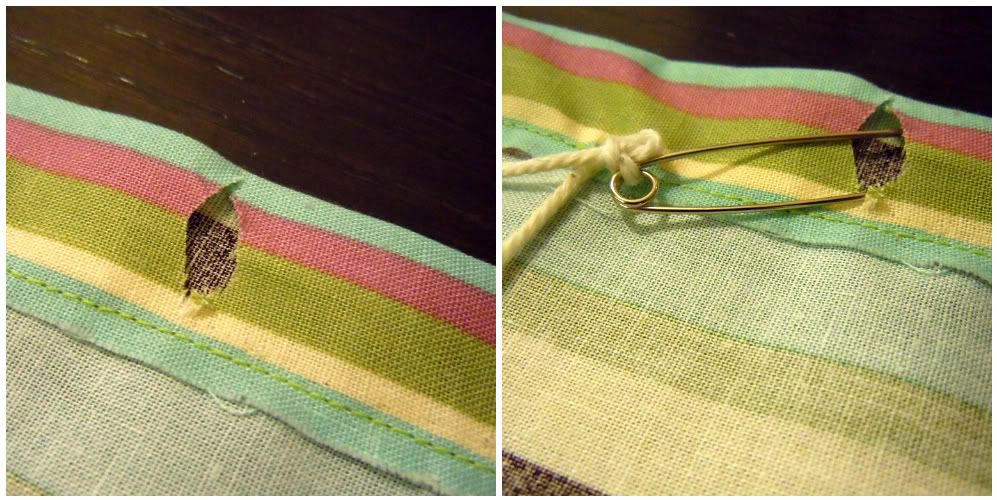
Once you’ve made it all the way through, pull the stings so the pointed end scrunches up.
Place this over your exposed ironing board and pull as tight as you can at the flat end to keep it in place. Tie the strings with a knot or reuse the original string clasp. I had some difficulty with my foam moving while doing this, so I decided to glue it in place so it wouldn’t bunch under my new cover.
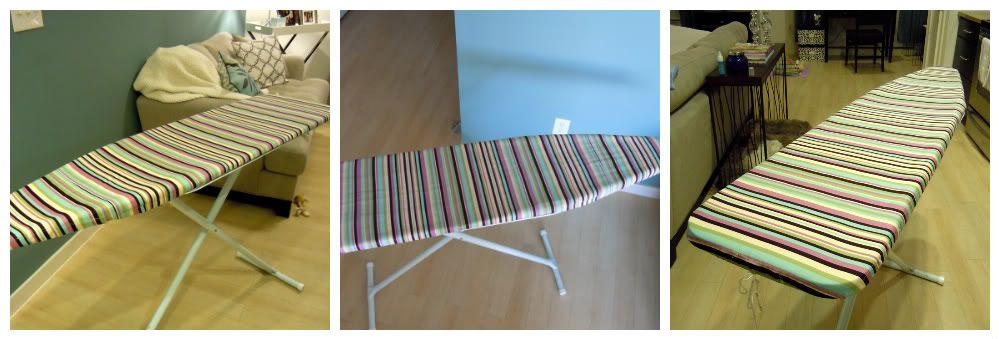
And that’s it! Another project down and a day closer to cleaning out my fabric bins -- I’m ready for day three!

No comments:
Post a Comment