


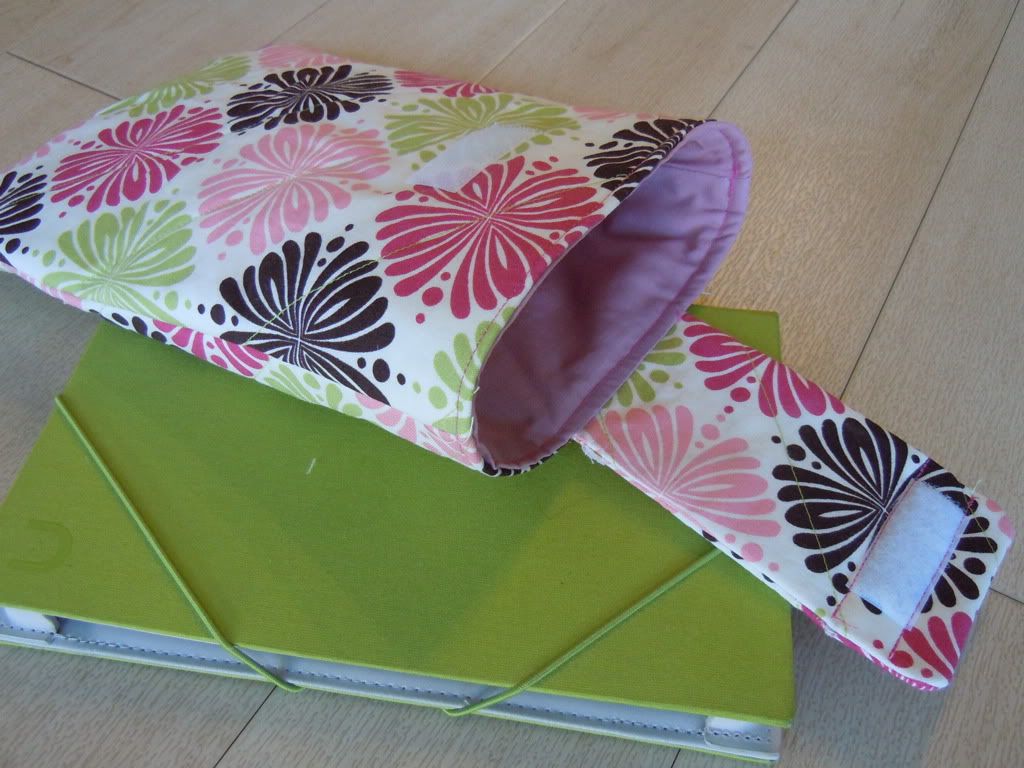
For Christmas this past year, I was given the oh-so-fabulous Nook Color. I have enjoyed toting it around with me to the gym, in the car, on trips and just enjoyed it at home. Along with the nook, I also received a protective cover which I never take it out of. I decided to go even one step further and make an additional case for it to cozy up in.

I started by using the last piece of my quilted scraps, which I mentioned having in Day One. I saved this one from my pot holders because it was the largest one and I was hoping I'd come up with something else to do with it -- after five pot holders, how many more do you really need?! After laying my Nook on it, I knew I'd have plenty of material to work with.

I started by folding the scrap and placing the Nook on top. I then cut around it, making sure to leave plenty of room for seam allowances and so it would go in and out easily.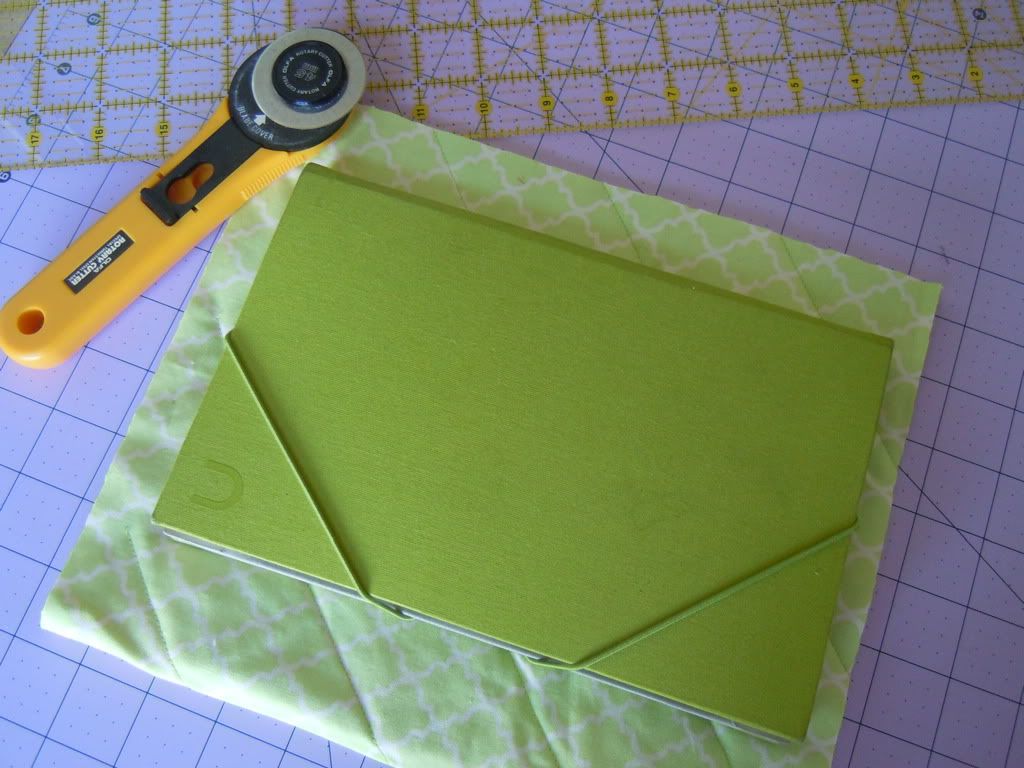
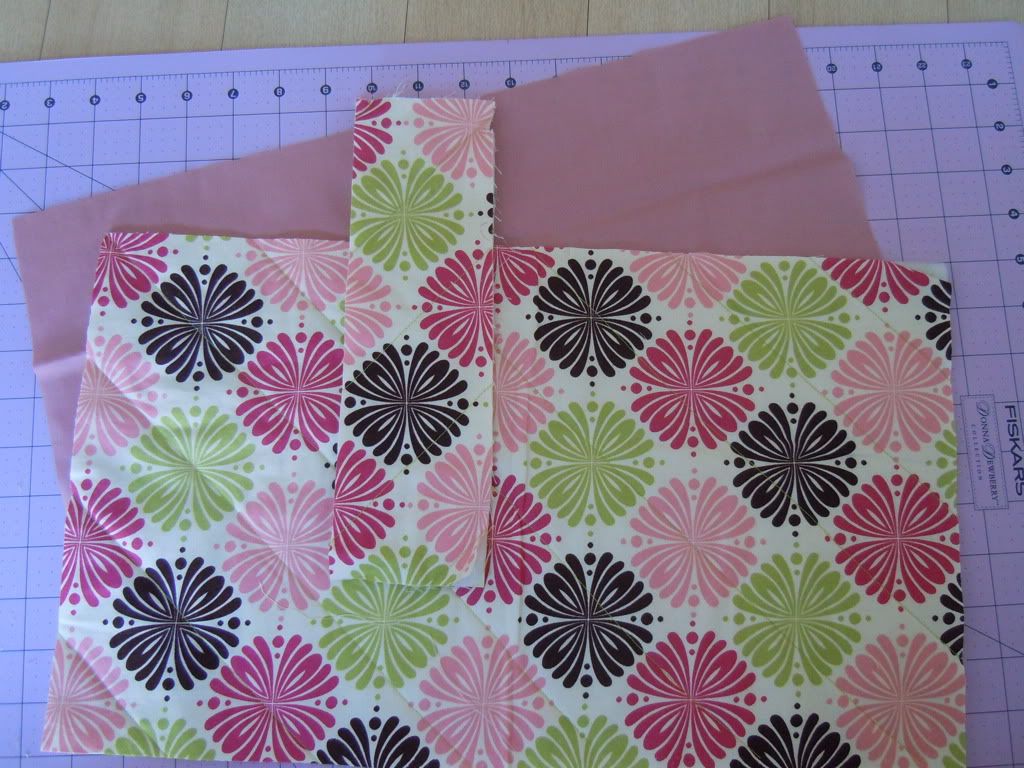
I used another, thinner scrap for the clasp and dug around for coordinating fabric to be used for the lining. Once I'd cut my outer piece, I used it as a template for cutting my lining.
To begin, fold the outer piece in half with right sides together. Stitch around the two side seams and bottom seam, leaving the top open. At this point, I also double checked that there was plenty of room for my Nook. Be sure to keep it wrong side out.
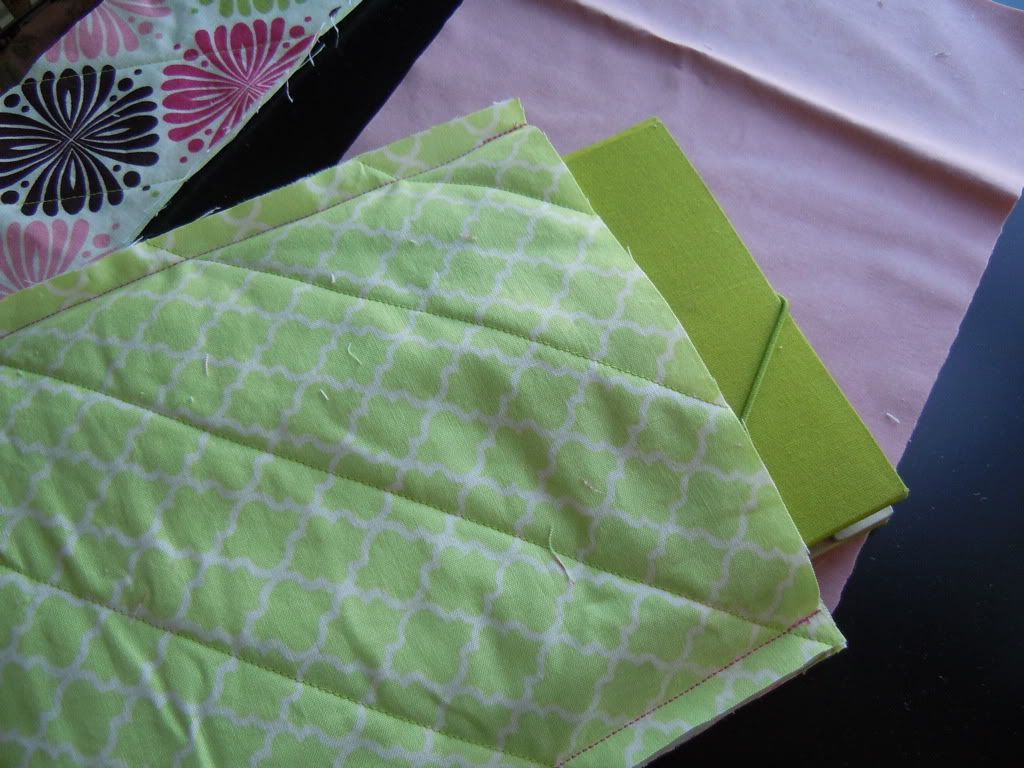
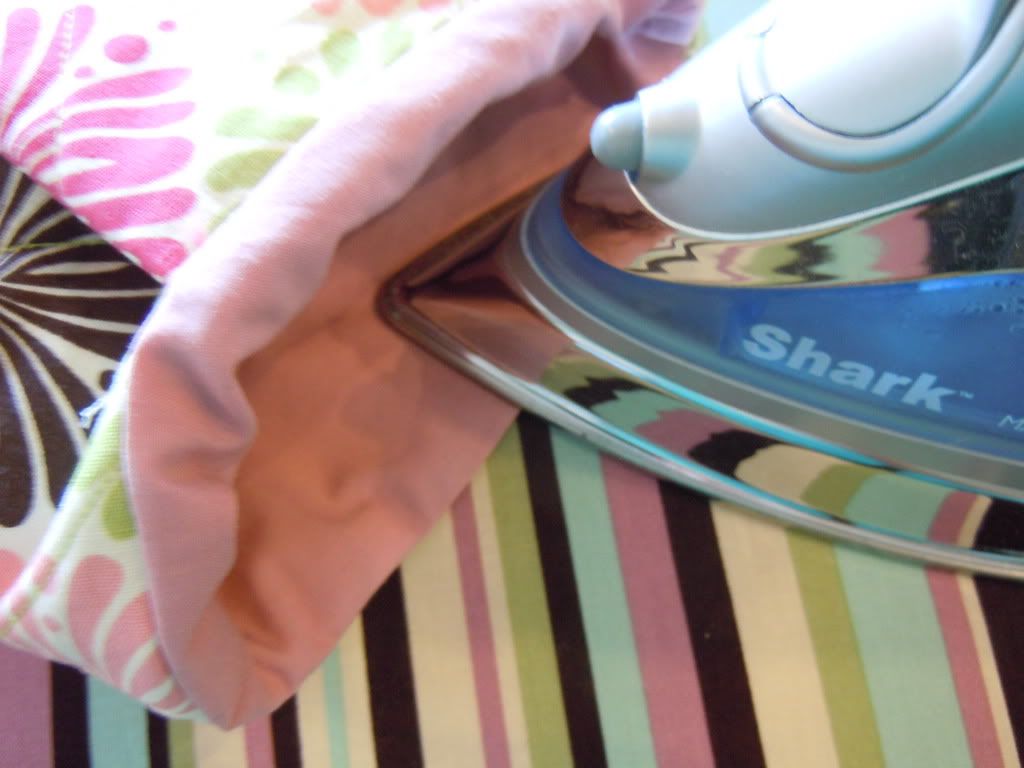
Repeat with your lining piece but turn it right side out and press.

Now, make the clasp by folding it in half right sides together. Sew around the edge making sure to leave an opening for turning. Turn it right side out and press.
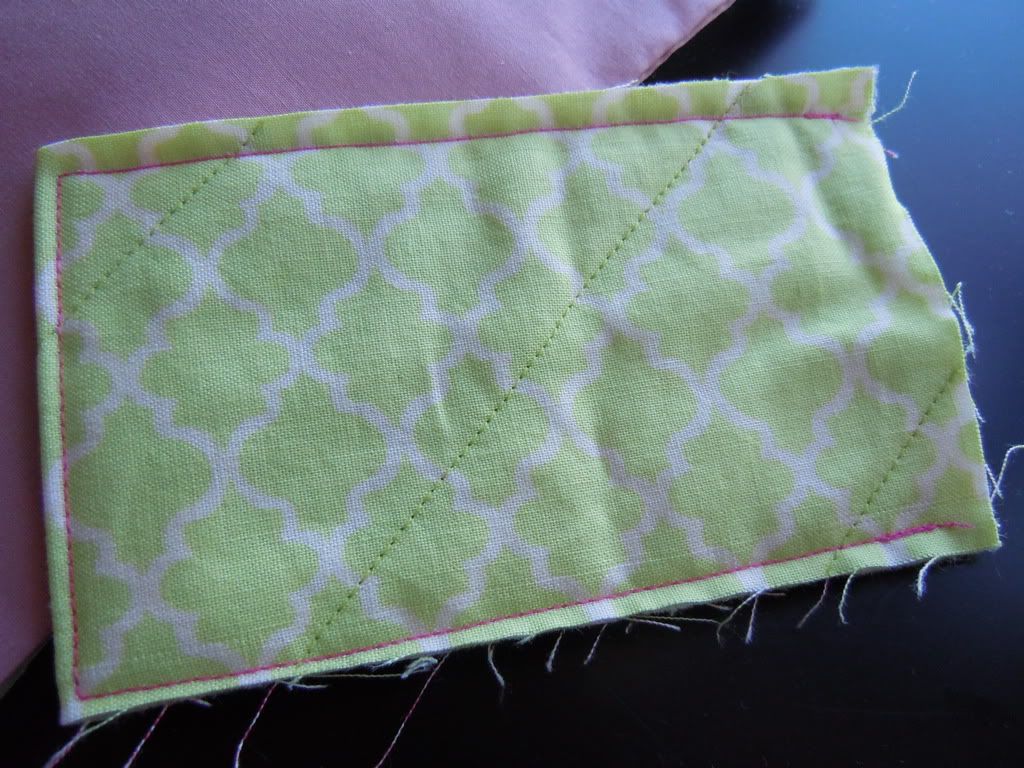
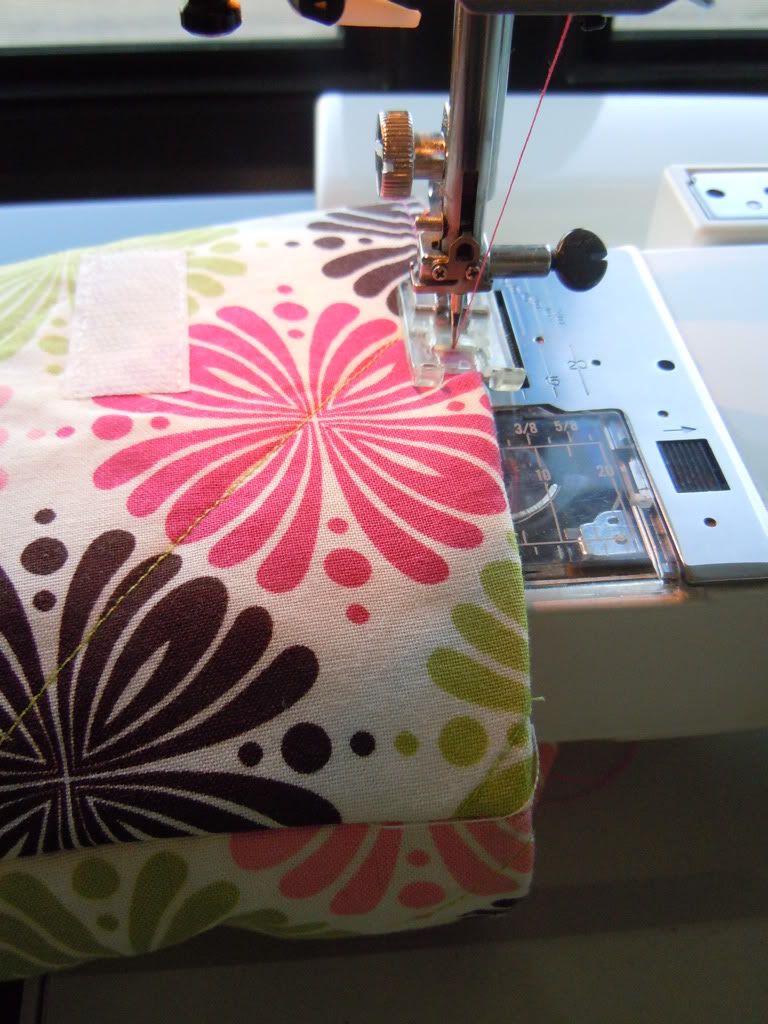
I then attached one half of my Velcro. It probably would have been wise to measure and attach this before sewing my clasp so you don't see the stitches on the other side. I tried to disguise it by sewing two lines all the way across, that look intentional and coordinated with my fabric.
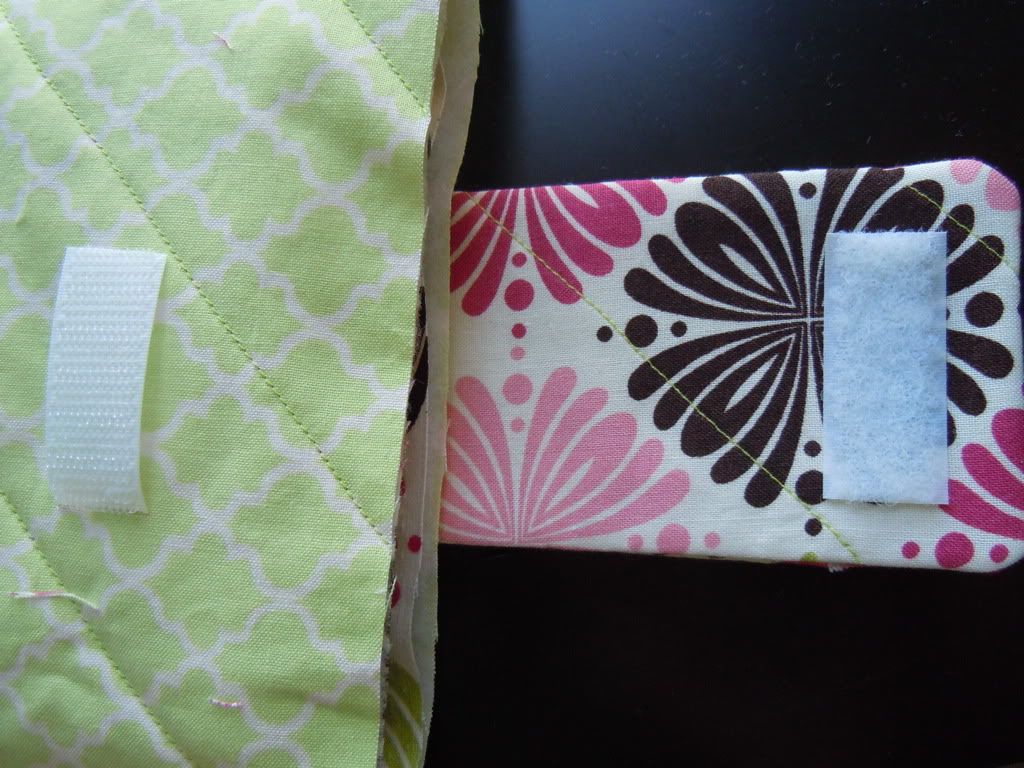
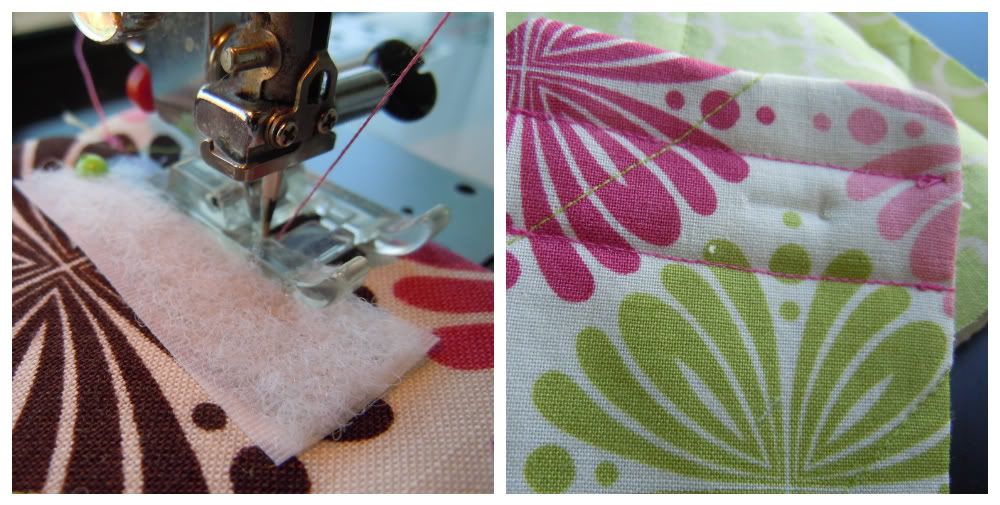
Line up the raw edge of your clasp with one raw edge of your lining piece, making sure to center it. You want the Velcro to be facing into the lining piece and not up at you. Stitch in place.

Turn you outside piece right side out so you can attach the Velcro. I measured where the other half of my Velcro needed to be for the clasp to close tightly and pinned it in place. I then slipped it over my free arm so I could stitch it in place easily and not accidentally attach it to the backside. I also changed just my top thread to white so it wouldn't be noticeable after I stitched it in place -- something that would also be wise to do with the first half of the Velcro. Now turn the outside part wrong side out again.

Place your lining piece inside the outer piece and line up the raw edges. Stitch in place, making sure to leave a small opening for turning.
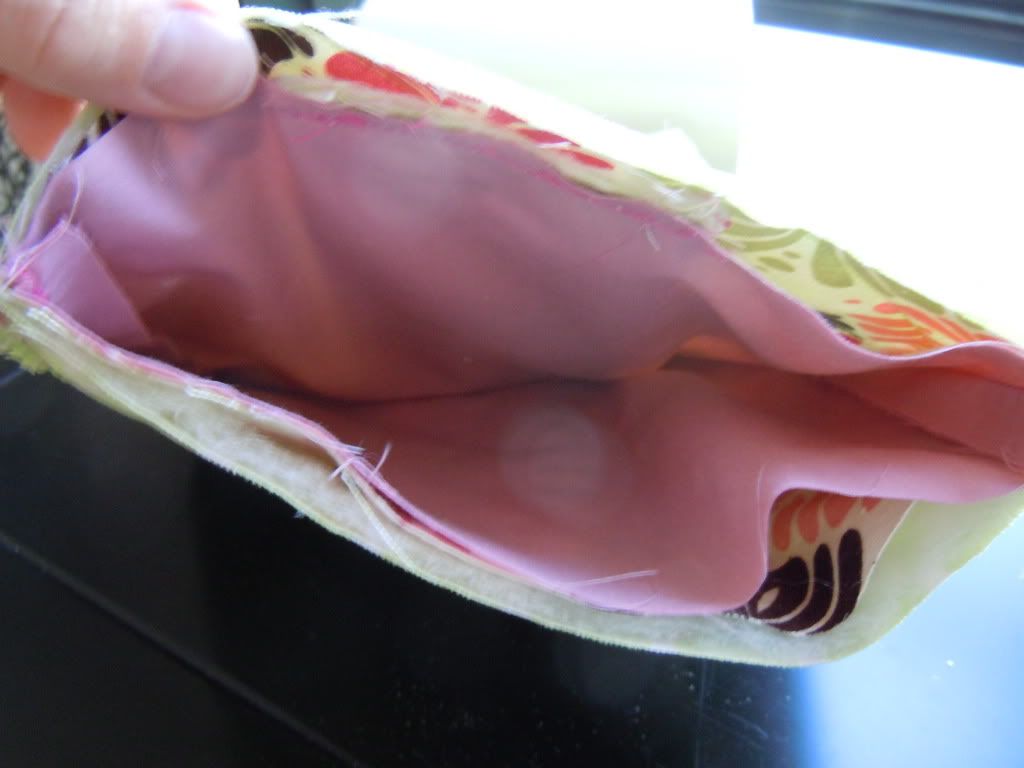
Reach in the opening and pull the outer piece through so both are now right sides out.
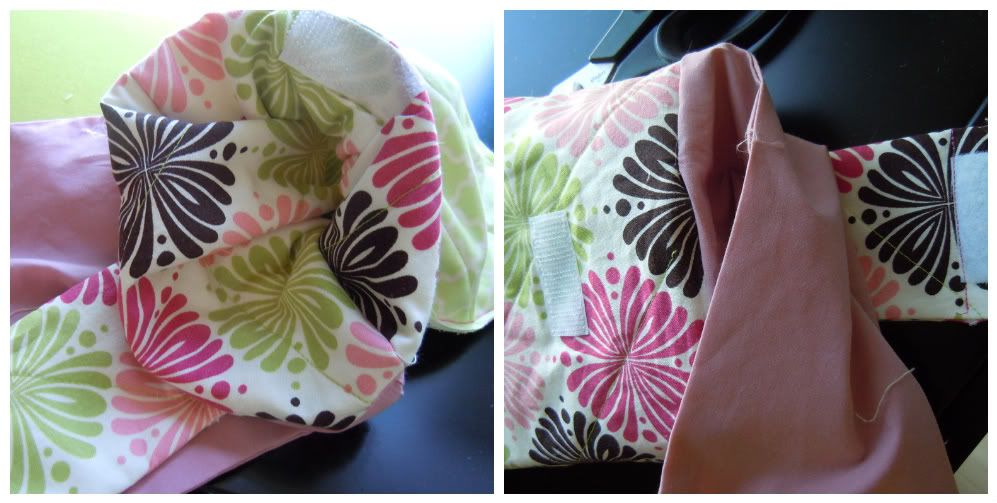
Tuck the lining into the outer piece and press the open edge inwards.
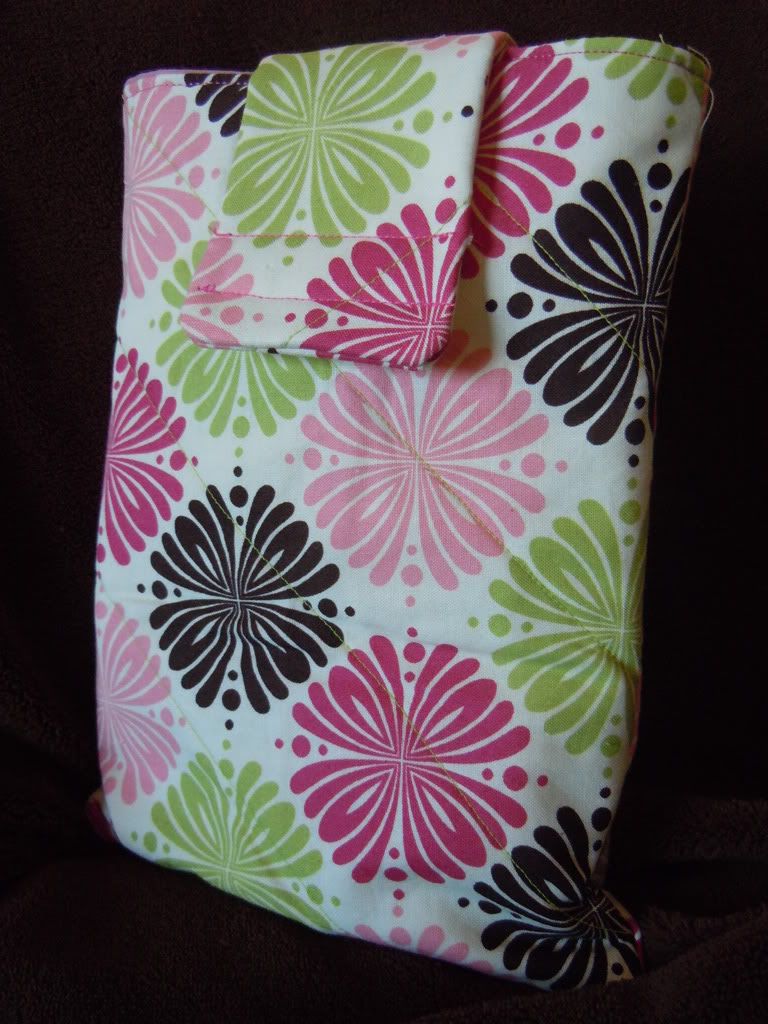
Top stitch around the entire opening and you're done!
Slide your Nook in and you can take it with you anywhere without worrying!
Just one more day left in my 7 Day Challenge!

I have a nook too... we need to be sharing books!
ReplyDelete