


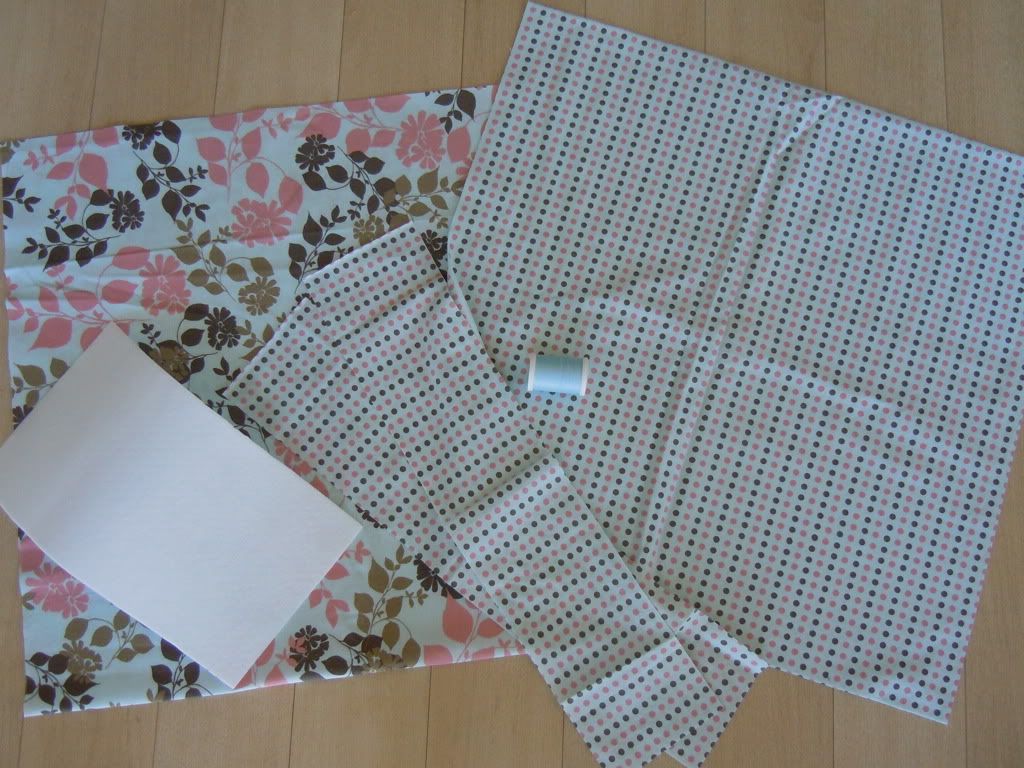
To make a reusable grocery tote, you need two pieces of fabric each measuring 36" by 19", two pieces of fabric measuring 4" by 18", a piece of Peltex measuring 5" by 11" and coordinating thread. The two large pieces of fabric will be used to make the outside and lining of the bag, so they can be the same or coordinating, like mine. The Peltex is a very heavy interfacing which can be found at any sewing store and purchased by the yard.
We'll start by constructing the outside of the bag. Fold your fabric piece in half hot dog style, with right sides together. Stitch the sides and bottom -- the folded part -- but leave the top open.
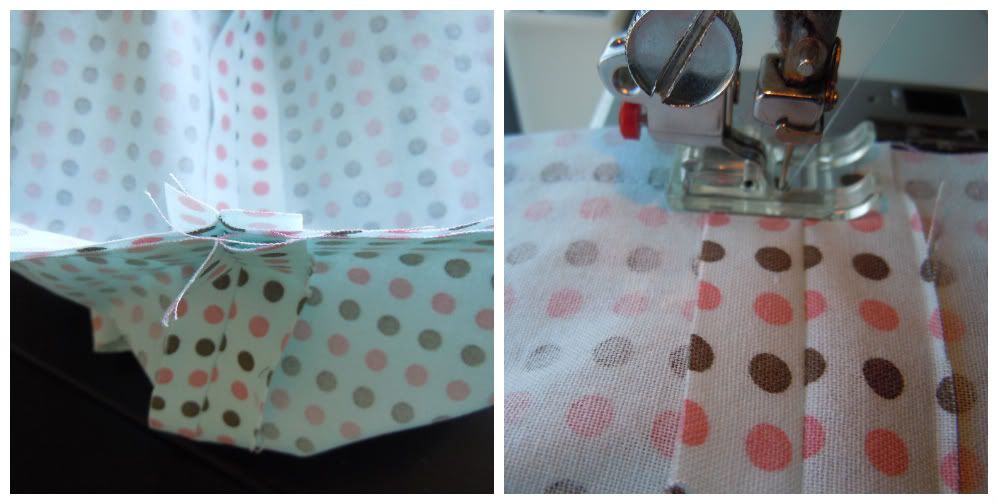
With the fold on the bottom, draw a 3" by 3" square in each of the two bottom corners and cut them out.
Insert your scissors into the seam of the folded edge and cut it open. You should now be able to press your three seams open.
Pull the bag sides apart from one another at the cutout and pinch the bottom seam towards the side seam, lining them up with one another. Stitch the opening closed and repeat the with other side. Leave the outer piece wrong side out.
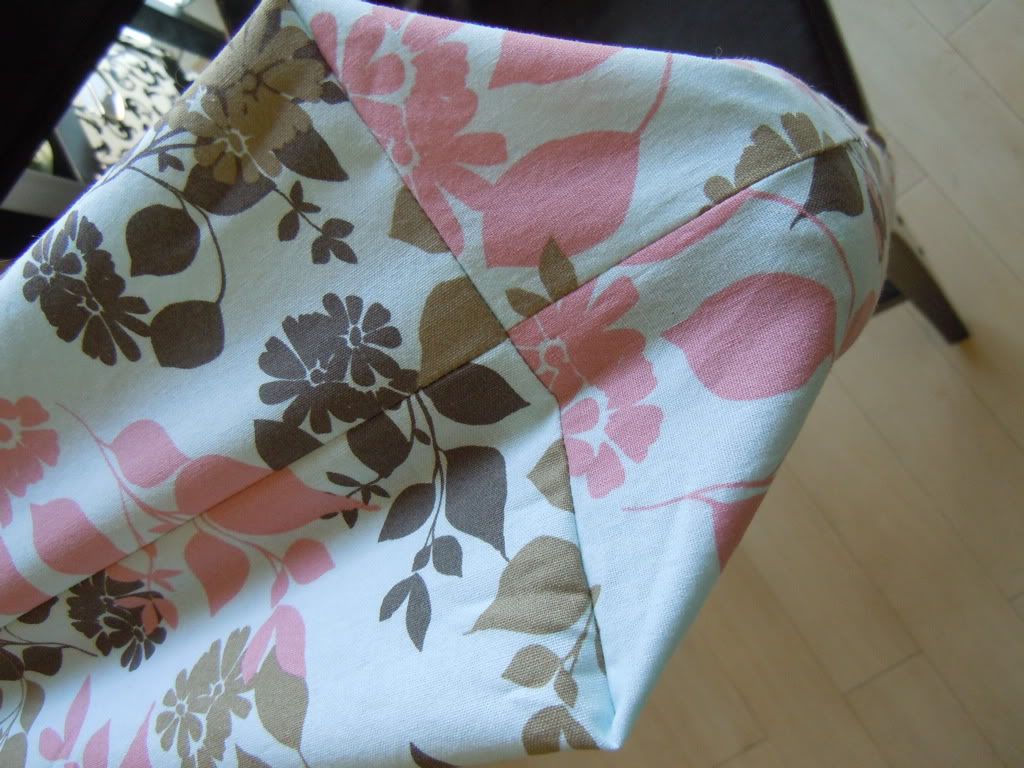
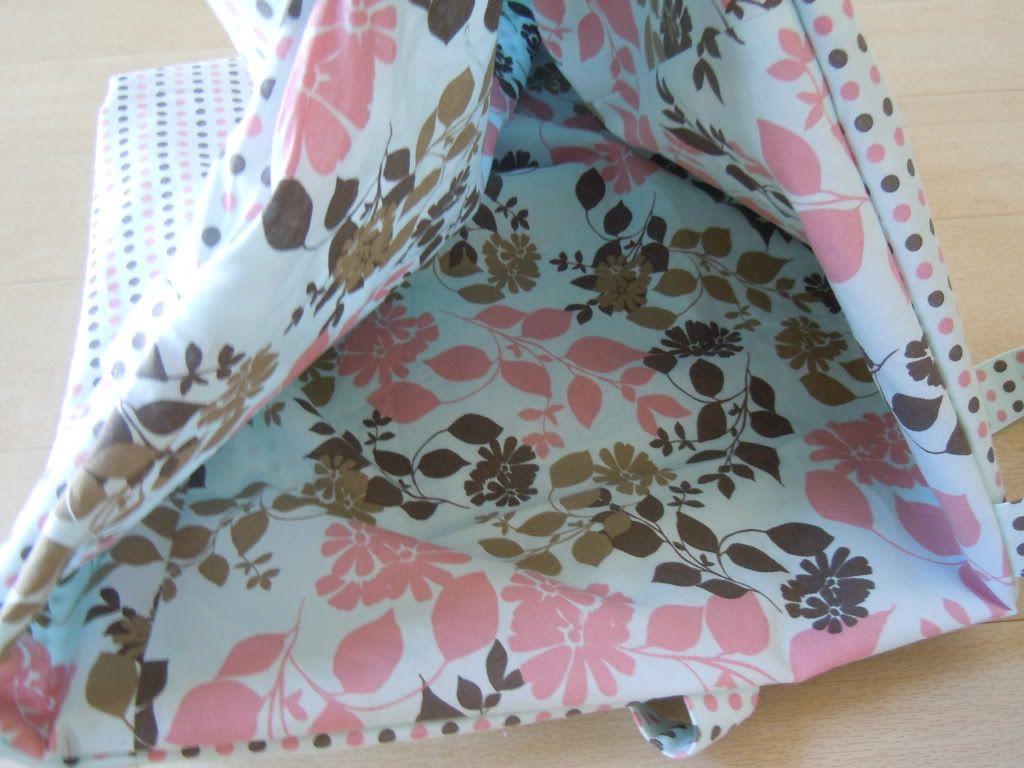
Repeat these same steps with the lining piece and turn it right side out. The bottom will now look similar to this.
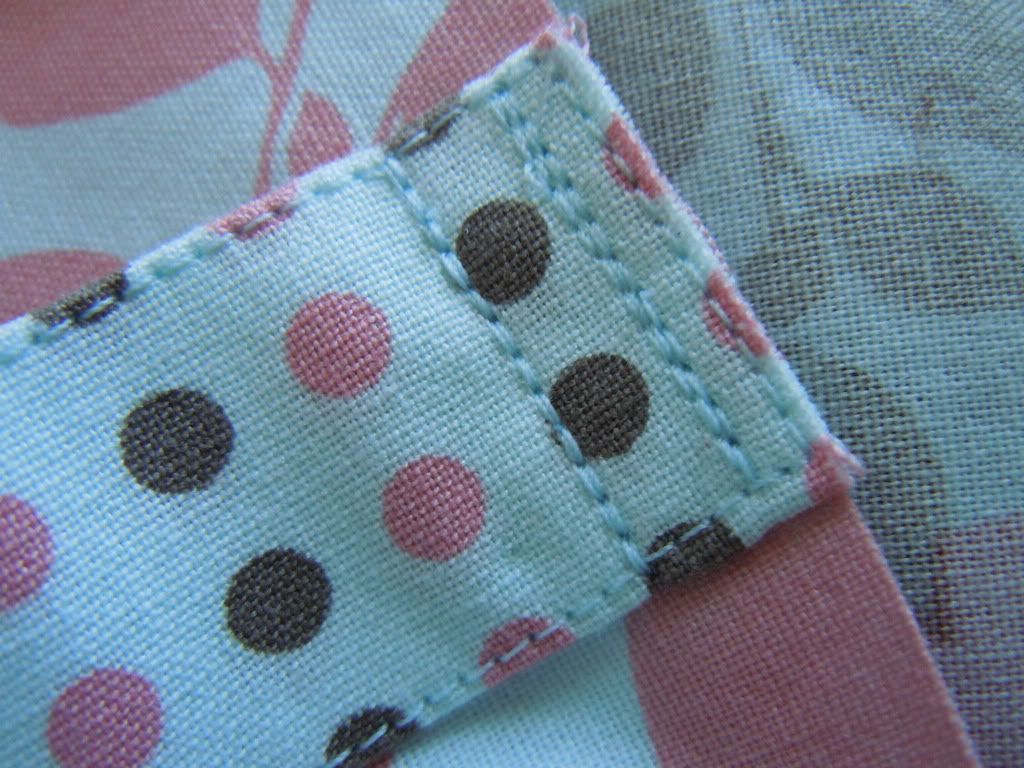
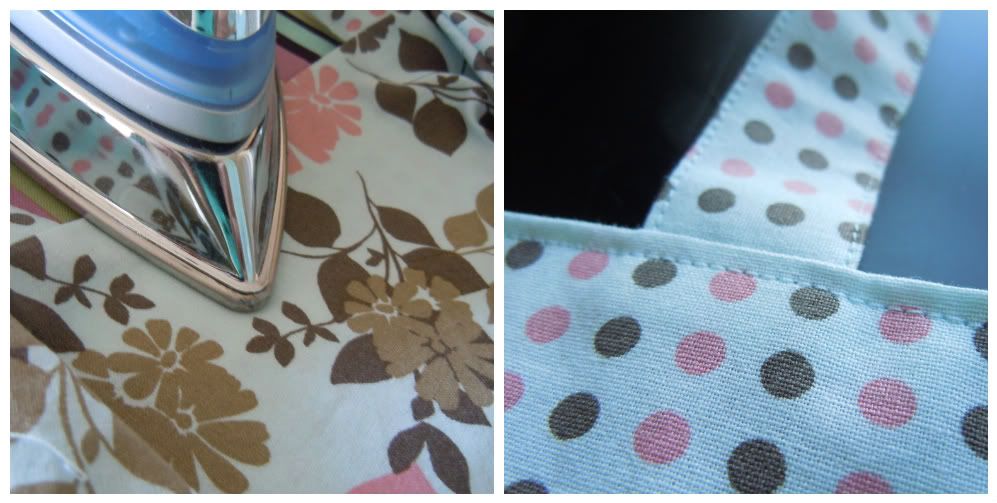
Next, we'll make the handles. For each of the handle pieces, fold them in half hot dog style and press. Unfold and fold each edge towards the center and press. Now fold in half again and press.

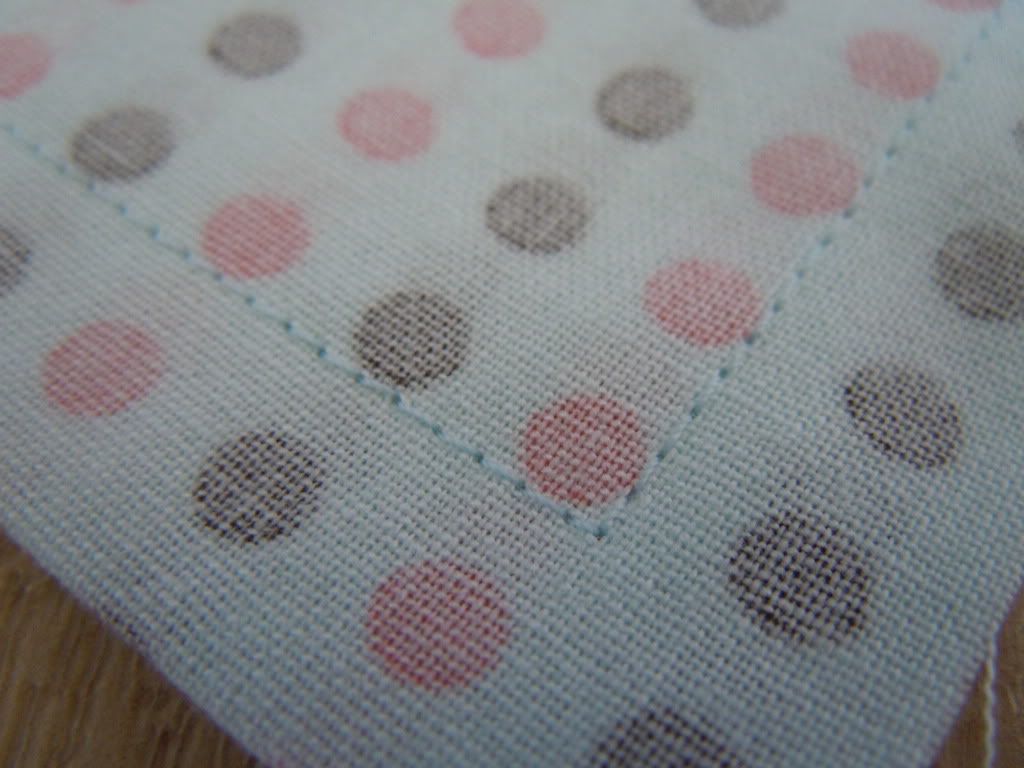
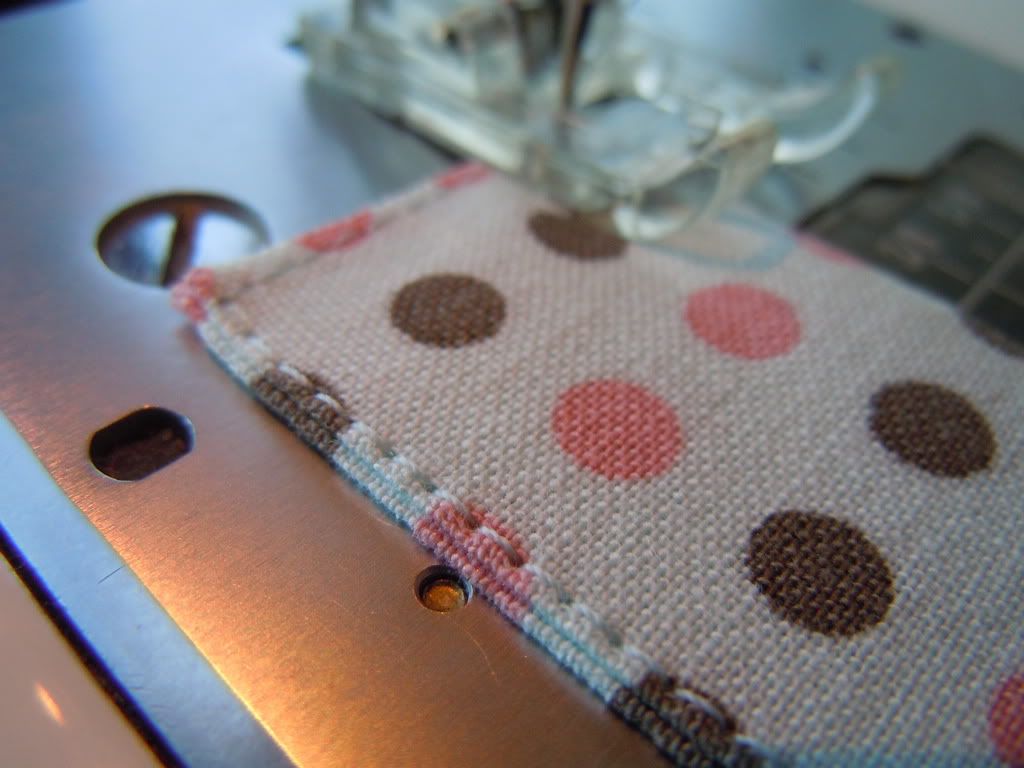
Edge stitch all the way around each handle.
To attach them to your bag, grab your lining piece and one of the handles. Line up one edge of the handle with the top edge of the lining piece, 6" from the side. Pin in place. Attach the other end of the handle to the top edge of the bag, 6" from the other side. Make sure the handles are not twisted before pinning.
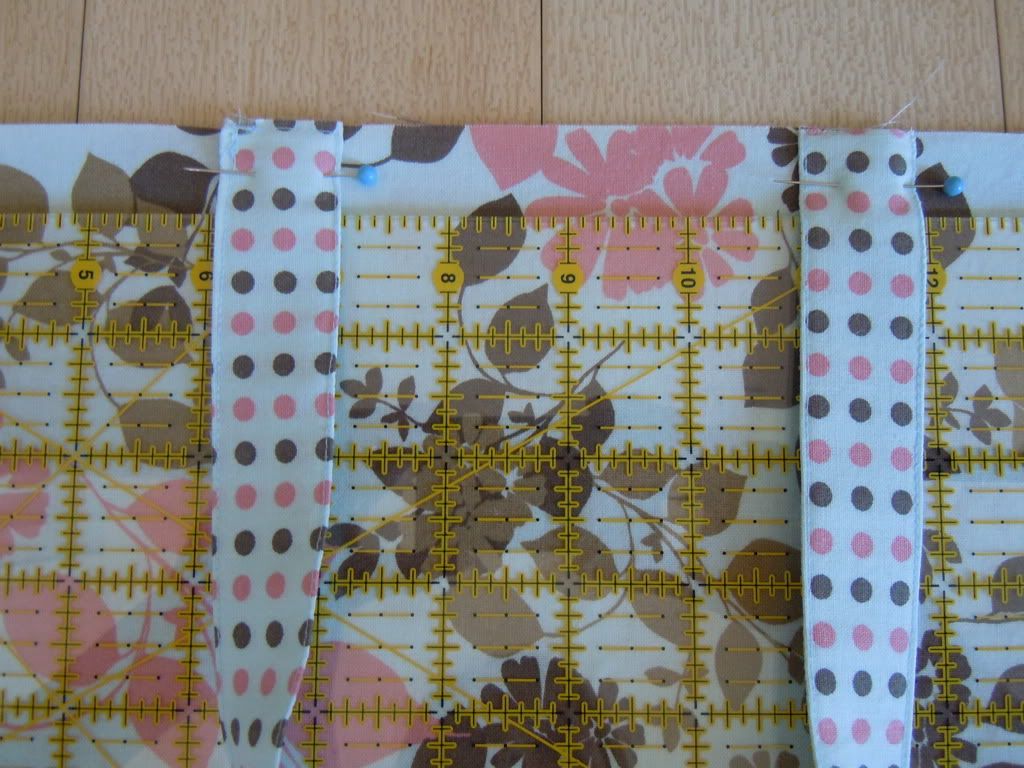
Use a 1/2" seam allowance and secure the handles to the side of the lining. I sewed a second seam just to reinforce them.
Repeat with the second handle on the opposite side of the bag. Now place the lining piece inside the outside piece, which should still be wrong side out. Make sure the handles are in between the lining and outside pieces. Also, make sure the seams of the lining and outside bag line up. Pin in place along the top edge.
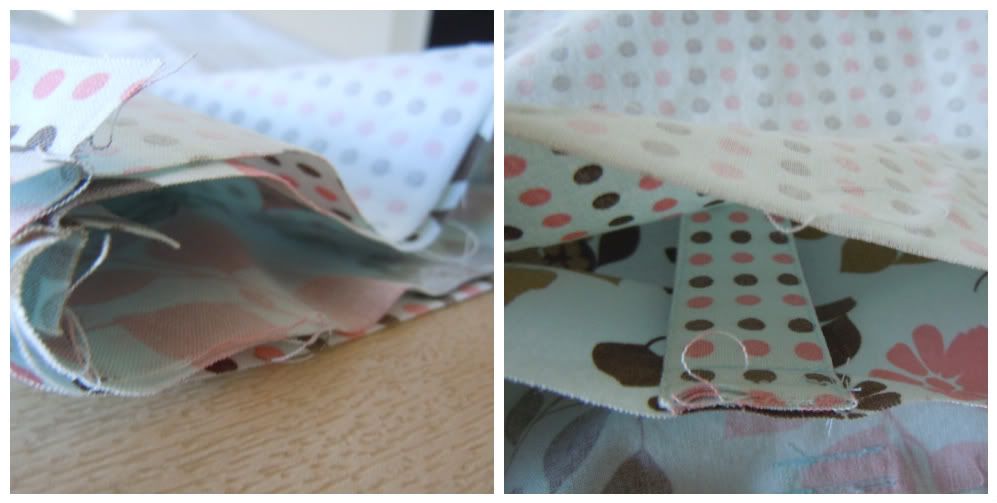
Sew all around the top of the bag, leaving a gap on one side in between the handles for turning.
Reach in through the opening and pull the outside of the bag through. Your outside and lining should now be right sides out with handles in the adjoining seam.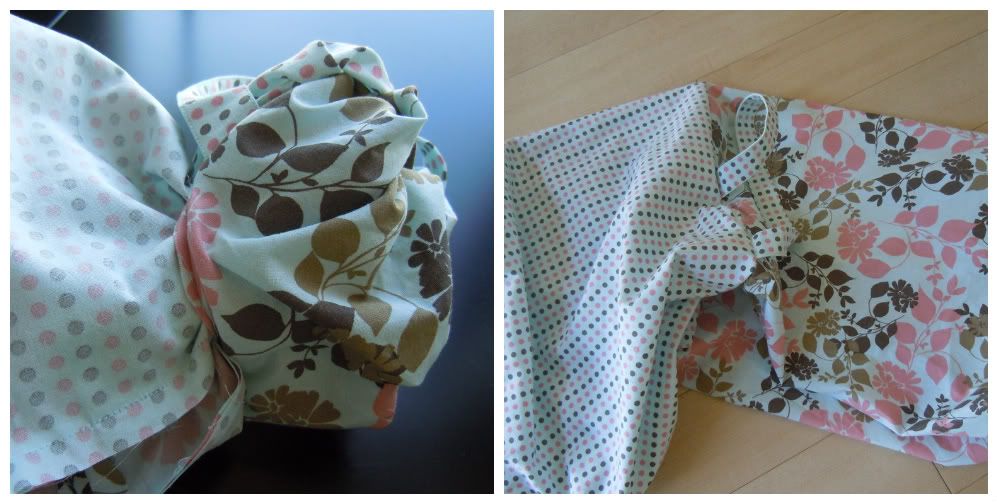
Then push the lining into the outside of the bag.
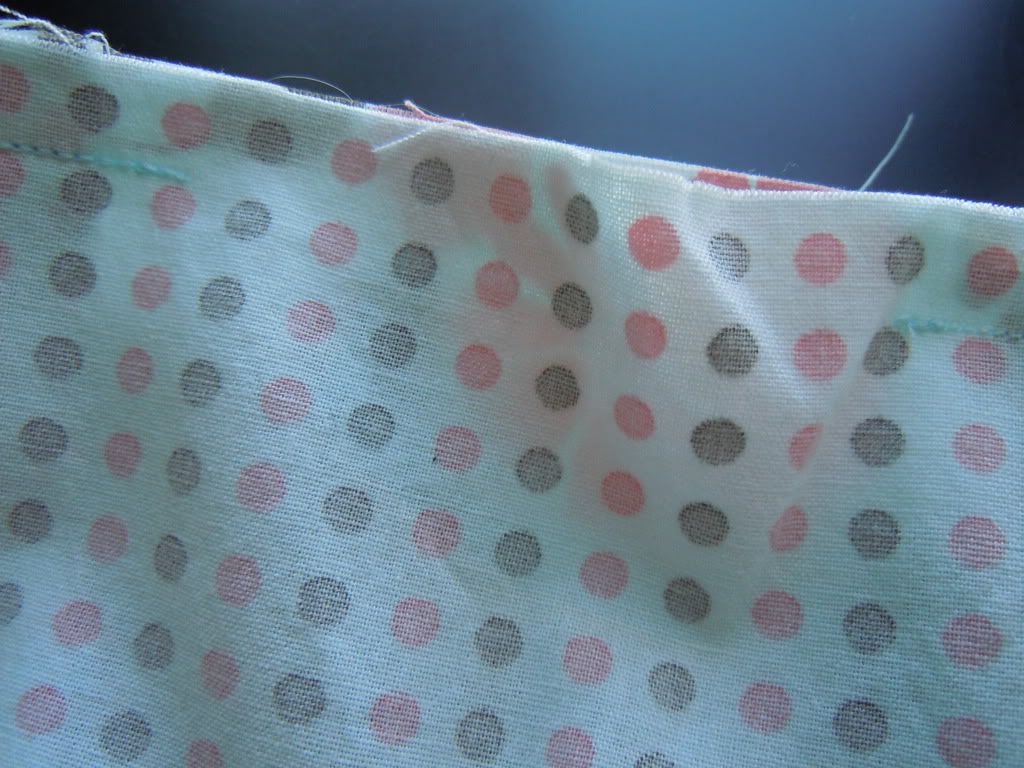
Before stitching the opening closed, insert your piece of Peltex and position it at the bottom of the bag. It's pretty flexible, so it's okay if you have to curve it a bit to fit in the opening.

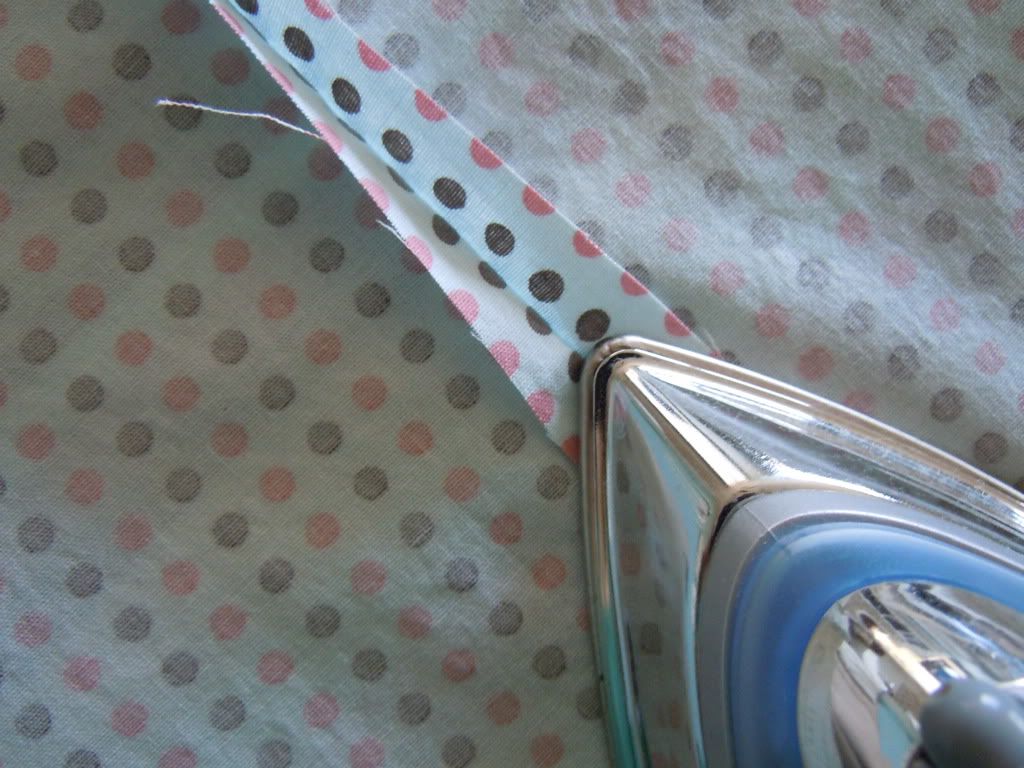
Now, fold the raw edges of the opening inwards and press closed. Then topstitch all around the top of the bag.
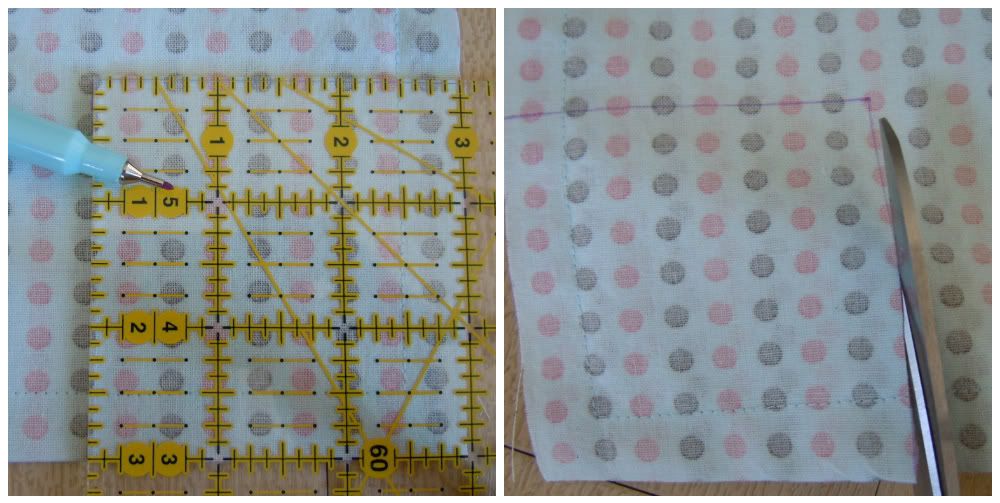
You could stop here and have a perfectly usable grocery tote, or you could continue by structuring the sides of the bag. To do this, lay one short side flat and draw a line 3" on each side of the middle. Your line should end in the bottom corners.
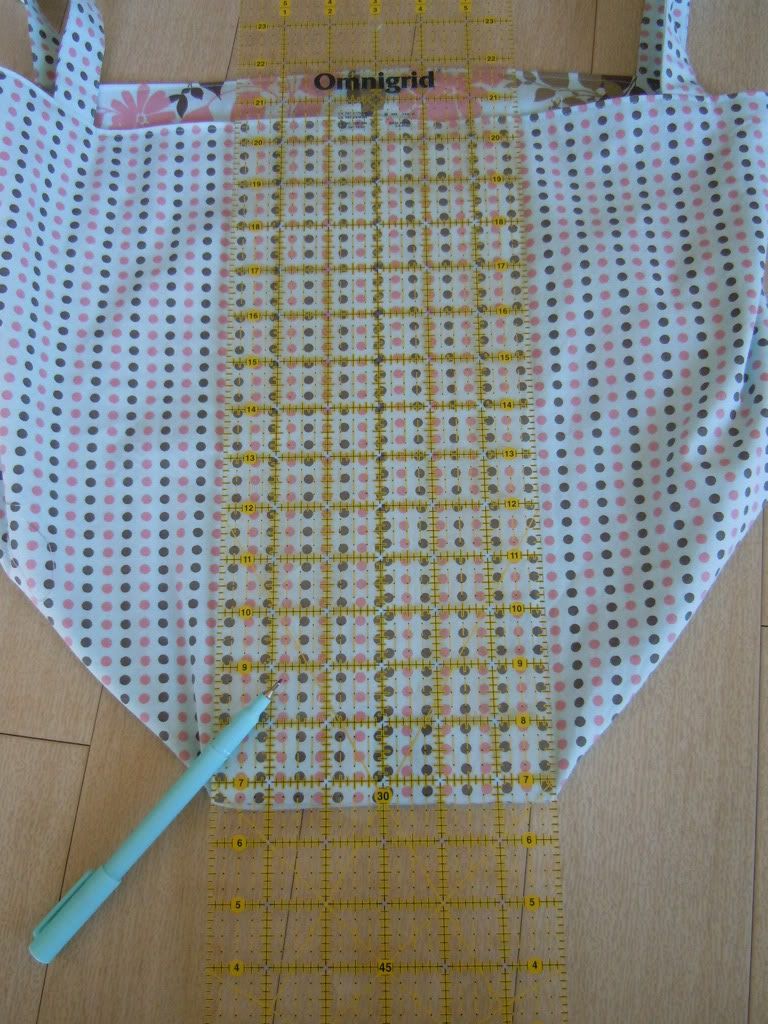
Pinch each of the drawn lines and pin from the top to the bottom making sure to get all four layers. Repeat this for the other side of the bag. Pinch along the long bottom side of the bag as well, making sure to get all the layers but not the Peltex.

Starting at the top of the bag, stitch down one side. When you reach the bottom, pivot the needle and stitch along one bottom edge. When you reach the other side, stitch up until you reach the top of the bag. Repeat with the other side that you pinned.

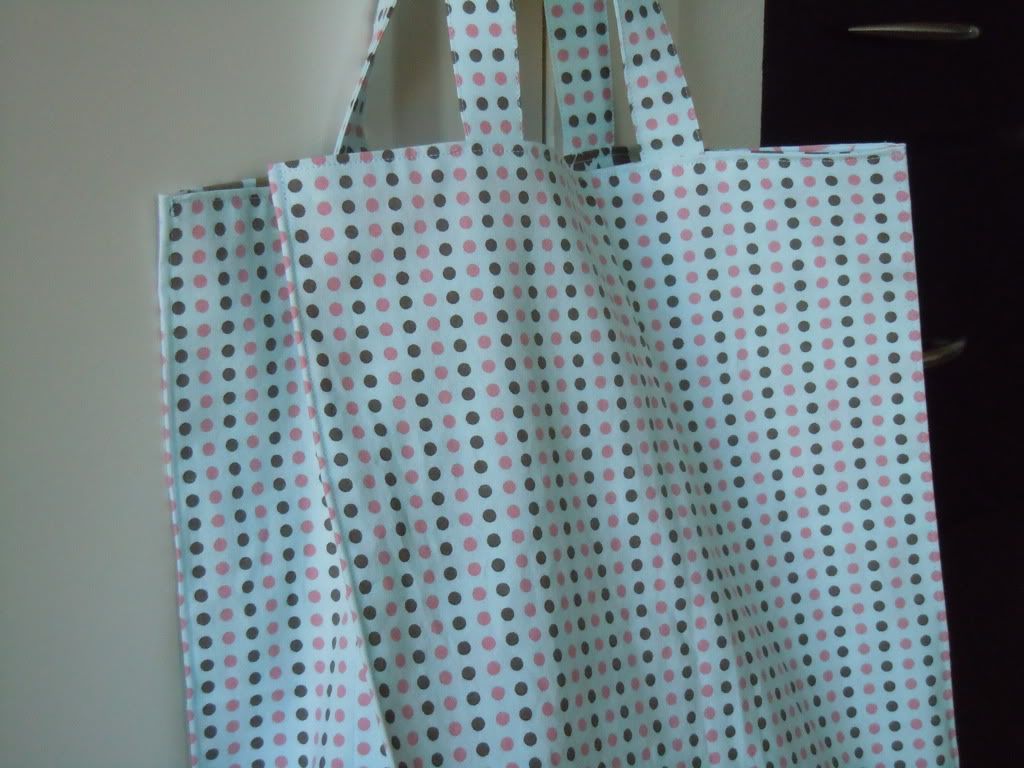
You're done! Put it in your car and use it each time you go shopping.
This is beautiful and totally green of you!
ReplyDeleteThank you so much! This was so helpful ... I was so lost until I saw your website! The pix and instructions were so clear
ReplyDeleteThis is great and these are the fabrics I used to make my daughter's nursery bedding :)
ReplyDelete