


After yesterday’s ironing board re-do, I failed to use the entire piece of fabric, thus creating another scrap. Since one of my three goals with this seven day challenge is to clean out my fabric stash, I could not bear to add this scrap to it. It was pretty sizable so I figured it could be used for day three.

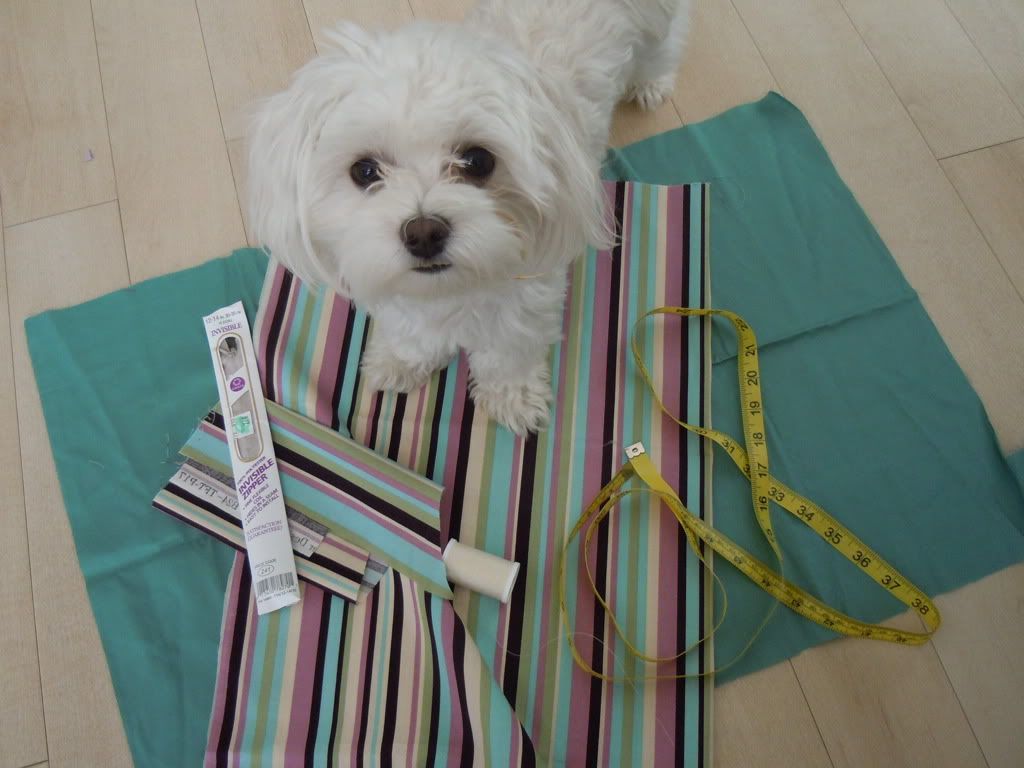
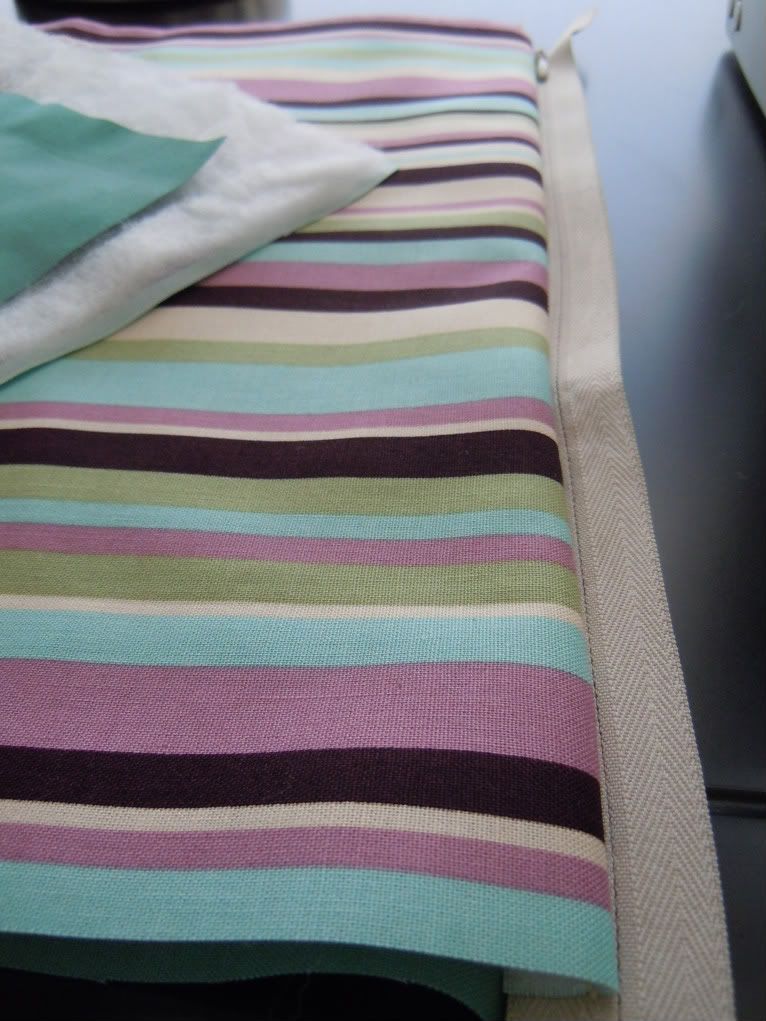
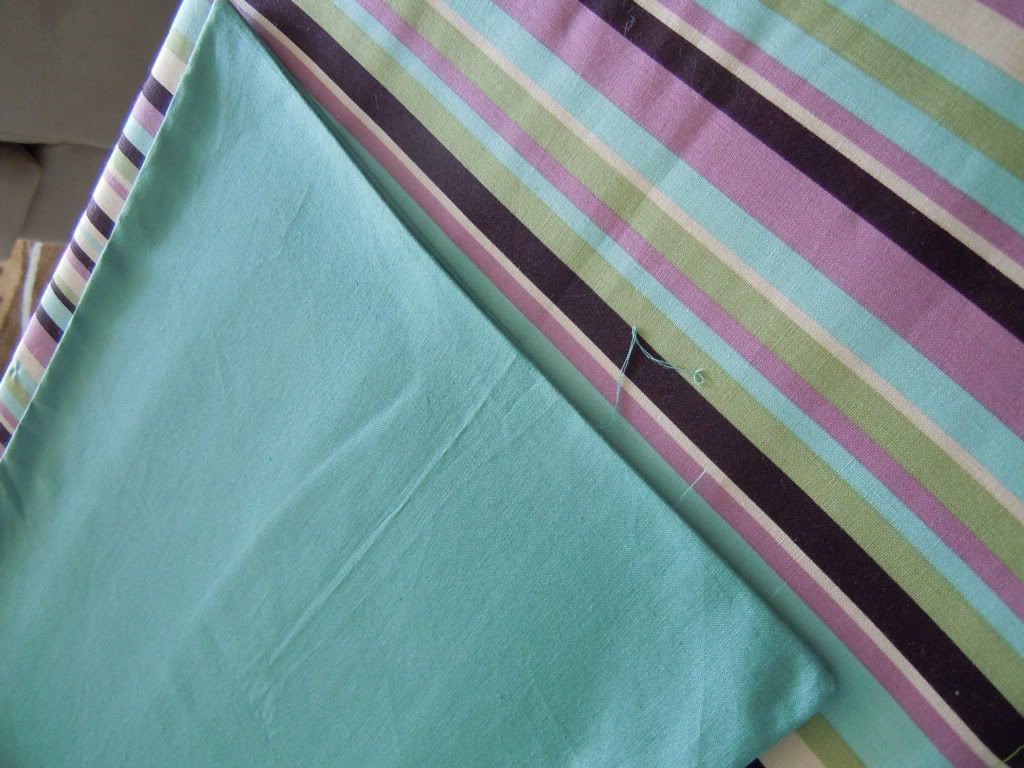
For this project, I used two different fabrics for the outside and lining, a measuring tape, coordinating thread, a zipper, batting, which is not pictured, and a four-legged helper named Nollie.
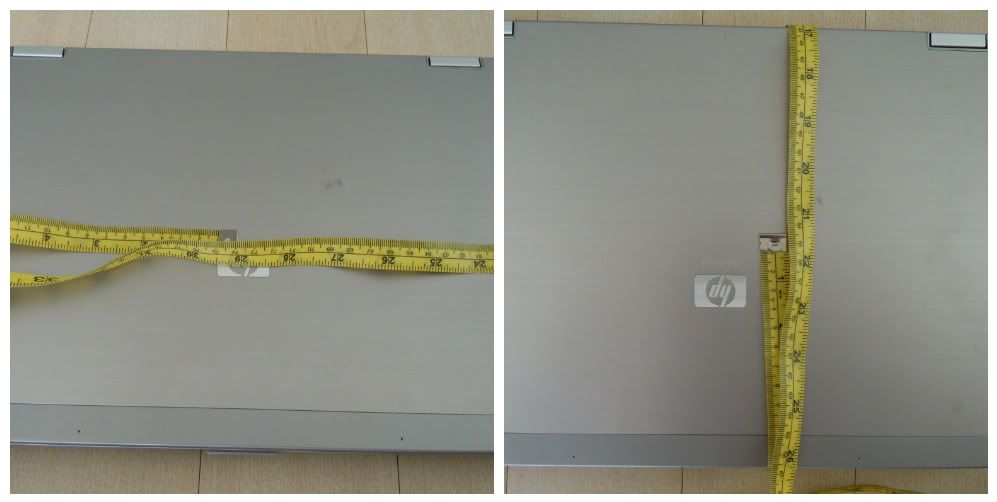
Step one was measuring the laptop. I did this using a measuring tape and went the full circumference of my laptop both lengthwise and widthwise. I took these measurements and divided by two and added two inches to get the dimensions of each piece. So, in my case -- pun intended -- my measurements ended up being 12” by 16”. I fudge some of my numbers a bit because I’m weird and I like cutting whole, even numbered pieces. The main goal is to compensate for seam allowance and give a little wiggle room to get your laptop in and out easily.
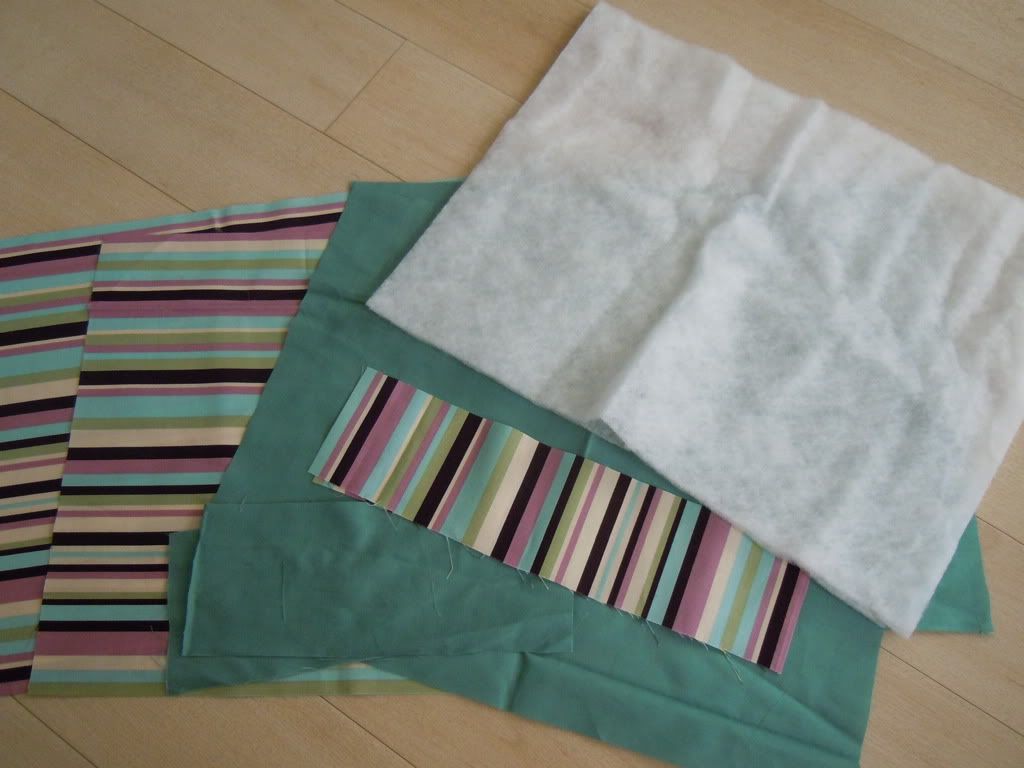
Using my calculated dimensions, I cut out four pieces from my fabric -- an outer front piece, outer back piece, front lining piece and back lining piece. I used scraps from these cuts to save for two handles. They were each approximately 4” wide and 10” long. I cut from both my striped and solid fabric because I wasn’t sure yet which handle I preferred. I then cut two pieces of batting in the same size as the lining and outer pieces.
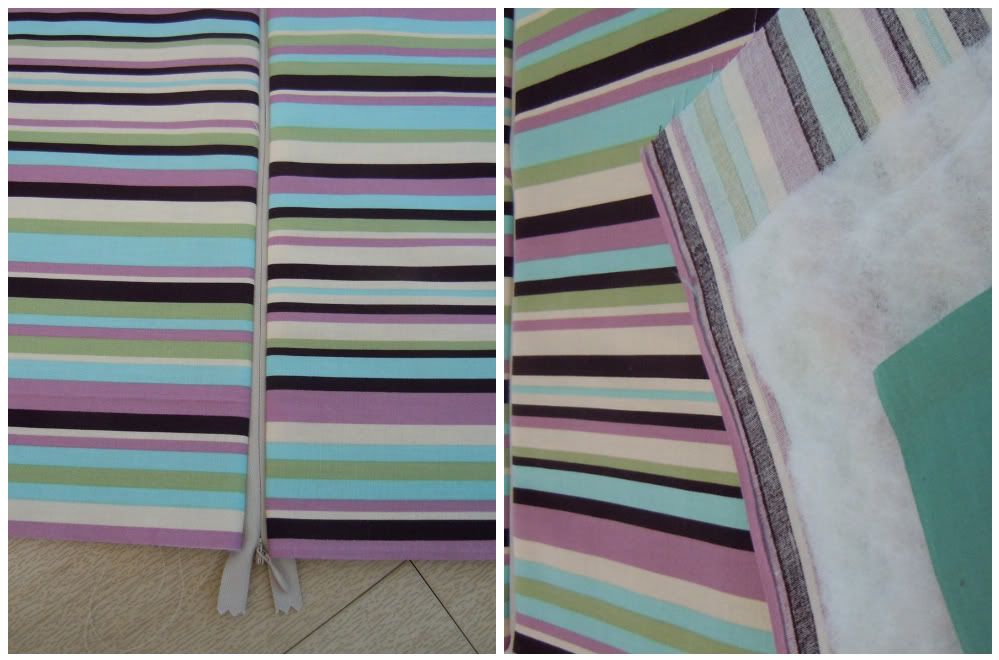
The next step is to attach your zipper. I used what I had on hand -- remember, trying to clean out my stash without purchasing anything -- so it was only long enough to fit the short end of my laptop. It was a 12” to 14” inch zipper, but if you are purchasing one, I would recommend buying a longer one to use on the adjacent side. Whichever you choose, follow these steps placing the zipper where you prefer.
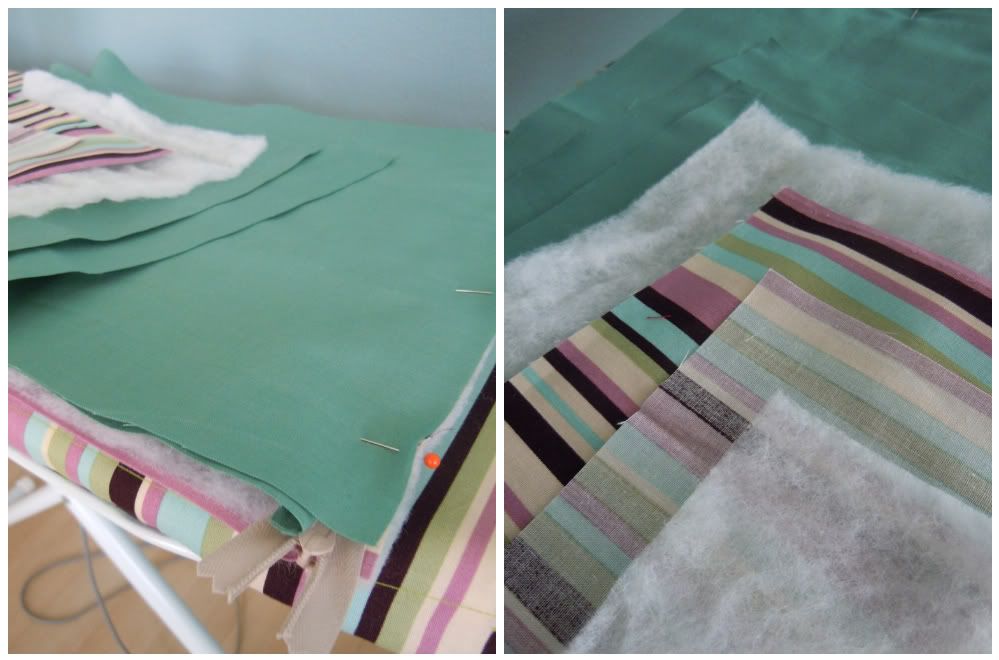
Warning, these next photos can get confusing. The use of leftover ironing board cover fabric causes the laptop bag to camouflage itself. Also, layering zipper pieces can get wordy, so I try my best to show the order of layers with lots of pictures.
Start by laying one piece of batting down. Then put an outer piece on top with the right side facing up. The next layer will be your zipper, facing it top side down on your right side up outer piece.
The last piece of your first zipper sandwich is your lining. Place it wrong side up on top of the zipper.
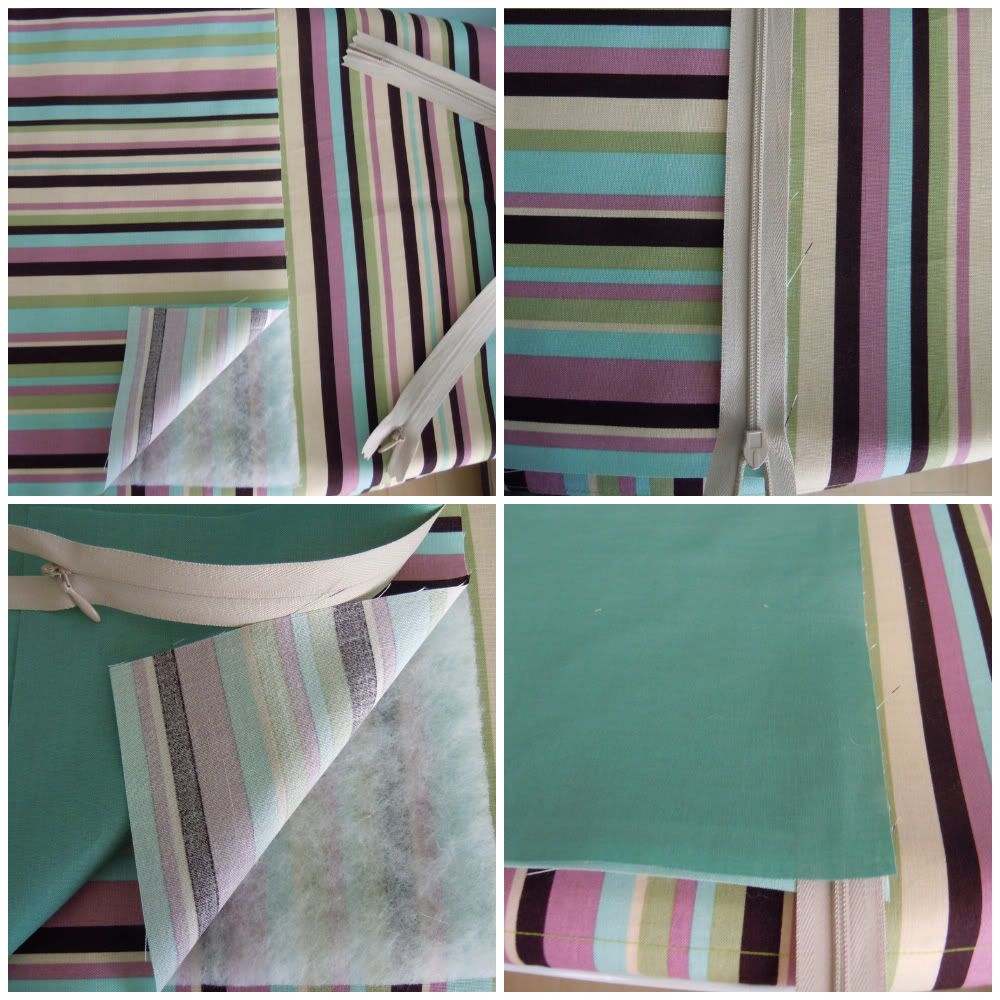
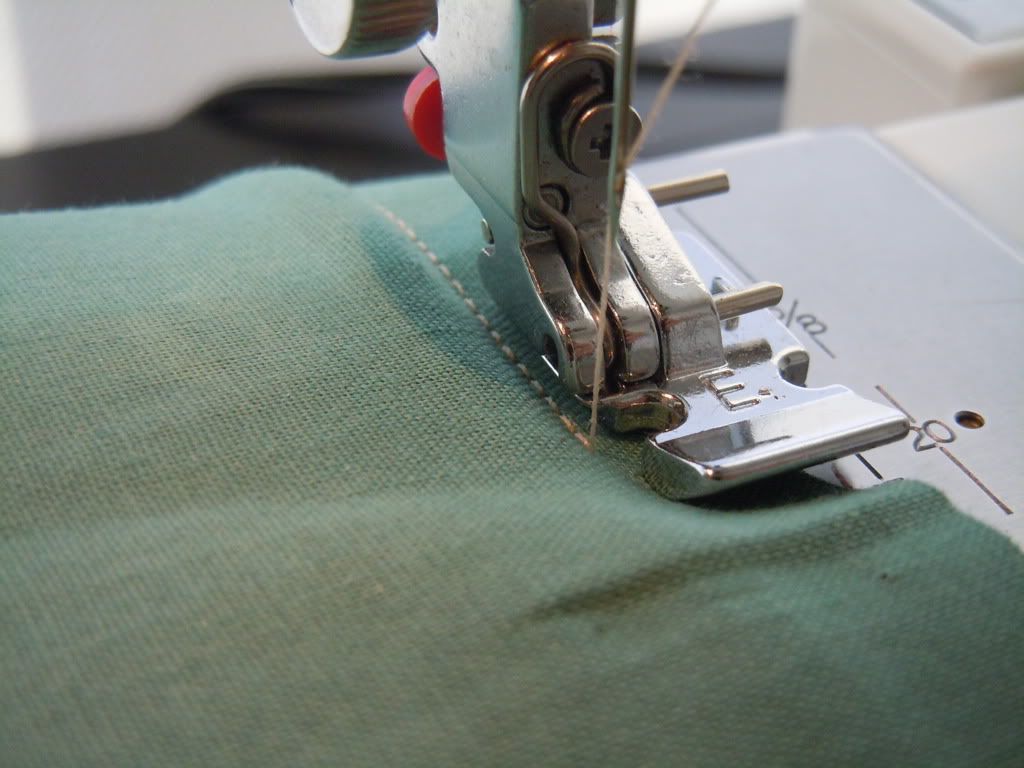
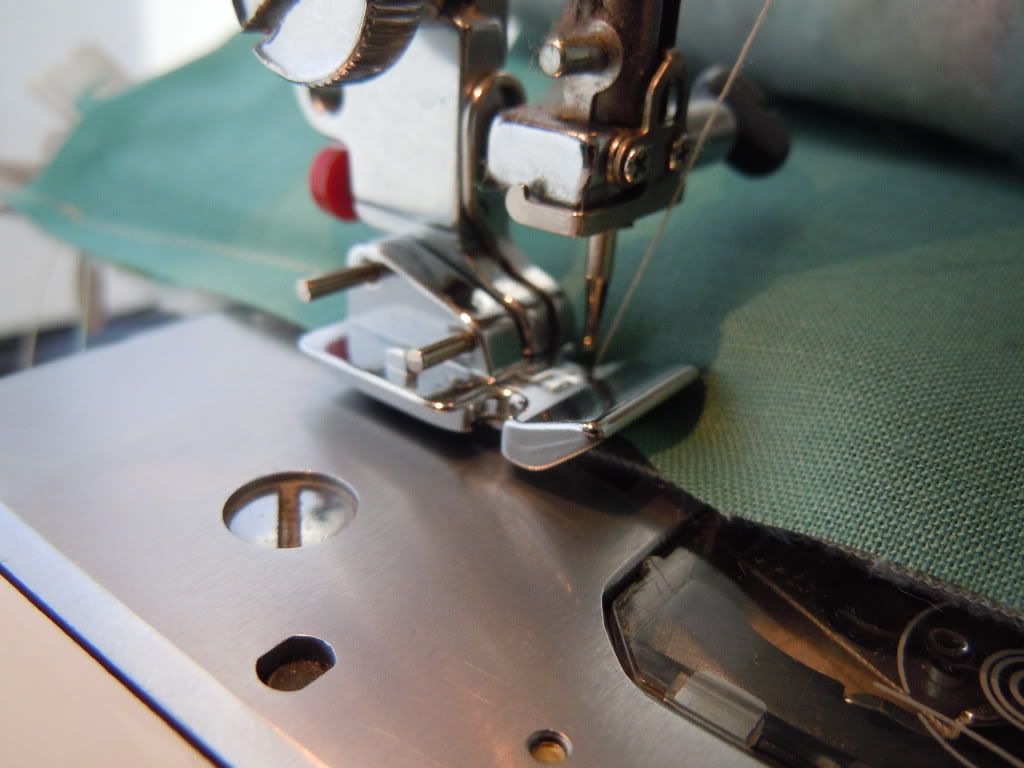
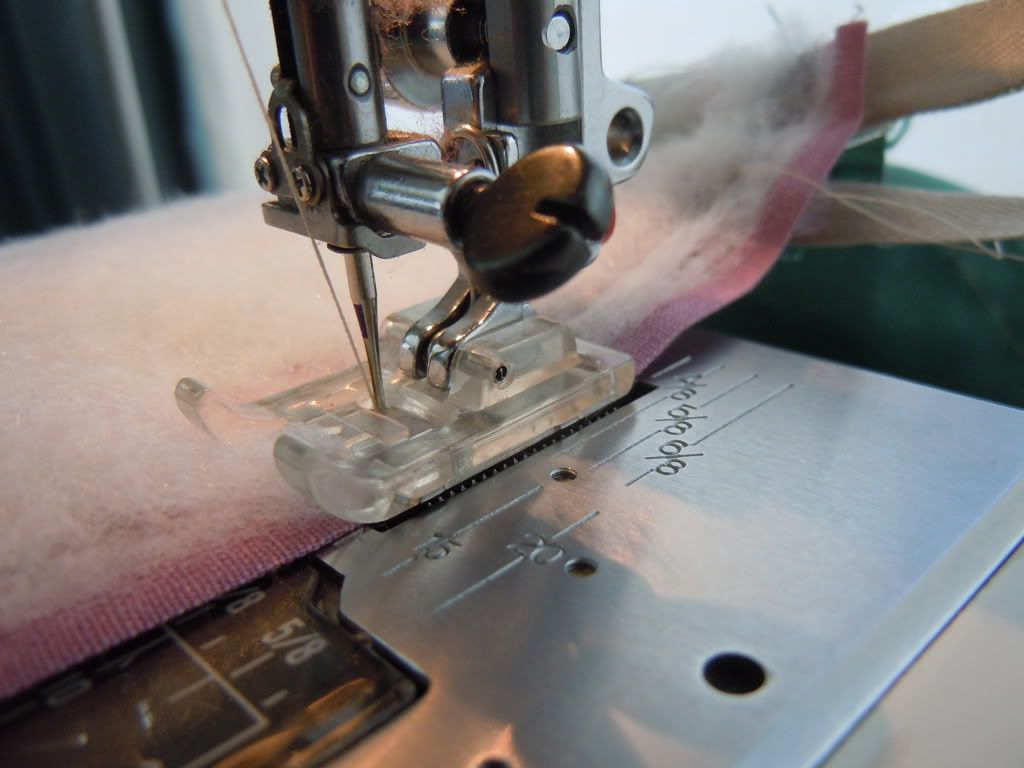
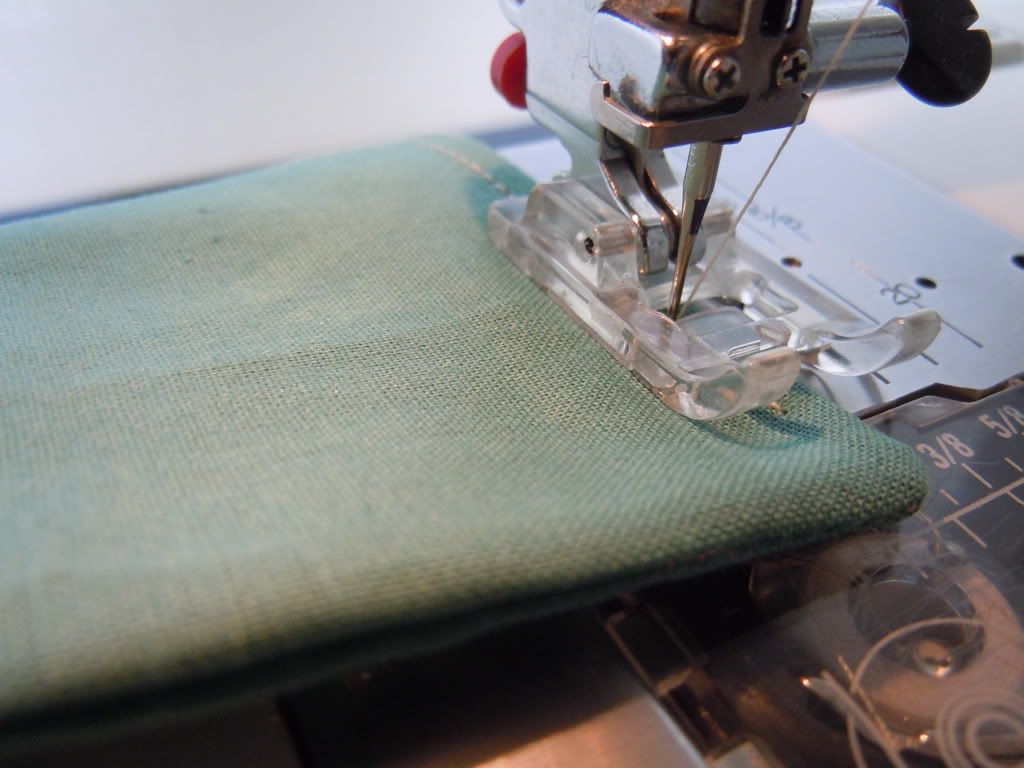
Pin these layers in place and use your zipper foot to sew alongside the teeth of your zipper.
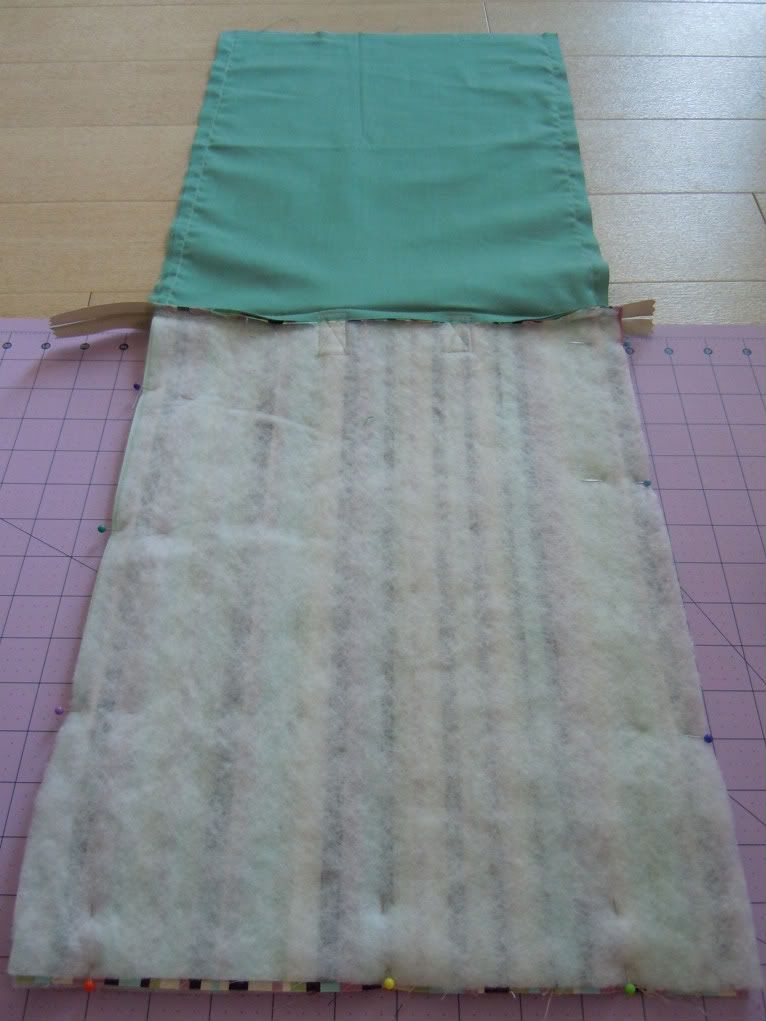
Once your first layer is stitched in place, lift the lining piece and fold it over the zipper so it meets the batting layer. You should now have your outer piece on top, batting underneath, zipper, and then lining.
Next is the second zipper sandwich and even more layers. Start by placing your second piece of batting down with the second outer layer on top, right side up -- just like the first sandwich we made. Then, take that first sandwich already attached to the zipper and lay it on the second outer piece. The top side of the zipper should be down and the two outer pieces should now be touching, right sides together. The right side of the lining piece should also be facing up. Next, take your second lining piece and place it on your first lining piece, right sides together. From the bottom up, your layers should be: batting, outer piece right side up, outer piece right side down, batting, zipper, lining right side up and lining right side down. Got it?
Use your zipper foot to stitch these layers together.
Now it’s time to separate the layers. Pull the second lining piece and second outer and bating layer away from the zipper so they meet. You should now have a lining, bating, and outer piece on each side of the zipper -- hopefully! If you have successfully made it to this point, press your layers along the zipper.
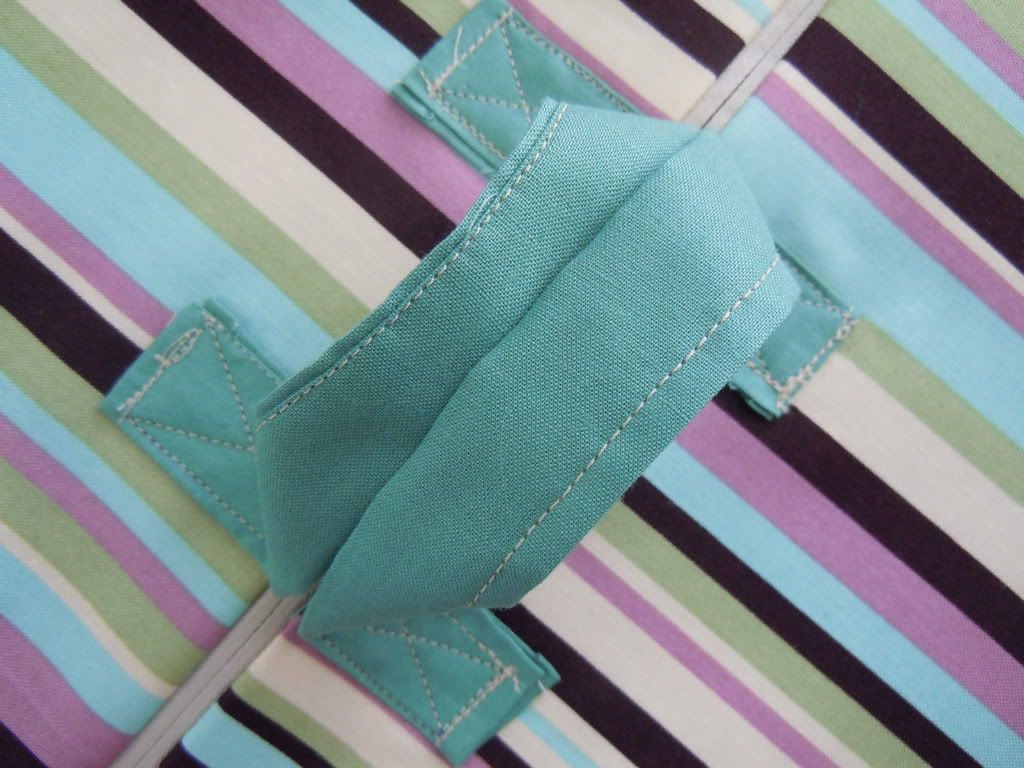
Now it’s time for the handles. Take your handle pieces and press them in half hot dog style. Open them up and press each long side in towards the center. Now fold and press in half again. There should be no raw edges exposed and the width should now be 1” if your original width was 4”. Remember, I have 4 total because I’m not sure at this point which length or fabric I want to use.
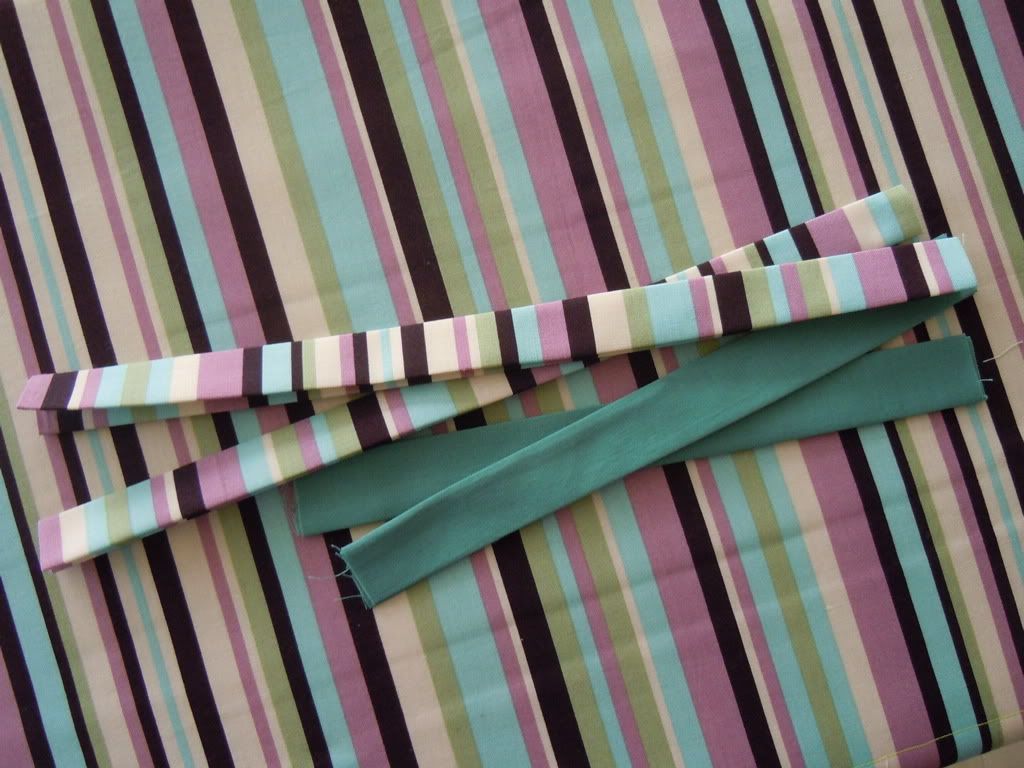
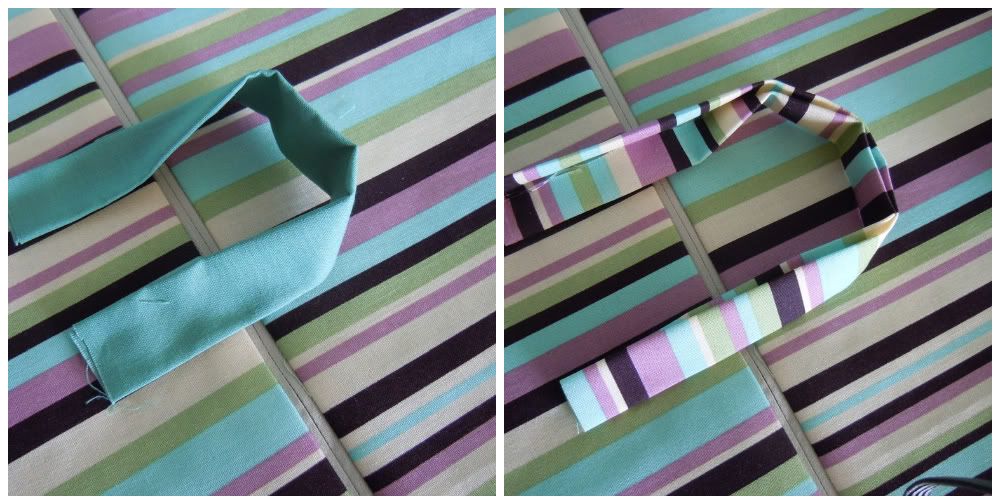
Although I think the stripes look visually interesting running in the opposite direction, I decided on the green to break up all the stripes.
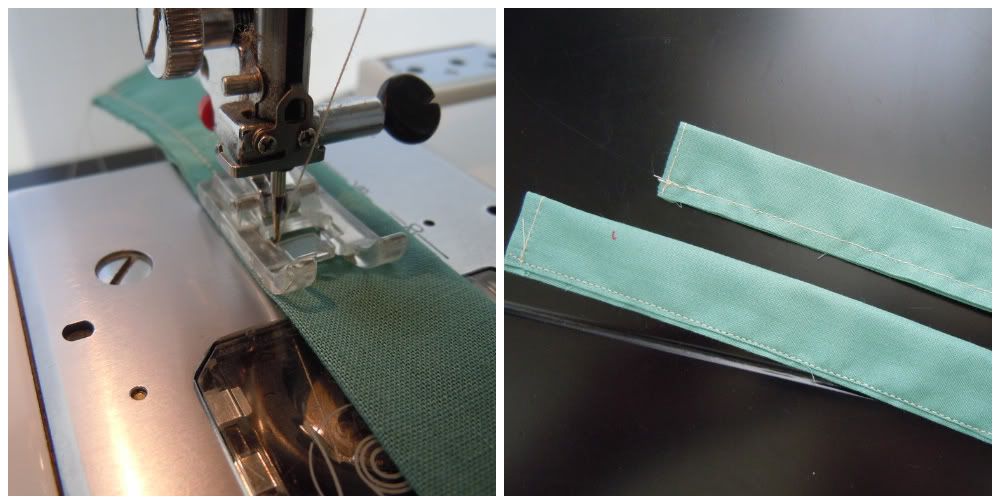
Unfold your handles half way, fold about a 1/4" of the short ends in and stitch in place. Then refold hot dog style and edge stitch along the open end or all around.
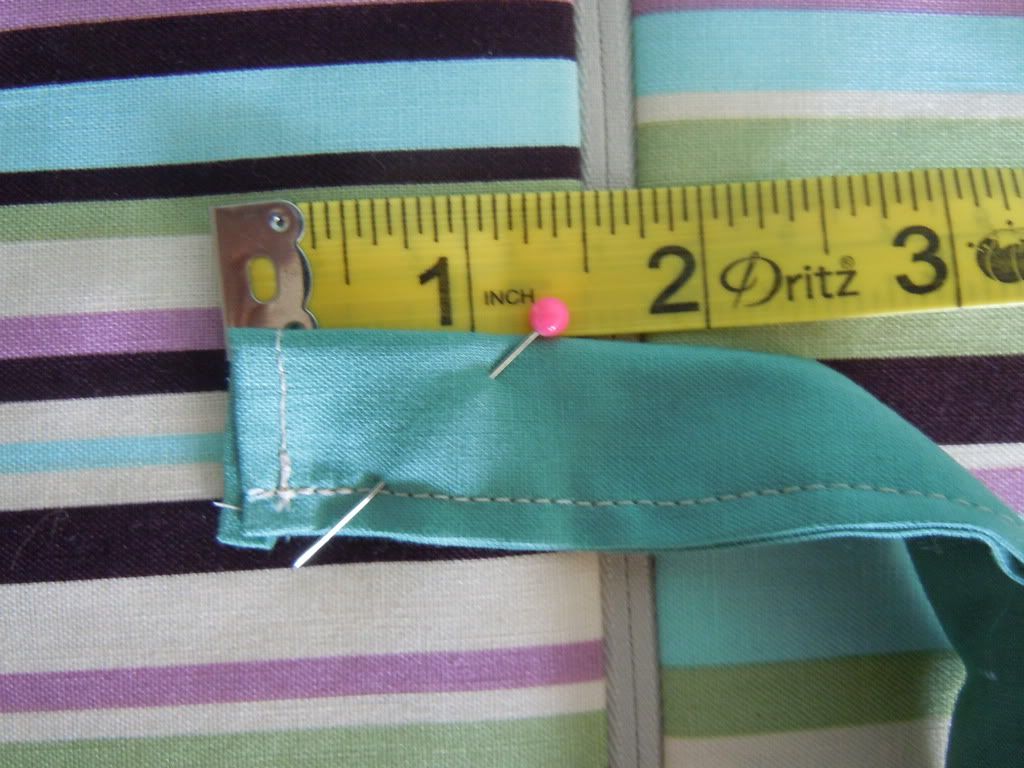
Position your handles on each outer piece making sure each side is the same distance from the edge -- I went in 4” from each edge.
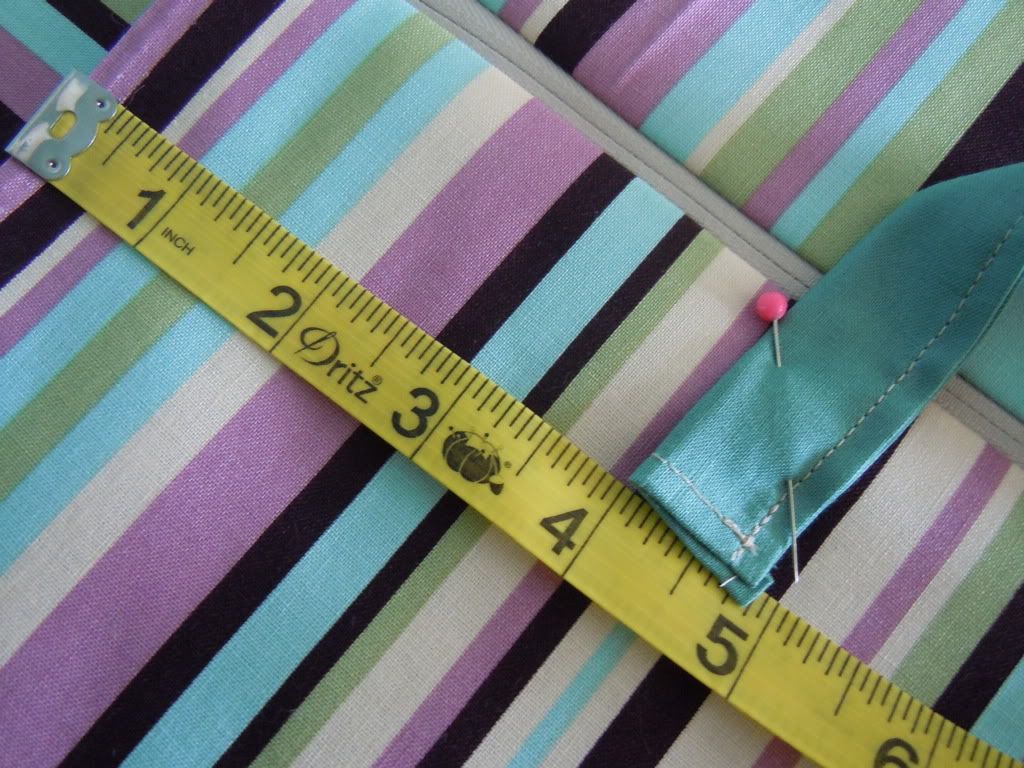
Make sure about and 1 ½” to 2” of each end is overlapping the outer piece so there is plenty of room to stitch it securely to the bag. Also, double check that the handles aren’t twisted in any way.
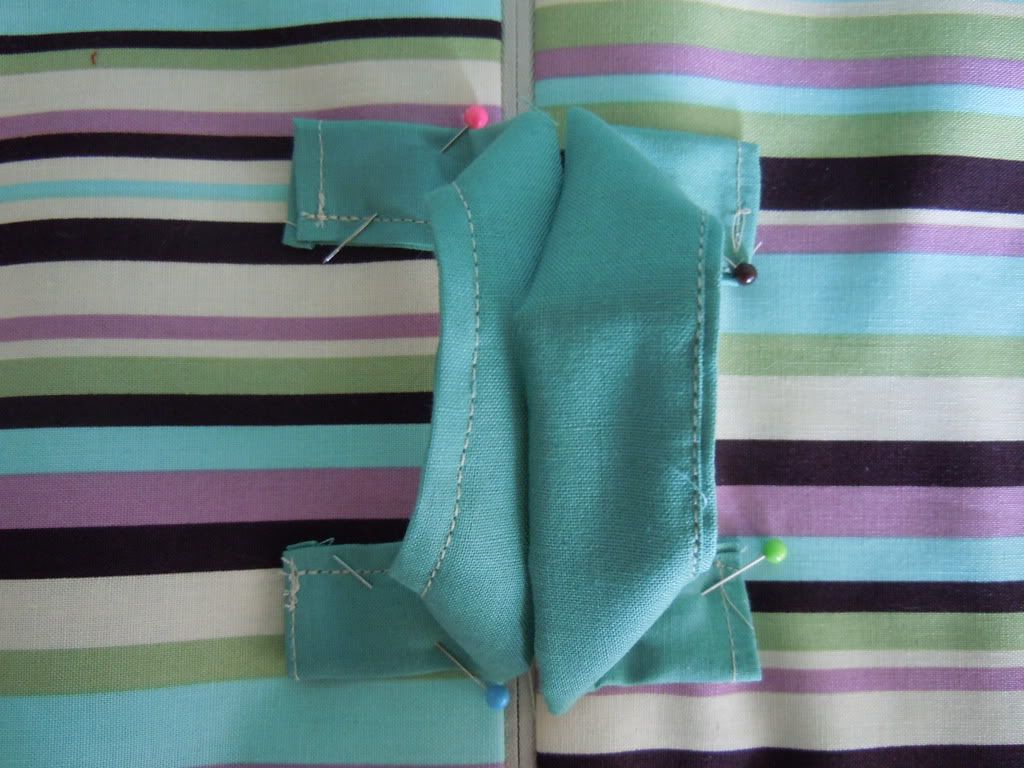
Pin your handles in place making sure to only include the outer layer and bating. The two lining pieces should be completely free.
I used a disappearing marker to draw my box shape with diagonal lines from each corner. I find with this stitch pattern, it is easier for me to follow pre-drawn lines.
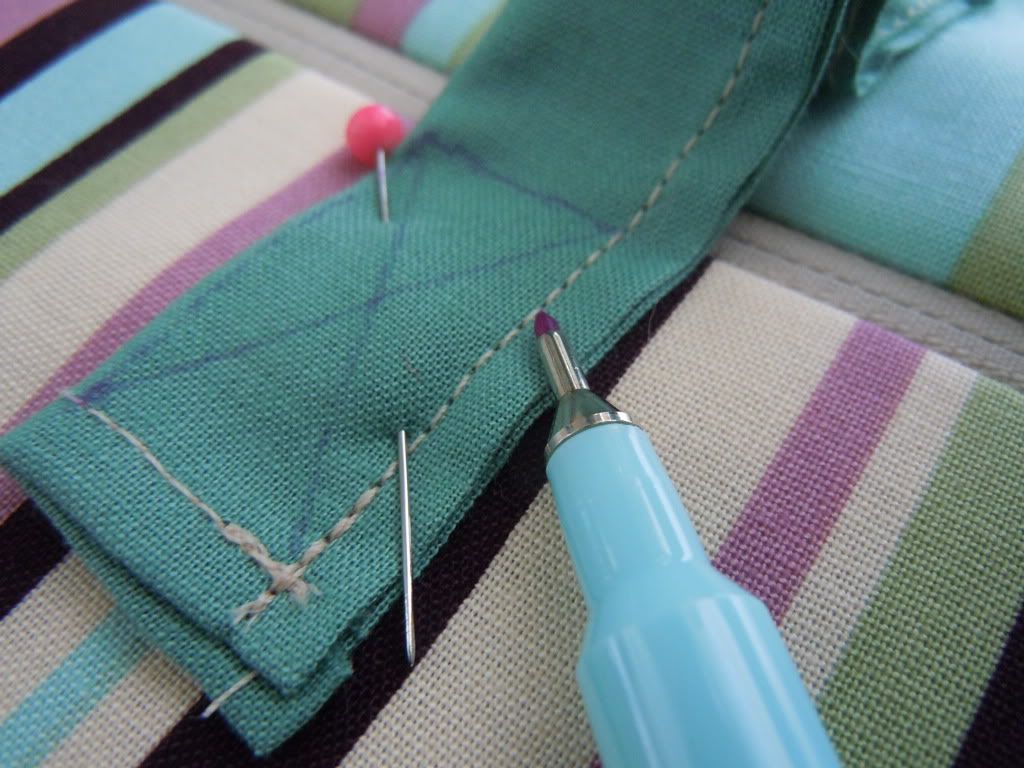
Stitch all four handle ends in place -- be sure you don’t include the lining! I went over several parts more than once to make sure they would be secure once the weight of the laptop was added.
We’re almost done! Now, undo the zipper a little over half way.

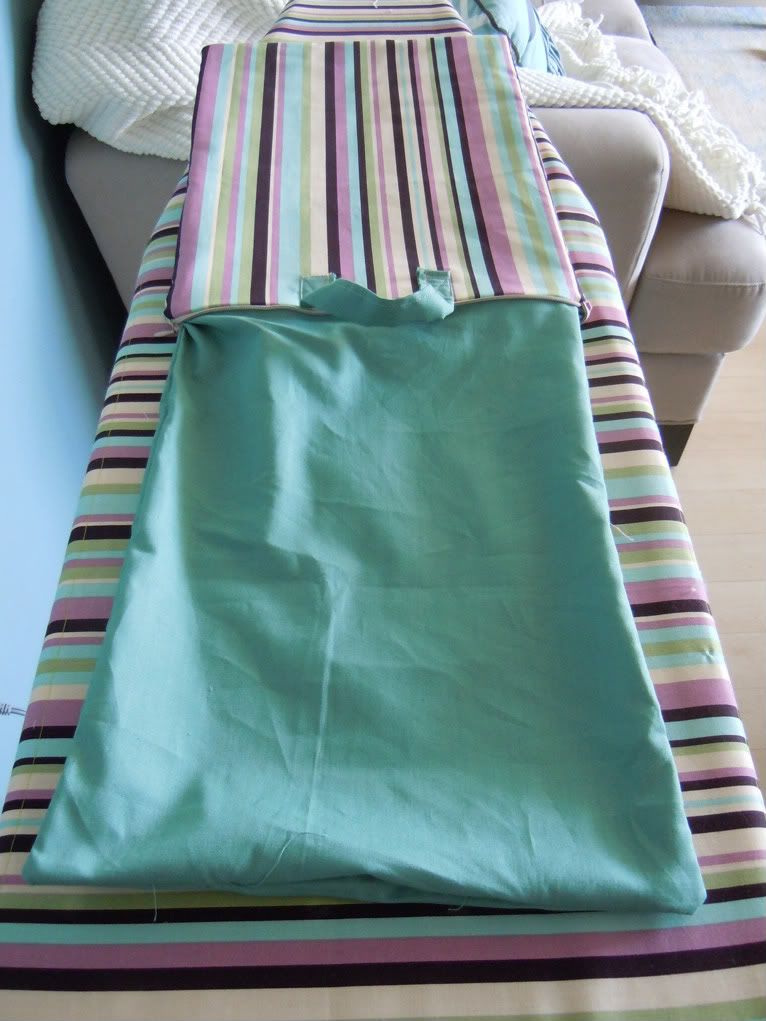
Unpeel your layers so that the right sides of the outer pieces are facing each other, and on the opposite side, the right sides of the lining pieces are facing one another. You should now have one very long, two patterned rectangle with a zipper in between. Pin all the way around but leave a 4” gap in the bottom of the lining piece.
Begin stitching the outer layers together starting at the top, near the zipper. You can stitch all three sides of the outer layers without leaving a gap.
Then, stitch the lining layers together making sure to stop at the bottom for your 4” gap.
Next, reach in through the opening and pull the outer layers through. Both the outer layer and lining layer should now be right sides out. Using a dull pencil or chopstick, push the corners out and all along the sides.
Press the whole case making sure to fold the opening inward.
Top stitch along the bottom of the lining piece to close the opening.
Push the lining piece into the zipper piece and you’re done!
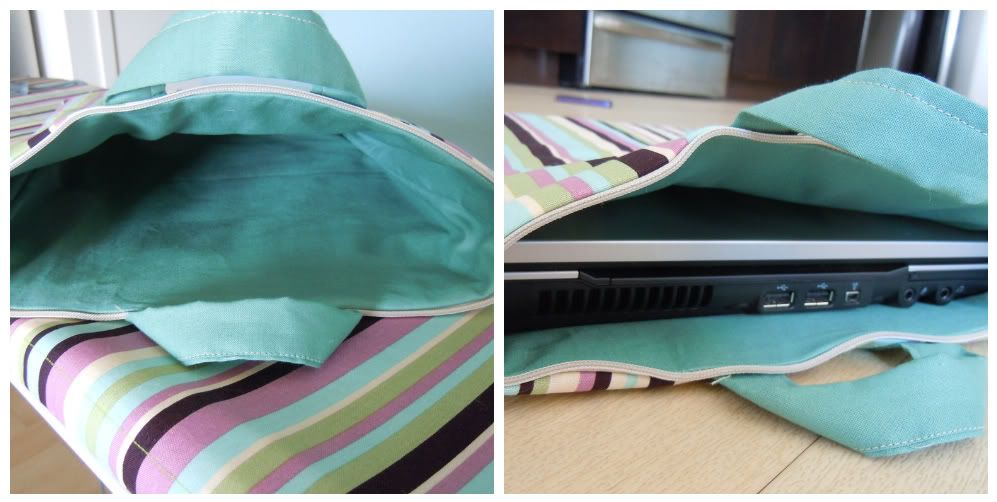
Put your laptop in and go!
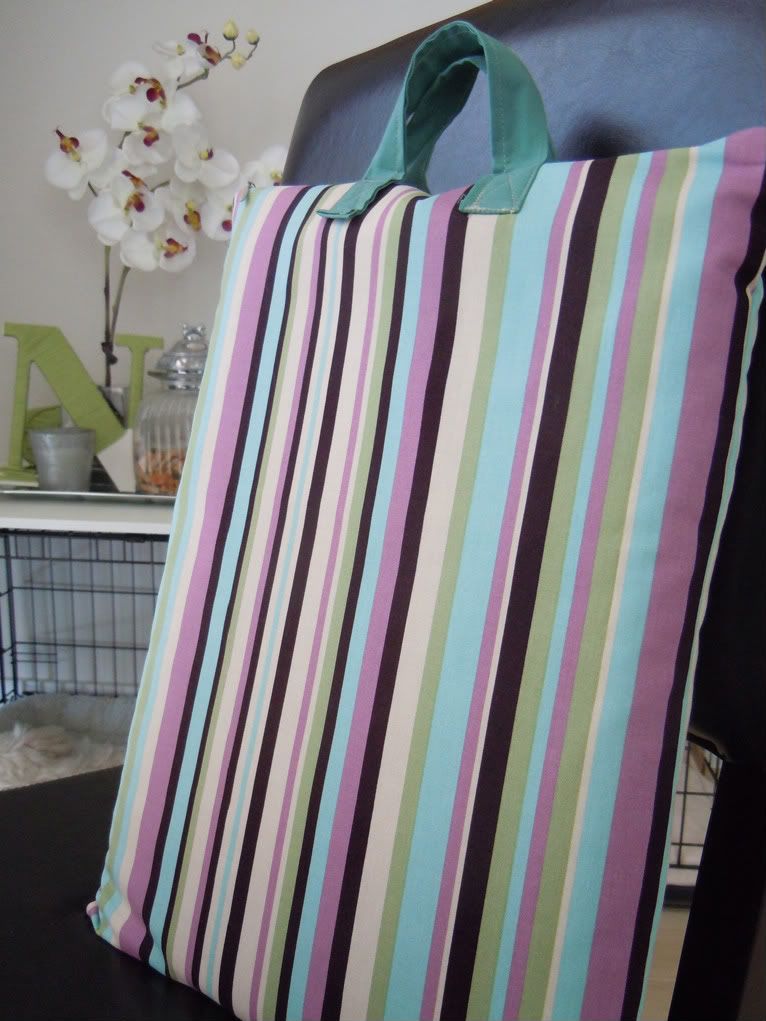
Ok, I promise no more stripes for a while -- hopefully you aren't cross-eyed from all those pics!

geez kiki! so talented!
ReplyDelete